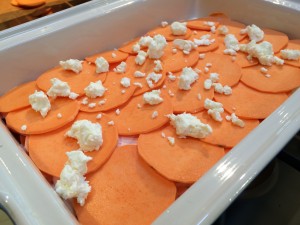
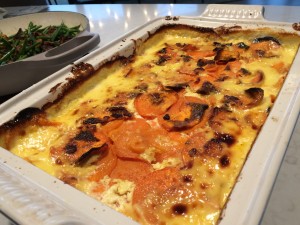
Sweet Potato & Chevre Gratin
Cool weather is here and what better way to help heat the house than to bake something! Colder temperatures also mean that the flavor of certain vegetables, such as sweet potatoes and yams. The plant, when faced with dropping temperatures, starts to convert the natural starches into sugars so it can survive. What does that mean? It means fall time is the best time to eat these tubers.
This side dish is perfect for any occasion, especially right around Thanksgiving. Now, sweet potatoes and yams are interchangeable but they do have some differences. Most yams will have a little more water content than their close cousins. Yams are better to mash up but will work in a this sort of application. But “Jeweled” or “”Garnet” sweet potatoes are what are most common, although I’m sure your local farmer could help you decide.
SWEET POTATO & CHEVRE GRATIN
4 Large Sweet Potatoes
1 Pint Heavy Whipping Cream
7 Ounces Goat Cheese
Heat oven to 375. Peel and slice the sweet potatoes using a mandolin, making sure that cuts are uniform. I find it easier to make “coins” rather than trying to cut the veggies lengthwise. Using a 7″ by 10″ baking dish, layer sweet potatoes with cream and crumbled goat cheese. I like to season every other layer with salt and pepper so that the dish is flavorful but not over seasoned. Potatoes should be covered in cream but not swimming, they have water that will cook out during baking.
Bake uncovered until gratin is easily pierced with a knife, about 45 minutes.
How To Make Garlicky Dill Pickles
For some reason people think making pickles is difficult. But, making pickles isn’t hard, especially once you get the hang of it. My twin sister thinks I’m some sort genius at this kind of culinary art and should write a book about said practice. Once you understand the nuances in flavor that help create the brine, it really isn’t rocket science. Hell, if I can do it, pretty much anyone with half a brain can. There is some trial and error, so if you’re just starting out be prepared to throw some food away. Even I still stumble. I recently cracked a jar of pickled rhubarb from last year, since rhubarb is now in season, and was planning on replacing last year’s canned bounty with this year’s offering. The first bite was immediately spit into the kitchen sink. Who the F made this garbage!?! Oh right, yours truly. Not that the flavor was off or had spoiled (thankfully) but the acid in the brine had turned the rhubarb to complete mush over time. Lesson learned. So you’re going to win some and you’re going to loose some but over time you’ll be knocking it out of the park like you’re a freaking starter for the best baseball team in the league (aka The RED SOX, duh!).
But before we get into the actual recipe and it’s steps, let’s give a quick synopsis of what it means to be a “pickle.” Most Americans seem to think a pickle is just a fancy, spiced-up cucumber, looking down it’s nose at it’s boring cousin. Sure that’s true, but what is being pickled doesn’t have to be a cucumber. As I stated earlier, I’ve pickled rhubarb. I also have a jar of pickled cherries I’m waiting to open and recently posted a pickled garlic scape recipe. I haven’t done it yet, but you can even pickle eggs. The closest I’ve ever come to that is a pickled egg juice-back after a whiskey shot, and don’t even get me started on what a sh*t show of a night out in NYC that was! So, as Portlandia famously stated and is oft quoted around our house, “You can pickle that!”
That said, there are different forms of pickling and certain kinds work better for whatever is being preserved. The easiest method, which I’ll be showcasing, is “quick pickles” aka “refrigerator pickles.” Moving on from there, “freezer pickles” are usually fruit based since the sugar content helps seal in flavor. Indian cuisine also has many pickles but we Americans living in a very sheltered food world, call all them “chutneys.” Asian food also has many types of pickles. I mean, Korea practically runs on Kim Chi.
Which leads me to the most complex way to pickle something, “fermentation.” I won’t get into the complicated process here and will save it for another time but yes, you probably have at some point eaten a fermented cucumber labeled as a “pickle.” Ever had a “full sour” or “half sour” pickle? Yeah those tasty little things sat out at room temperature long enough for cultures to form and give tartness to the cucumber. Hot Doug’s (RIP) in Chicago had a killer version of the full sour and in my experiments, that meant the batch sat out for about two weeks. I dare you to leave something on the counter for that long, consume it and be whisked off to tastebud Nirvana. (No, PLEASE don’t do that!) More likely than not you’ll be spewing your guts out. But hey “A” for effort! I digress. Let’s get this pickle party pumping…
GARLICKY DILL PICKLES
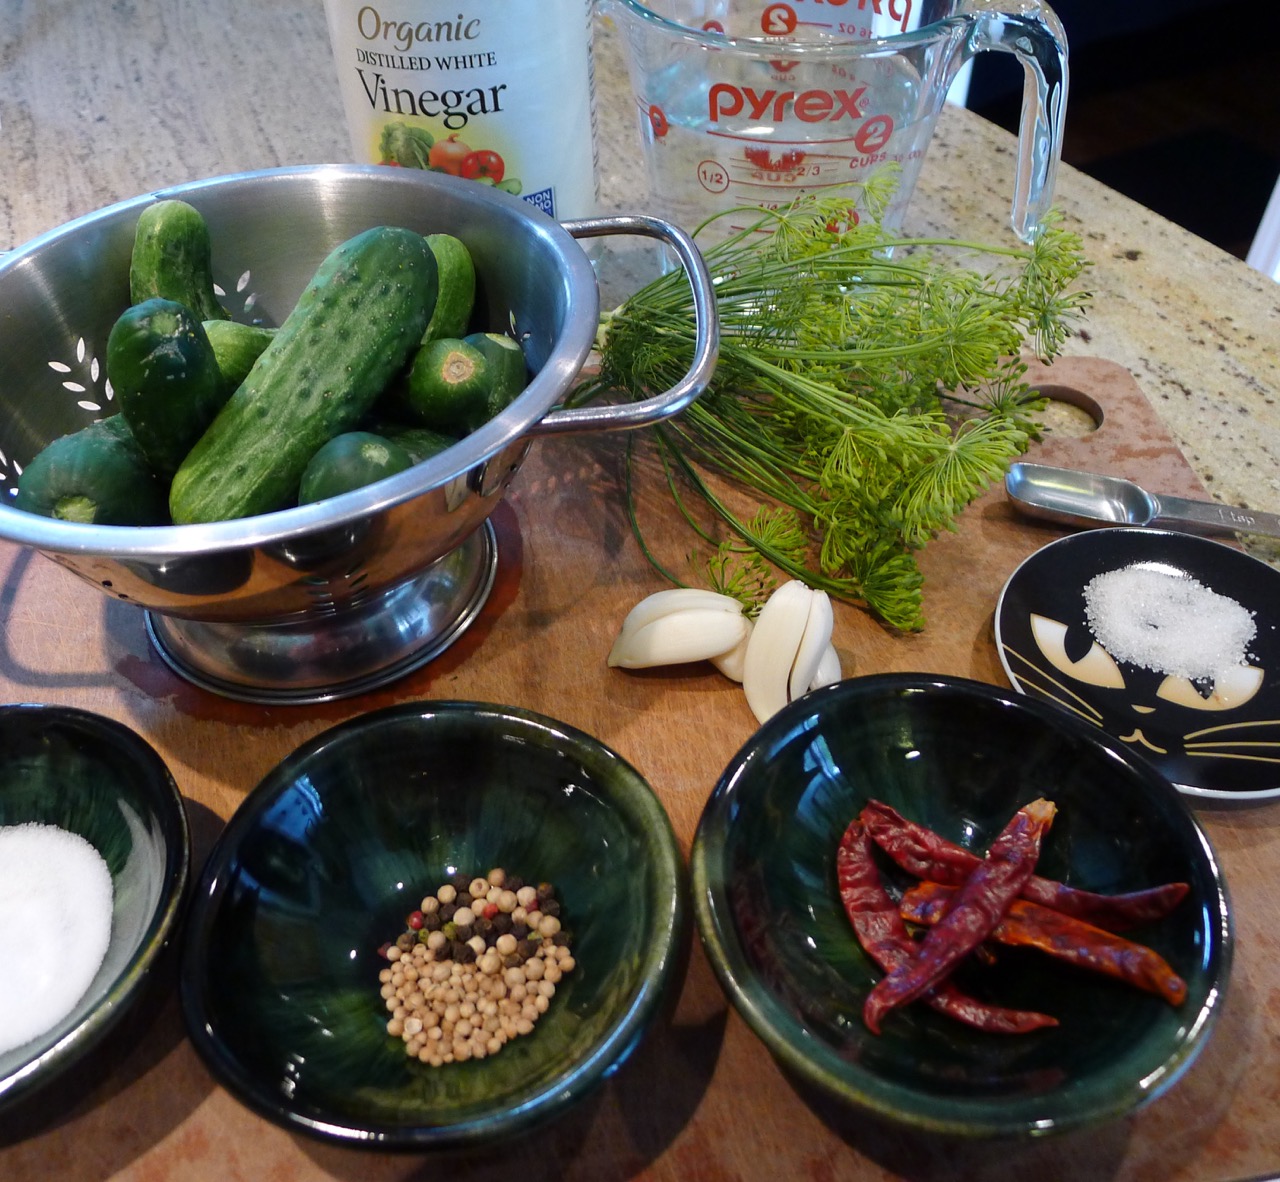
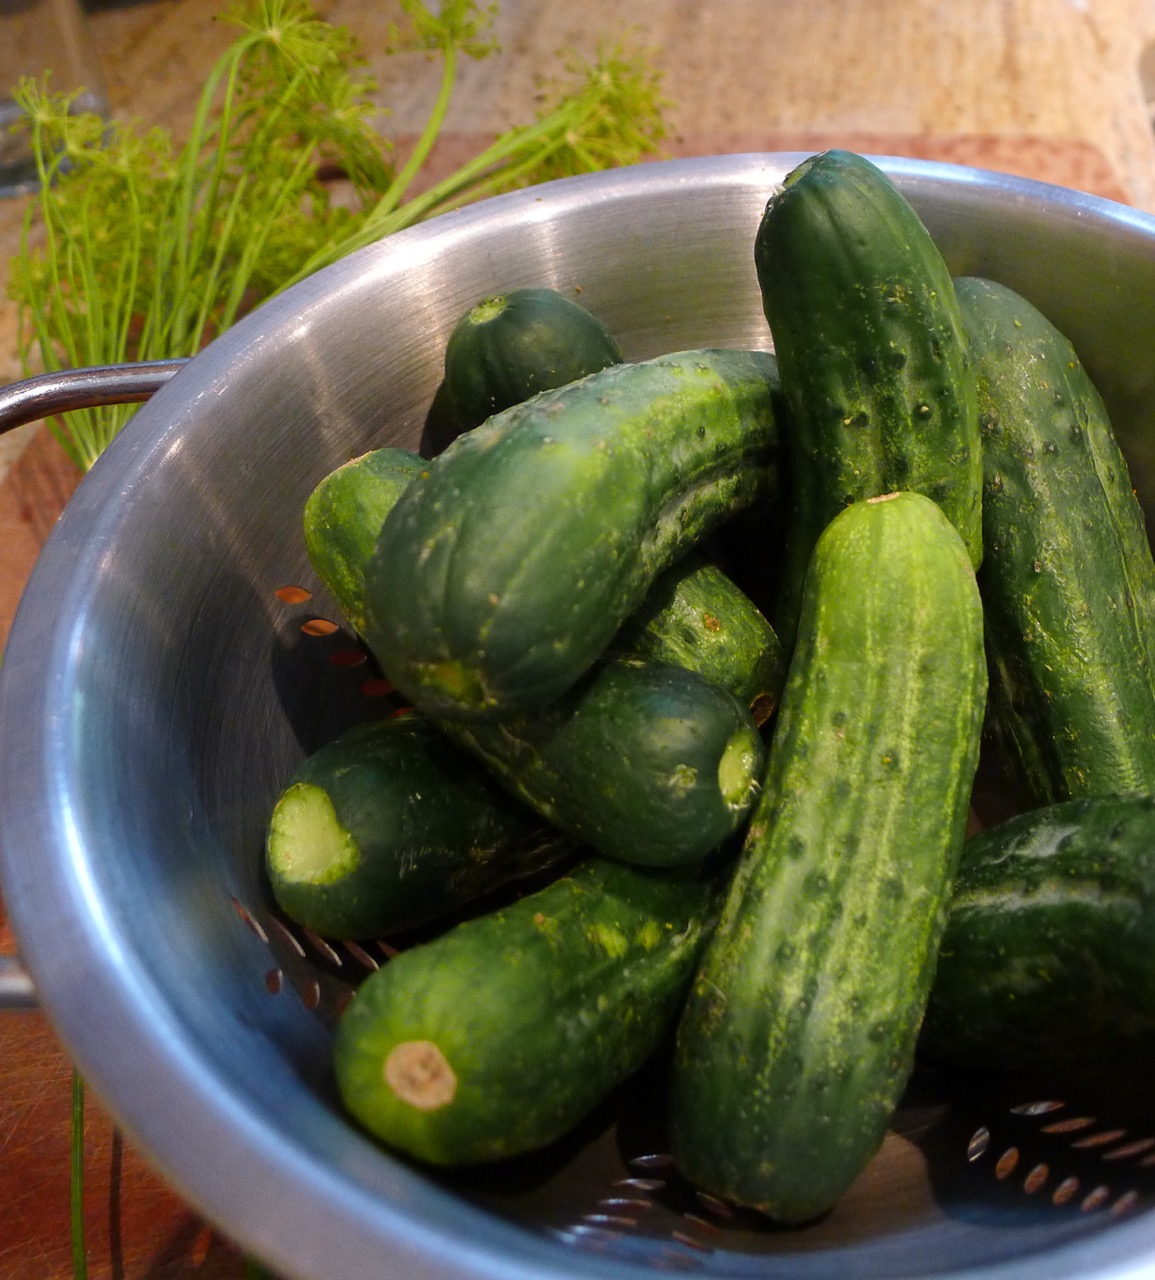
1# Pickling Cucumbers
5 Sprigs Fresh Dill
3 Garlic Cloves
4 Chiles De Arbol
1/2 t Whole Peppercorns
1/2 t Whole Coriander Seeds
1 1/2 t Salt
1 t Sugar
1 C Water
1 1/2 C Distilled Vinegar
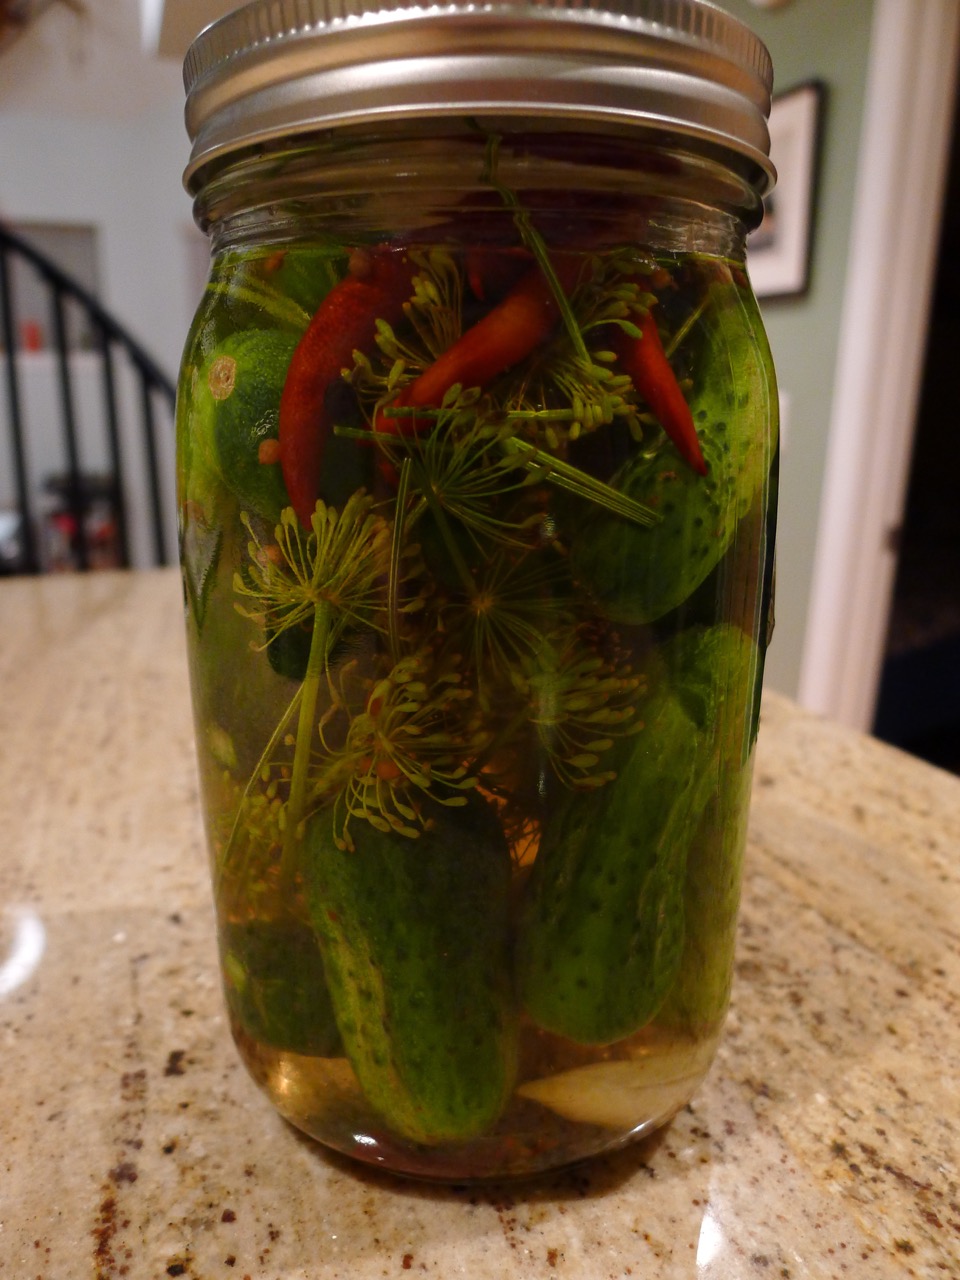
Pickling cucumbers come in all shapes and sizes. Some farmers will actually sell their ugly looking regular cucumbers as pickling ones. They work but have a higher water content and less sturdy flesh so they’re not ideal for this process. What you’re looking for are the stubby, bumpy, is-that-safe-to-put-in-my-mouth kind of cucumber. You may have to trim your cucumber down into spears (or into rounds if you prefer) but I selected little whole ones. I love shoving whole pickles in my mouth, take that as you will. So give your cukes a rinse before cutting it if doing so, as well as the dill. Let them dry and place them in a quart jar, alternating between pickles and dill. Why do you think we do that? To help spread the flavor of dill around.
Next up you’re going to take your garlic cloves and gently crush them. You can smash them if you had a bad day at the office but I’d recommend taking the flat edge of a chefs knife, blade away from you (come on, safety first!) on top of a clove and apply pressure until you feel the clove crack. Feel free to increase the amount of garlic if you really dig on that sort of thing, and the same goes for the chile de arbol if you like pickles with a little more heat. Take all of the ingredients and put them in a pot, give it a quick stir, and crank it up to high on the stove. Heat the mixture until the salt and sugar has dissolved. If you’re unsure if they have, just bring it to a boil.
Now this is important <read- don’t screw it up>
Remove the mixture from heat and allow it to COOL to room temperature. Despite all of their tough looking exterior, cucumbers are delicate. If you pour hot liquid over them, they just go soft. Also, before pouring the brine over the stuff in the jar, give it one last stir to mix up all the aromatics. Pour the brine to cover the cucumbers and turn the jar over a couple of times to mix up everything. Don’t shake it. Remember what I said about delicate! Place it in the fridge and let it sit for at least 48 hours. If you have ants in your pants, 24 hours will work, but you are missing out on some serious flavor country. The longer they sit the better they get and could even last over a year. But if those delicious little cukes are still there that long, you should probably just stick to eating fast food.
Last but not least, there are a million and one pickling books out there (another reason I won’t be writing one anytime soon, sorry sis) but I really love “The Joy of Pickling” by Linda Ziedrich. It has very user friendly recipes which taste great. The book features easy pickling recipes as well as more complex ways of preserving food. But wait there’s more! (I swear I’m not getting paid for this.) The Joy of Pickling has a global perspective and features recipes from around the world, as well as short pieces on each area’s use of pickles and their ingredients.
As always feel free to contact me for questions or recipes, I do have larger industrial-sized pickling recipes if you want to go crazy!
Cheers,
Chef Sean
Two Ways To Use Garlic Scapes
- At June 22, 2017
- By Sean Smith
- In garlic, pickled things
 0
0
Garlic Scapes? What the hell are they? Spell check doesn’t even recognize the word!
Well, I’d like to simplify it, and my farmer friends, please give me a pass on some of the botanical elements. A “scape” is the part of a garlic bulb that pushes through the dirt and then grows a stalk. These stalks will eventually flower so that said underground bulb can produce enough energy for the plant to reproduce via it’s flowers. Sounds lovely, right?
Well unfortunately for us foodies, that’s a load of shite. With garlic, as well as host of other veggies, as soon as the plant starts to “bolt” (the process of flowering above ground), the plant shifts energy from the bulb to the top of the plant in hopes it will sow it’s seeds. That transfer reduces the flavor in the bulb, but, isn’t that the thing we care most about! So in early summer garlic farmers walk down their fields and trim off the scapes, trapping all the plants energy in the bulb. What does that mean? Concentrating “Flavor Country” bitches!
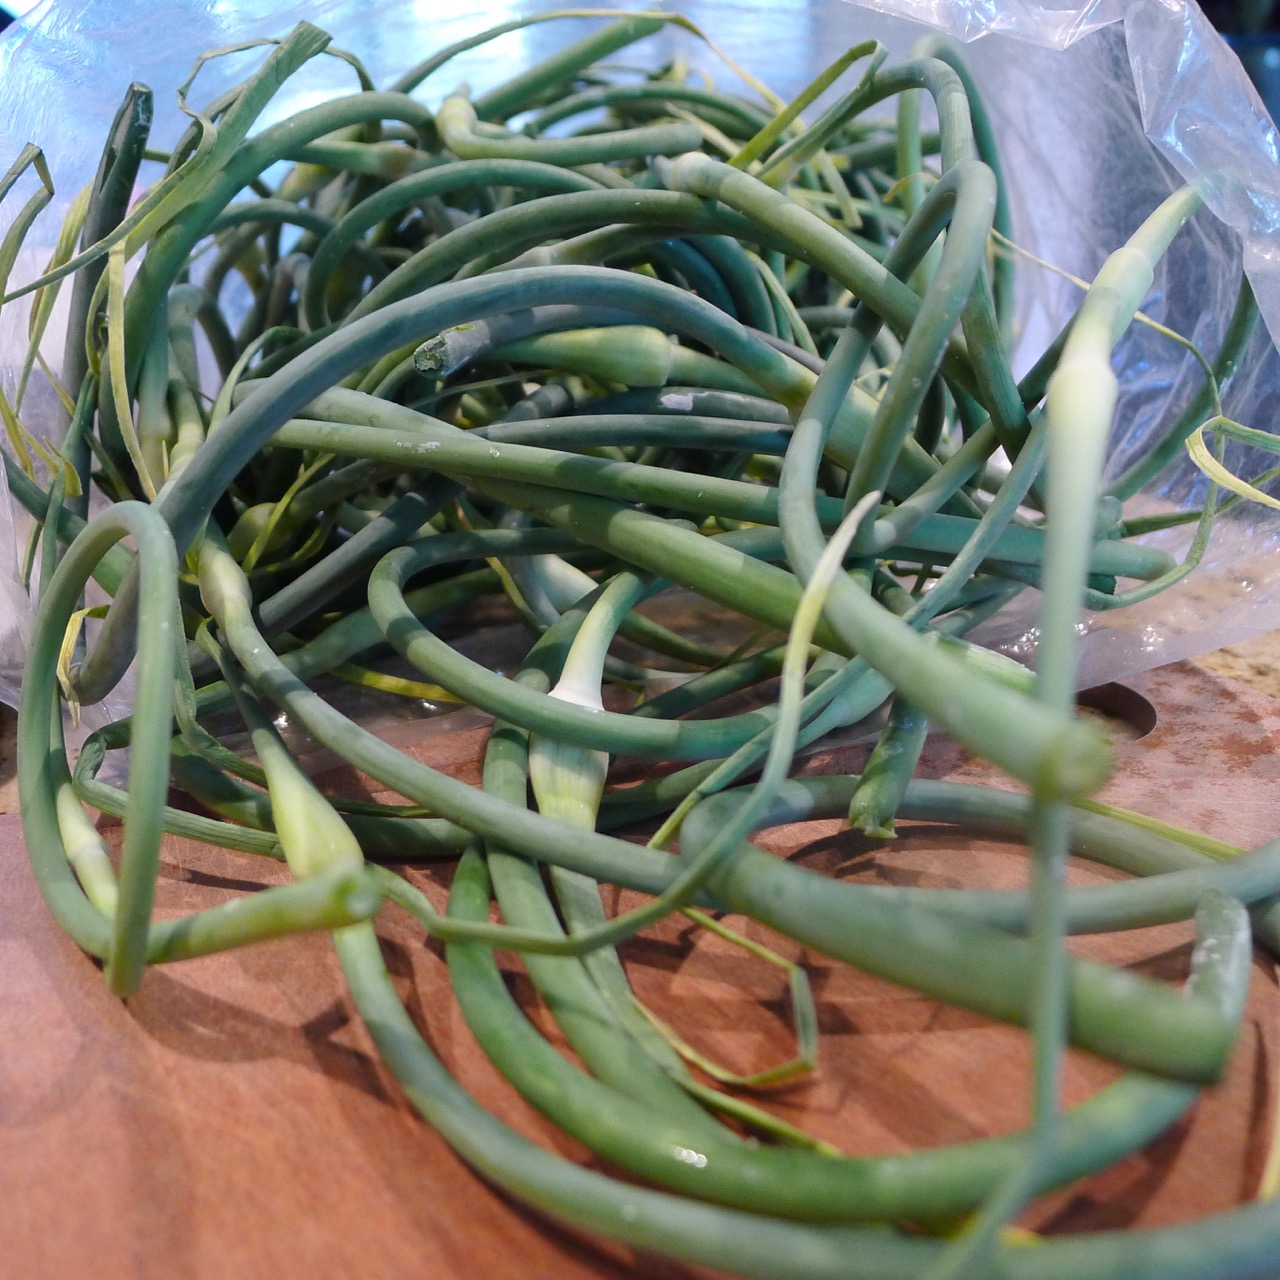
So where does that leave the unwanted bi-product of the growing process? Garlic scapes have a flavor that of course is “garlicky,” albeit in a very toned-down way. Because they see some sun, they can also come across as what a “scallion” is to a whole onion, greener and a little more feisty. Damn you youth! (shaking fist rigorously) The next time you see these curly, wiggly lookin’ green stalks at your farmer’s market or grocer, buy some. The following awesome recipes are a great way to showcase the flavors that this once cast-off has to offer.
GRILLED GARLIC SCAPE PESTO
3/4# Garlic Scapes, grilled & roughly chopped
3/4 C Walnuts, toasted
1 C Parmasean, grated
1 C Basil
1 C Olive Oil
Juice of small lemon
Salt
DIRECTIONS:
Combine scapes, walnuts & a 1/4 C of the oil in food processor, puree to a paste, scrapping down sides as needed. Add in basil and pulse until roughly chopped. With machine running slowly add in remaining EVOO. Once fully combined add in cheese and pulse to incorporate. Season with lemon juice & salt to taste.
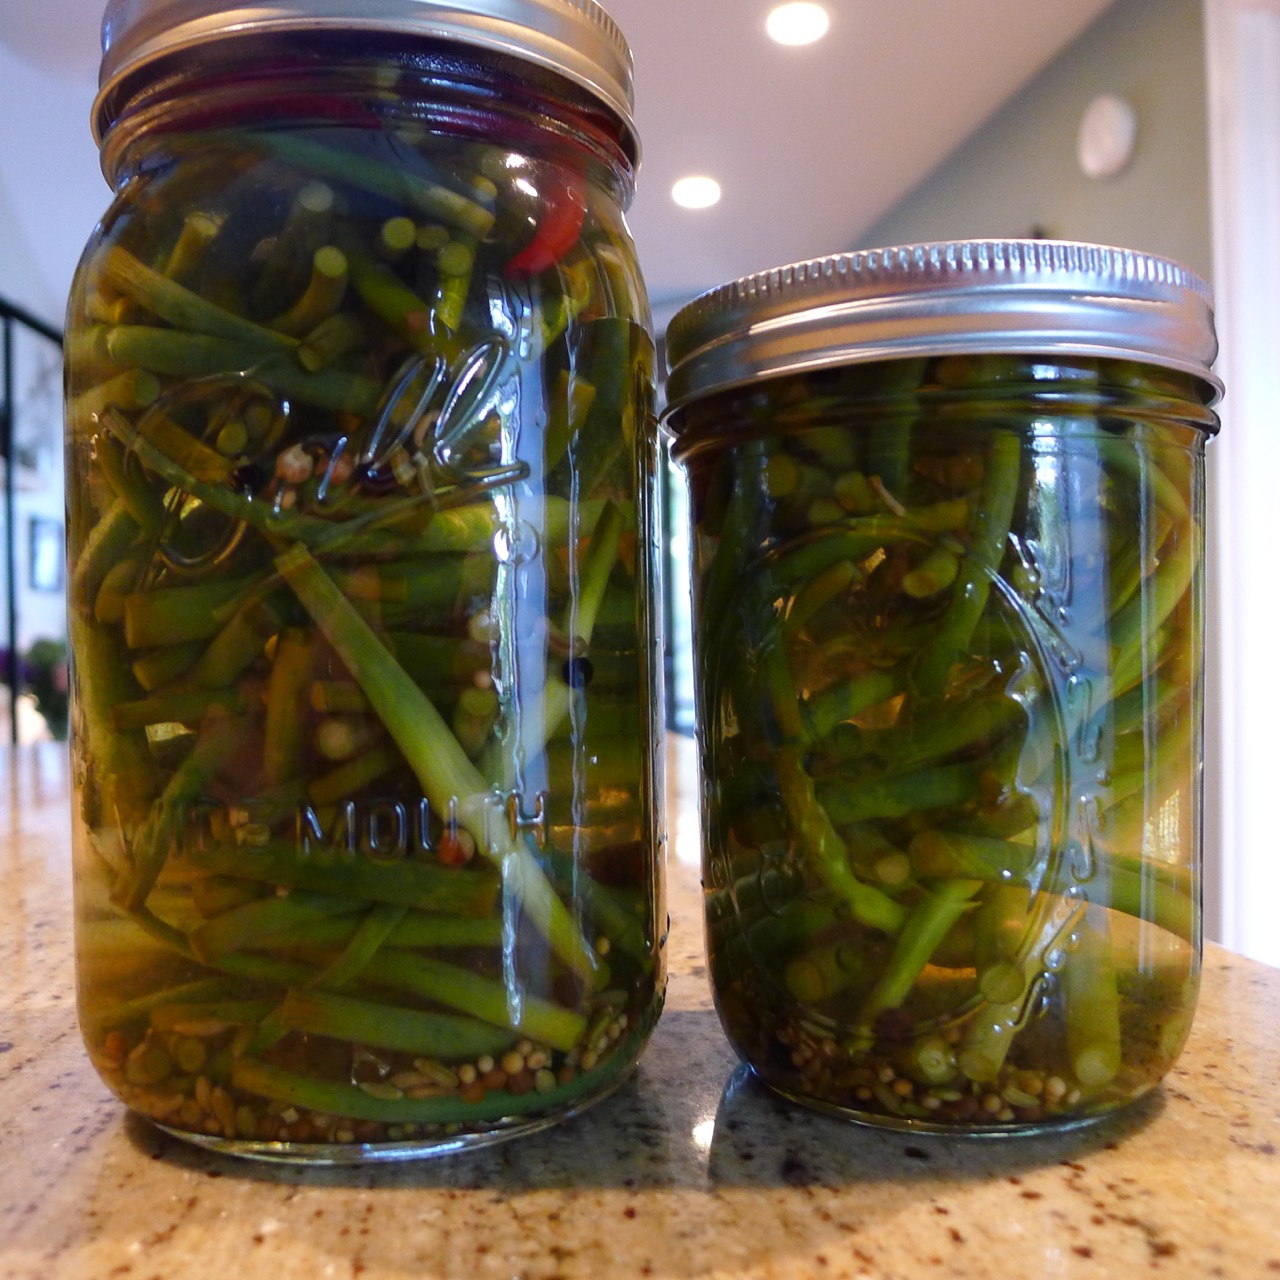
PICKLED GARLIC SCAPES
1/2# Garlic Scapes, cleaned & cut into 2” pieces
7 Dried Thai Chilies (or Dried Chili De Arbol)
4 Bay Leaves
2 t Fennel Seed
1 t Whole Peppercorn
1 t Whole Coriander
1/2 t Whole Mustard Seed
1/2 C Sugar
3 T Salt
2 C Water
2 C Distilled White Wine Vinegar
Combine all ingredients except scapes in a pot and bring to boil, reduce to simmer until sugar & salt is dissolved. Meanwhile portion cut scapes between a quart and a pint jar. While pickling liquid is hot, pour over scapes, taking care to make sure the aromatics are split between both jars. Seal while hot.
Any questions or comments please feel to reach out to me. Unless that includes hate mail, then please contact my wife.
Cheers,
Chef Sean
Greek Honey Cake
- At June 11, 2017
- By megan
- In favorites, Recipes
- 0
Chef Sean Smith and I, besides helping others throw exciting dinner parties, like to throw dinner parties at our own home. He’s usually in charge of every course, but he asked me to make dessert for our Greek-themed party a few weeks ago. I searched through dozens of Greek dessert recipes looking for something without filo dough and for a dessert that I could make in a reasonable period of time as real estate is very valuable and limited in our tiny kitchen.
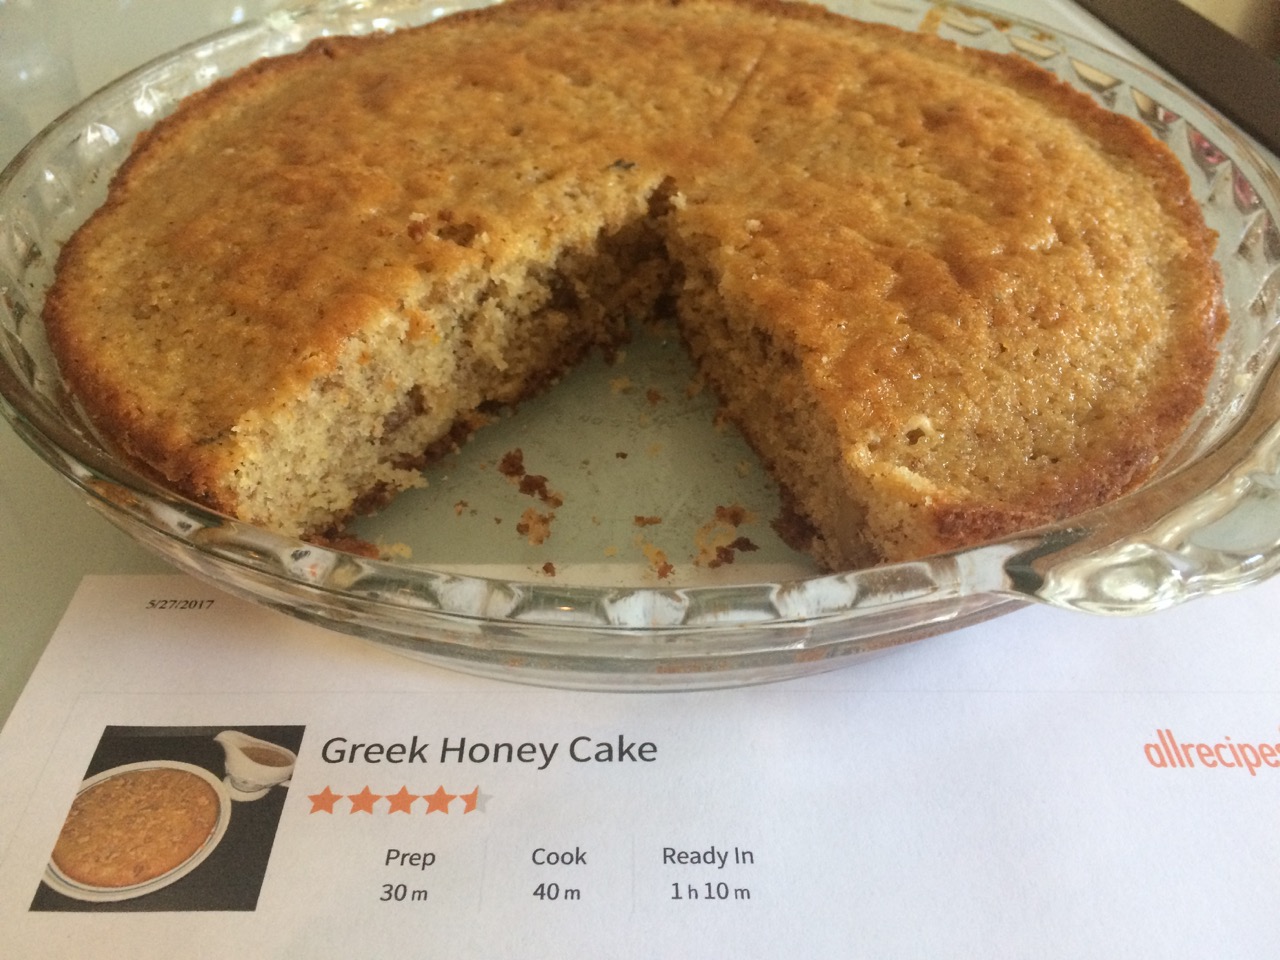
I found a Greek Honey Cake recipe on Allrecipes that I just loved and it’s definitely one we’ll make in the future for clients. Maybe next time I’ll remember to snap a photo before eating a piece as well!
Ingredients:
- 1 cup all-purpose flour
- 1.5 tsp baking powder
- 1/4 tsp salt
- 1/2 tsp ground cinnamon
- 1 tsp orange zest
- 3/4 cup butter
- 3/4 cup cane sugar
- 3 eggs
- 1/4 cup milk
- 1 cup chopped walnuts
- 3-4 tablespoons honey
Directions:
- Preheat oven to 350 degrees. Grease and flour a 9 inch square or round baking dish.
- Combine the flour, baking powder, salt, cinnamon, and orange rind. Set aside.
- In a stand mixer, cream together the butter and the 3/4 cup of cane sugar. Add in the eggs, one at a time.
- Beat in the flour mixture alternatively with the milk, mixing just until incorporated.
- Stir in the walnuts.
- Pour batter into the pan and bake for 40 minutes, or until a toothpick inserted into the middle comes out clean. Allow to cool at least 15 minutes before cutting.
- Drizzle honey over the top of cut pieces of cake and enjoy.
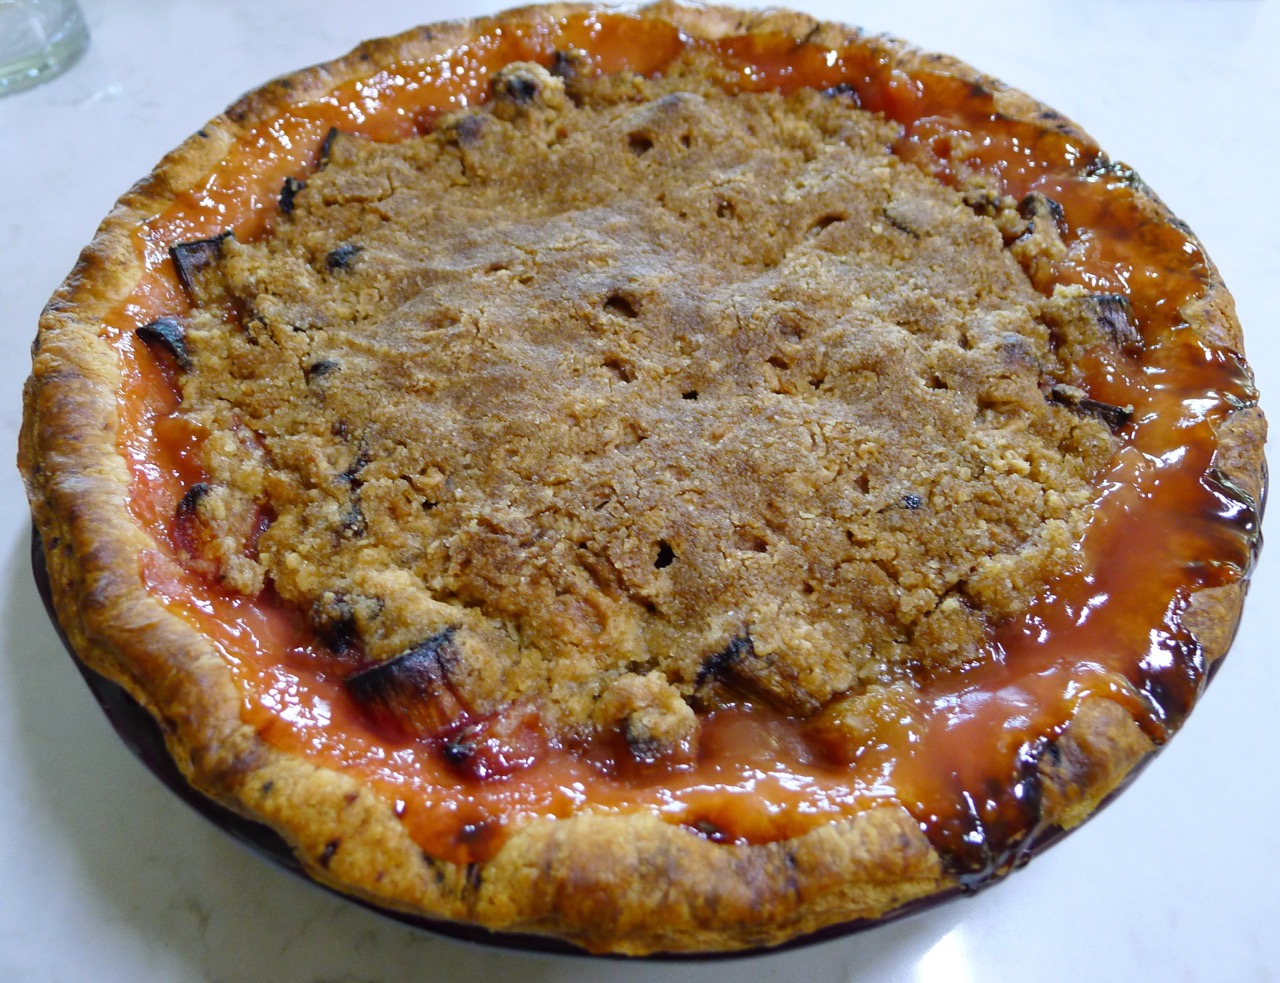
Rhubarb Pie
- At May 23, 2017
- By megan
- In dessert, Martha Stewart, pie, pie crust, rhubarb
- 0
Chef Sean Smith is a fan of Martha Stewart’s recipes because they are easily multiplied. That essentially means she nails the ingredient ratios so if you’re making a double or triple batch of cookies, you can be confident that doubling or tripling her recipe will end up with something delicious. So, when I was tasked with making a pie for our clients, I went right to Martha.
The recipe starts by suggesting you make this pie the day before you plan to serve it, which is exactly what I did. I suggest you make your pie crust first and keep it cold in the refrigerator. Make your crumble topping second and keep it cold in the fridge as well until you’re ready to sprinkle it on top of the filling. Below you’ll find three sections: dough, filling, and crumble topping.
Ingredients for the Pie Dough:
- 2.5 cups all-purpose flour
- 1 teaspoon sugar
- 1/2 teaspoon fine salt
- 2 cups cold butter, cut into small cubes
- 1/4 (or a little more if needed) ice water
The easiest way to make dough is to add the flour, sugar, salt, and butter to a food processor and give it a whirl. Then slowly add the ice water until it’s dough. Finish by forming it into a ball, wrap it in parchment paper, and refrigerate until you’re ready to use it.
Ingredients for the Pie Filling:
- All- purpose flour, for dusting
- 1 3/4 pounds (approximately 6 cups) rhubarb with the ends trimmed and cut crosswise into 3/4 inch pieces
- 1 cup sugar
- 2 tablespoons cornstarch
- Pinch of salt
Ingredients for Crumble:
- 3/4 cup flour
- 1/3 cup packed light brown sugar
- 3 tablespoons sugar
- pinch of salt
- 6 tablespoons chilled butter
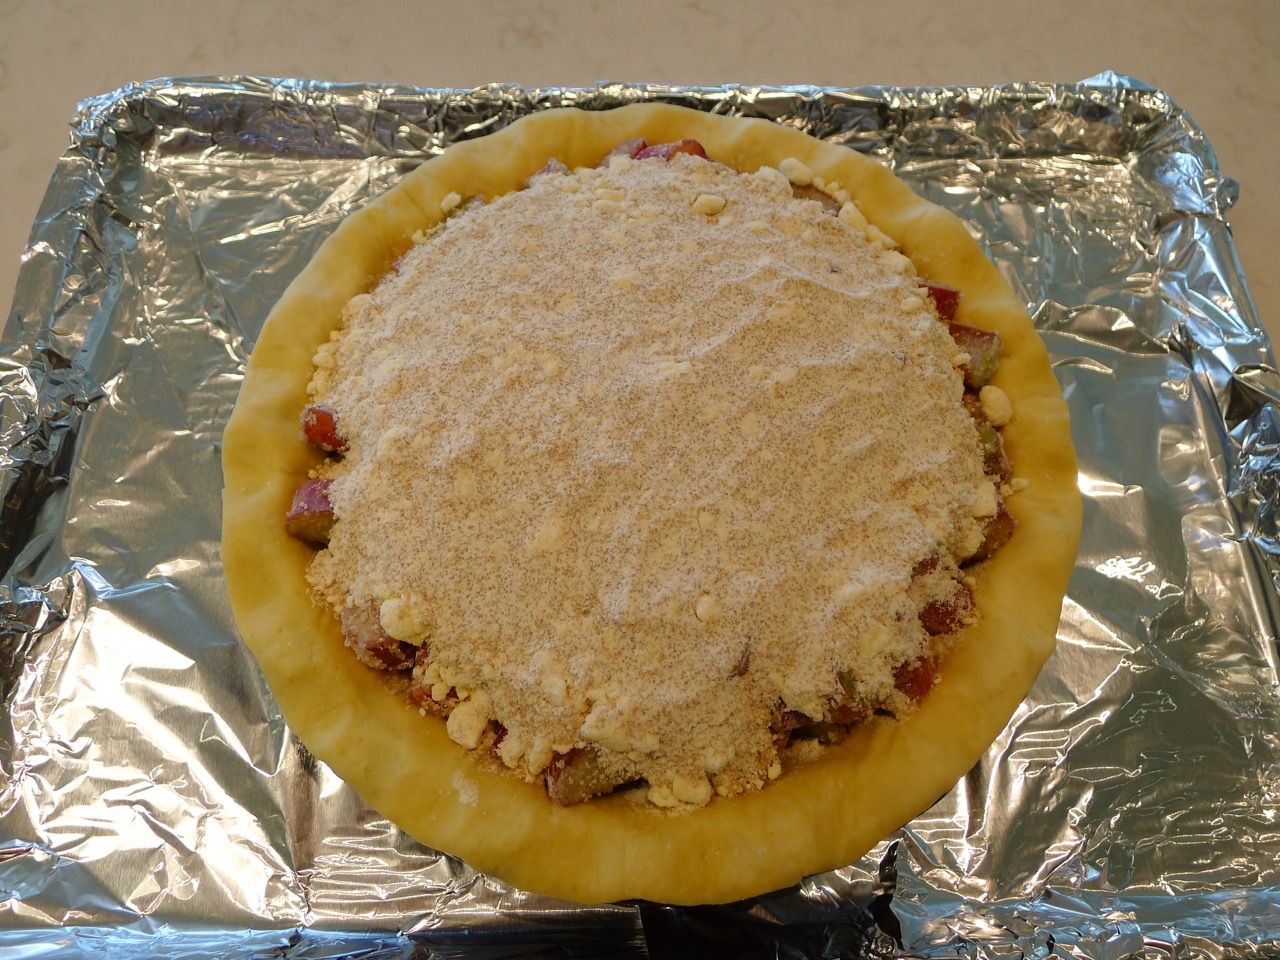
And now to make the pie! Here’s my pie before baking, just for reference.
- Place the pie dough on parchment paper and roll it out to fit in a 9 in pie pan. Fit the dough into the pan, trim/crimp your edges, and refrigerate for an hour.
- Preheat oven to 400 with the rack at the lowest level.
- Add the crumble ingredients to a bowl and mix until the butter is somewhat evenly distributed. Chill in the fridge until you reach step 5.
- In a large bowl, toss the rhubarb with sugar, cornstarch, and salt.
- Pour filling into the pie crust, distribute it evenly, and sprinkle the crumble topping on top.
- Place pie pan on a foil-lined rimmed baking sheet. This is important as it will help clean up be a synch!
- Place your pie in the oven and lower it to 375 degrees. Bake for approximately 1.5 hours and cool completely before serving.
Let’s get Social