Carrots and Mac N Cheese
Mac n Cheese is one of my all time favorite comfort foods. But, let’s be honest- it’s not healthy. This version cuts out a lot of the cheese and other dairy like milk and butter and adds in purred carrots for the mouth feel of a baked mac n cheese. I made a short video explaining this dish, so take a peek here: You Tube
Ingredients:
- 5 large carrots
- 1 yellow onion
- olive oil
- salt
- pepper
- ziti noodles, macaroni, etc- I used 1/2 of a box for 2 people
- 2 cups grated cheese
- optional chopped kale
Preheat oven to 350
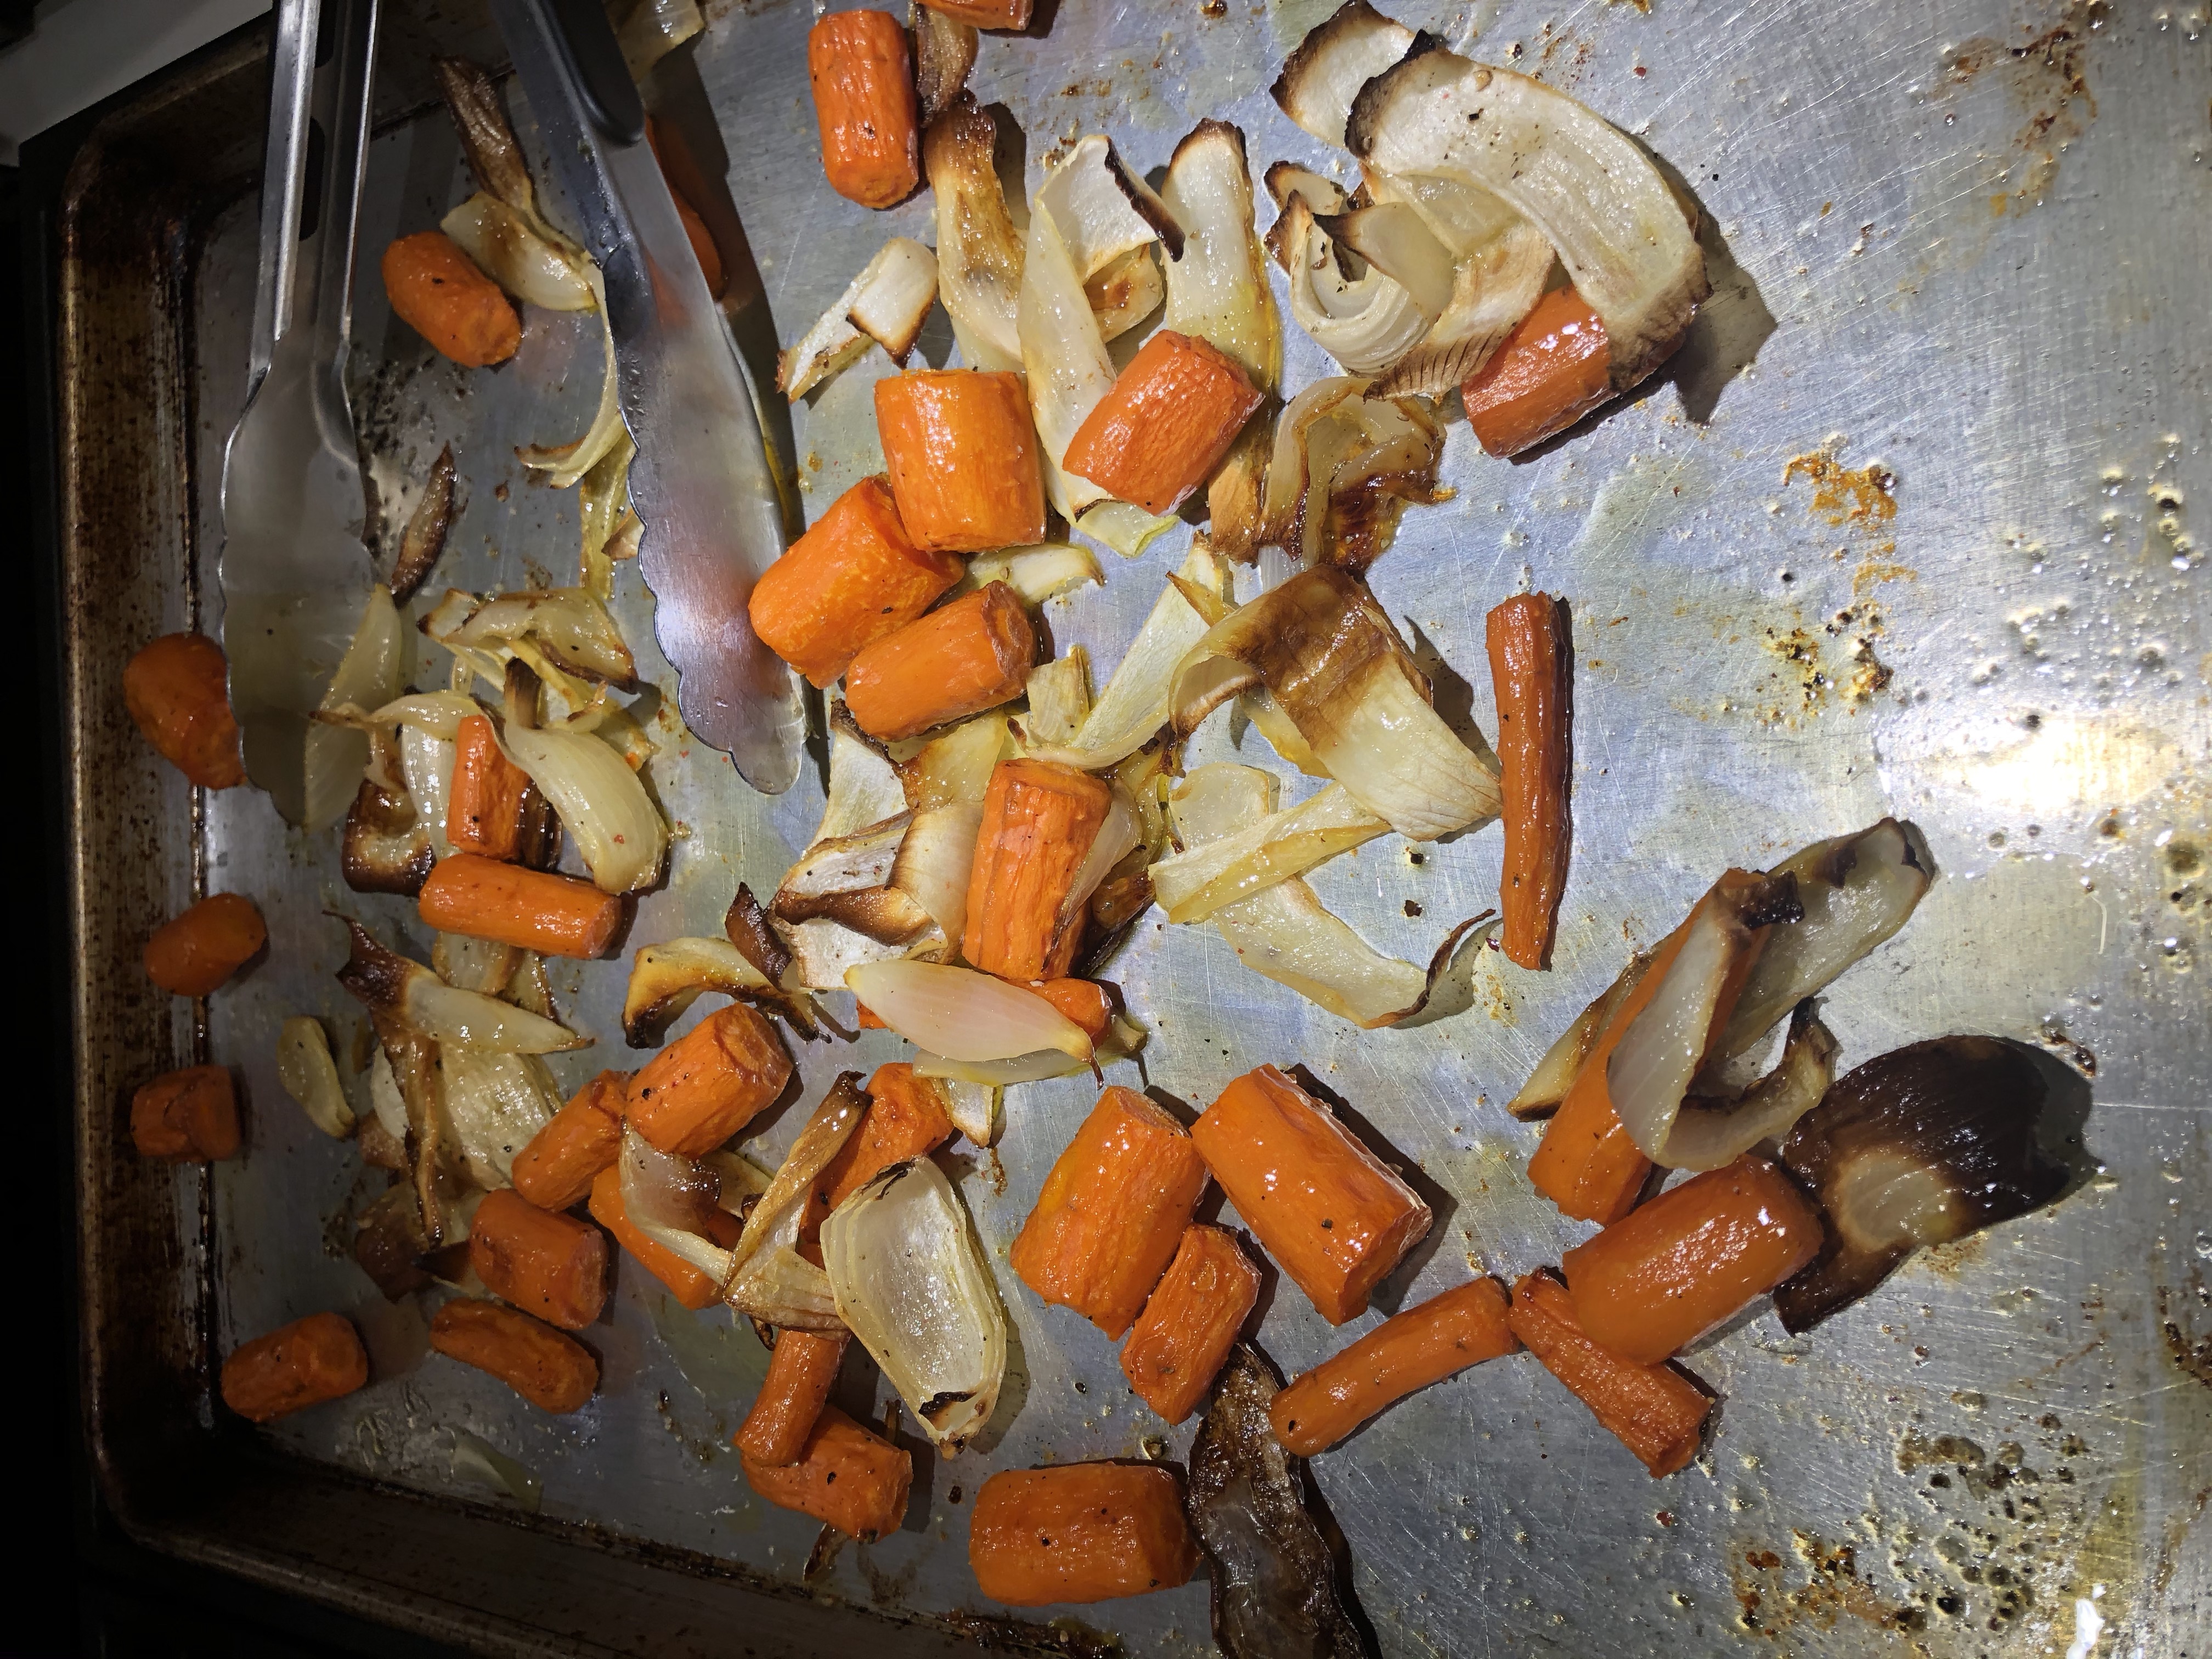
Peel carrots and cut into inch long pieces. Peel and quarter onion and break up the layers. Arrange the carrots and onion on a sheet tray, drizzle with olive oil, salt, and pepper, and roast until golden ~ approximately 30 minutes.
Boil the pasta, drain, return to the pot and drizzle with olive oil to prevent them from sticking.
When the carrots are roasted, puree in a food processor with a little water until they are smooth.
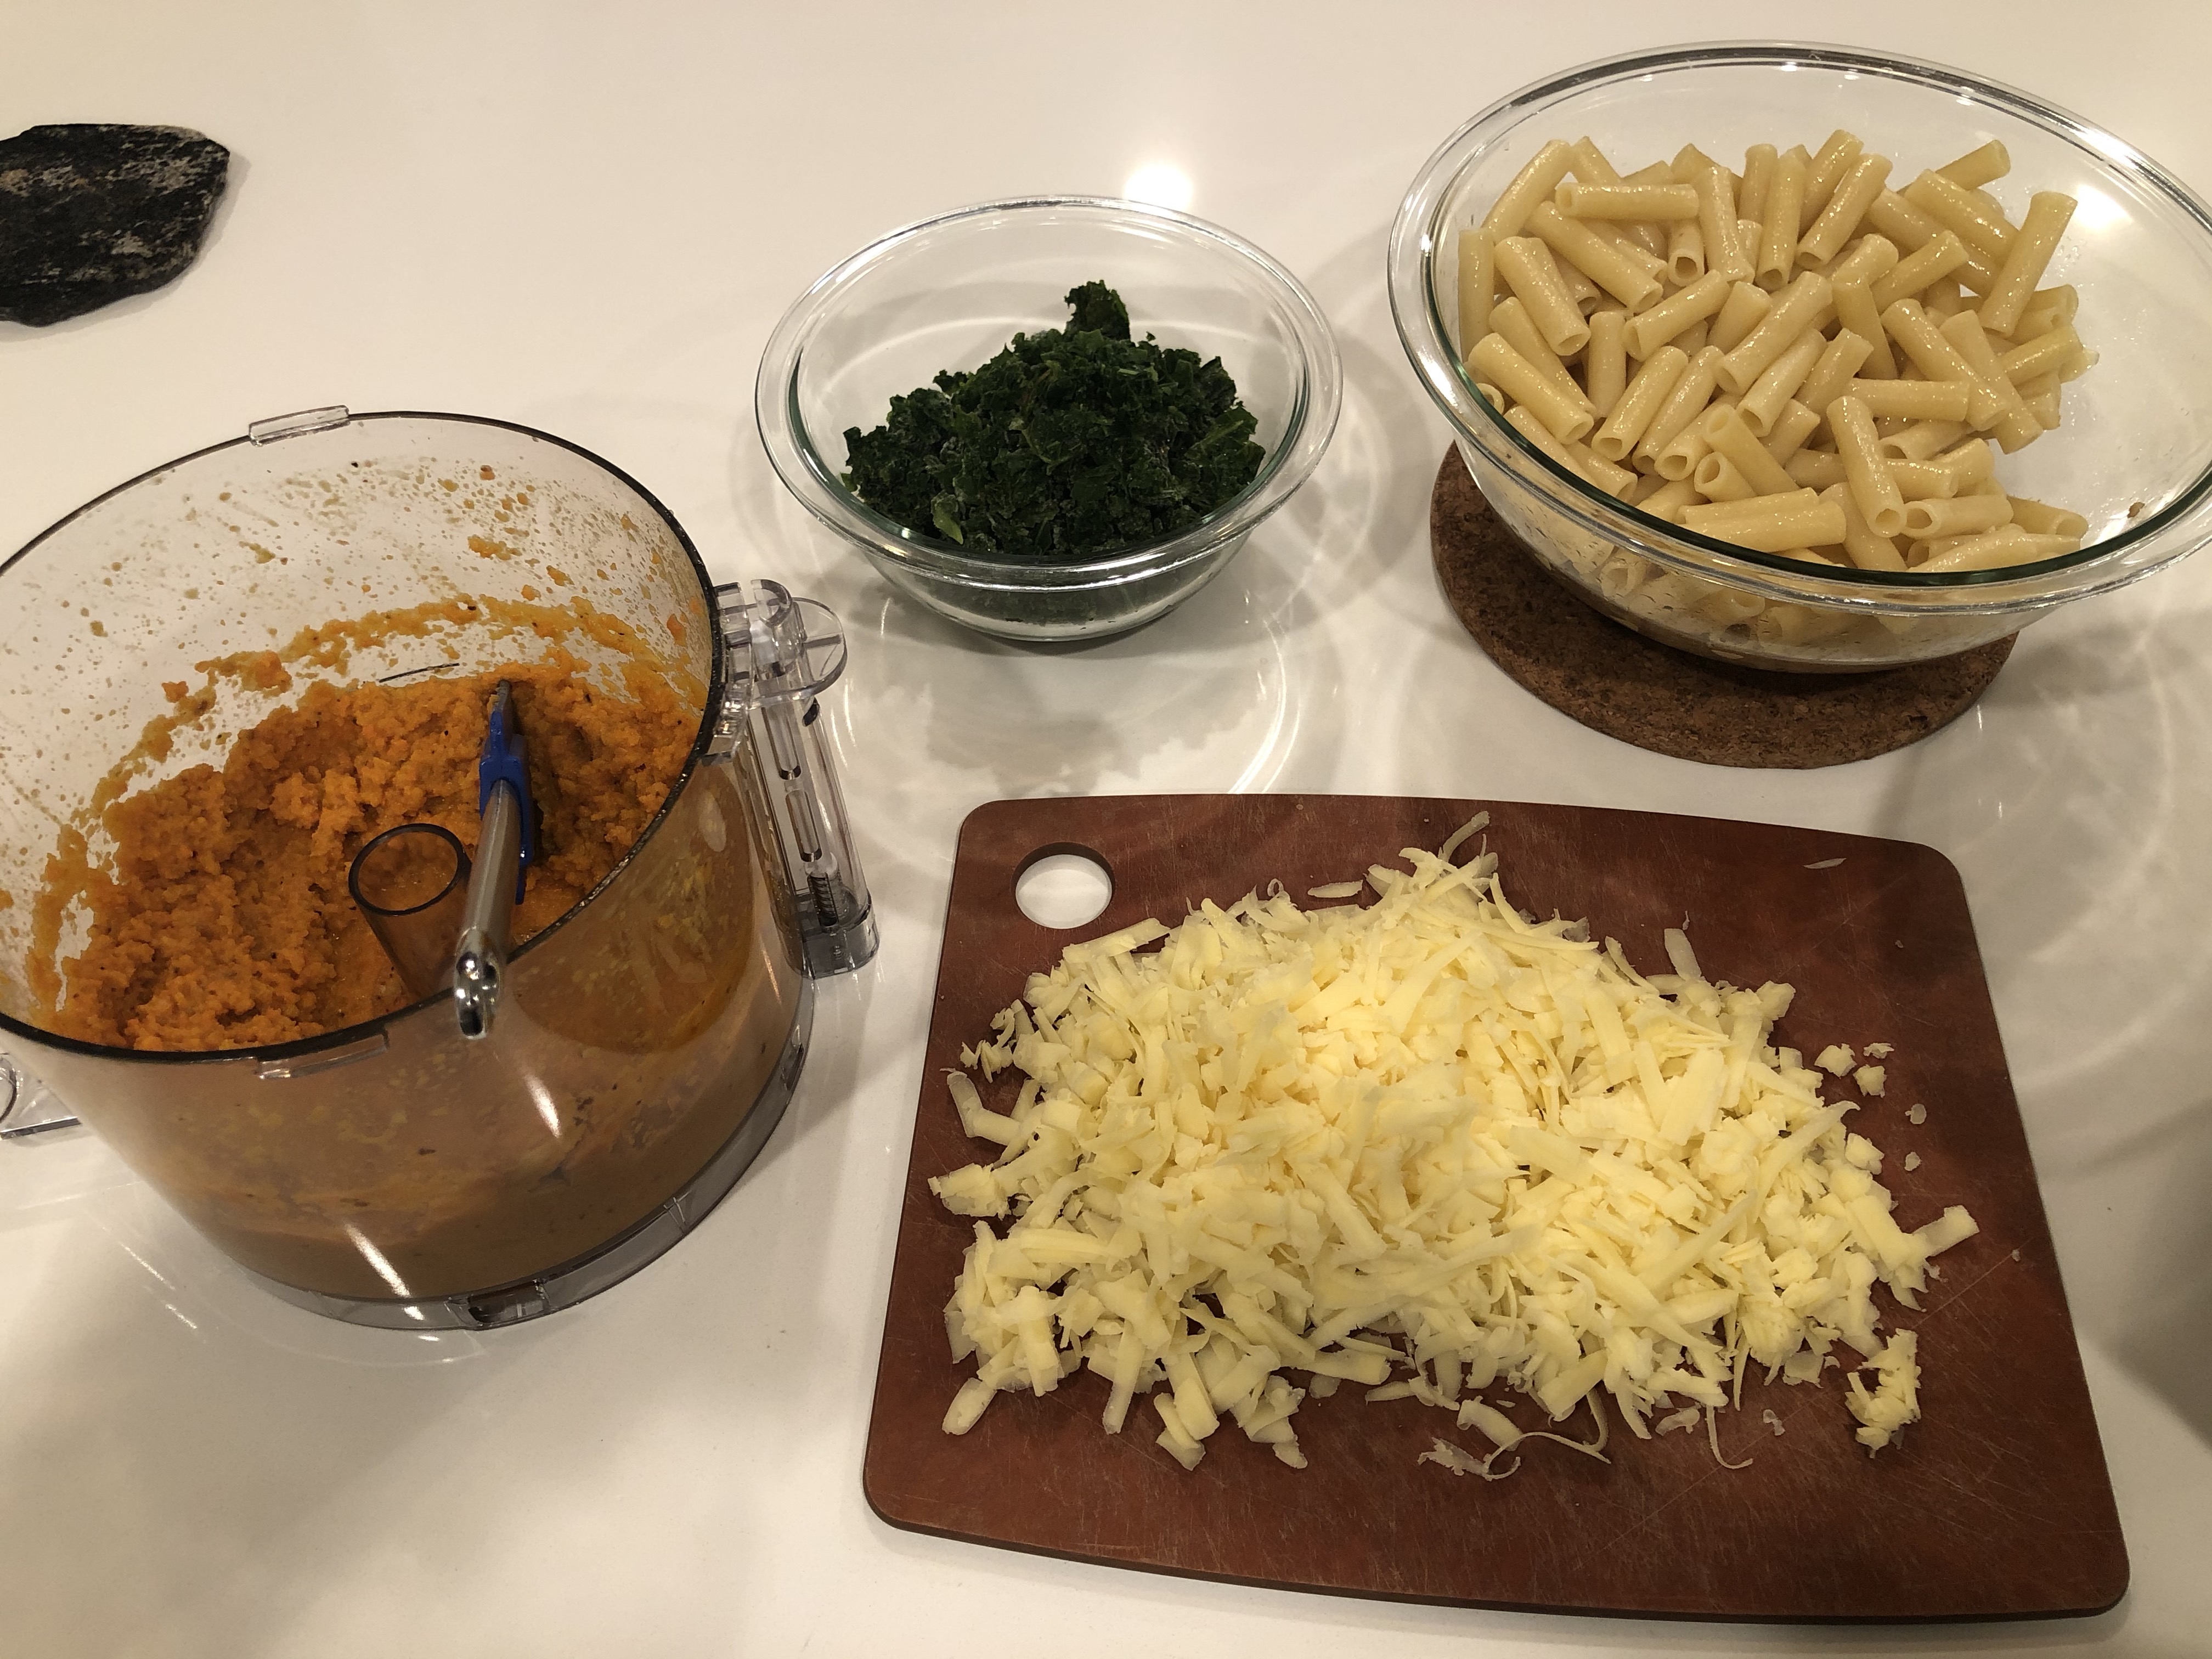
Assemble all of the ingredients in a baking dish, reserving a little cheese for later, and bake at 350 for 30 minutes. Add the remaining cheese and bake for another 5 minutes.
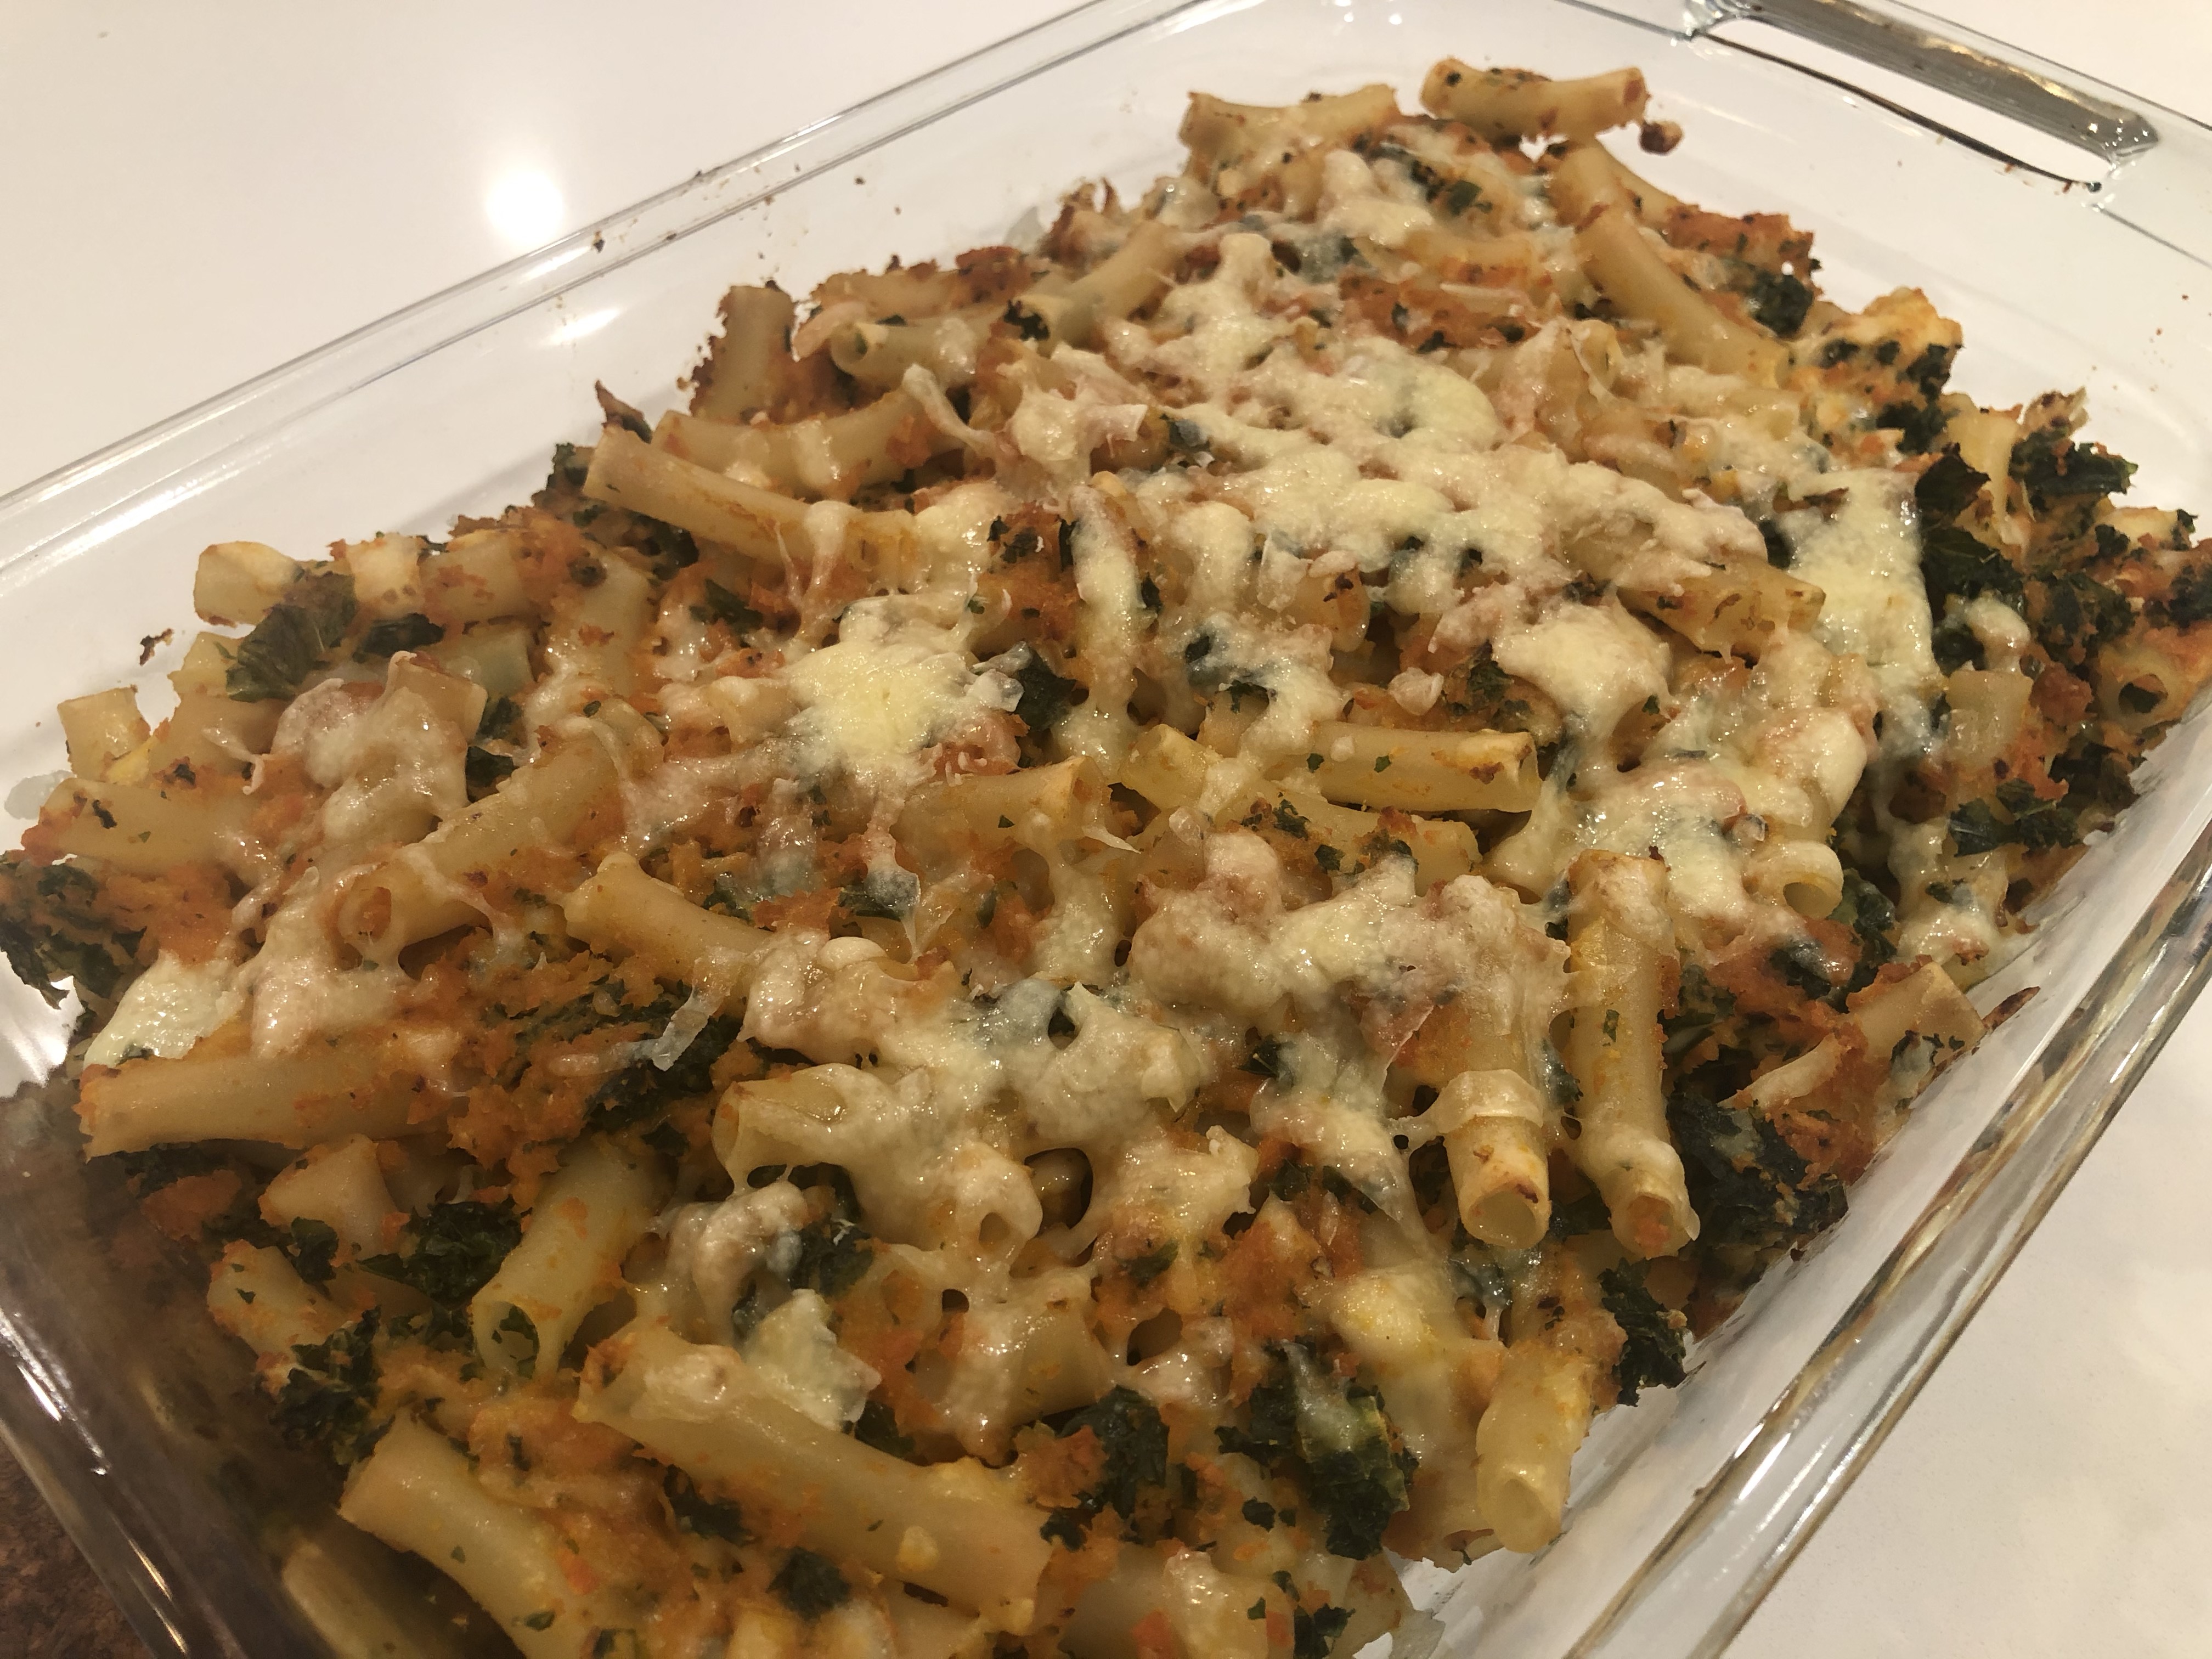
Serve and enjoy!
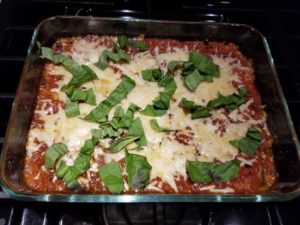
How to Make Eggplant Rollatini
- At March 31, 2020
- By Sean Smith
- In Eggplant, favorites, Grilled, Recipes, Spinach
 0
0
I grew up in Massachusetts and there a few random things I miss about New England. Red Sox baseball, pizza, and eggplant parmesan. I still get to watch the Sox occasionally, so that’s fine. The two food items though are a bit underwhelming, in my opinion, to eat out here in the West. While there are a couple of amazing pizzerias in the high country, most fall flat. Yes there are styles of pizza that rival a classic East coast by the slice such as: Frank Pepe’s Original New Haven Style Pizza, Chicago deep dish and thin crust, Detroit-style, I won’t get into that here today. Eggplant Parm is something I basically lived on in high school, along with the aforementioned pie. Usually in the form of a nice and warm sub although depending on where you come from it could be a “grinder” a “hero” or a “hoagie.” As much as I love the dish, I seldom make it at home for two reasons; it’s super labor intensive and super messy to make. By the time you’ve spent half the afternoon cutting, breading and frying the eggplant, the kitchen is a destroyed and half your kitchenware is dirty. That’s before it even bakes!
So my at-home go-to is a distant cousin of eggplant parmesan and perhaps also had Manicotti or stuffed shells in it’s family. Eggplant Rollatini has very similar flavor profiles and takes half the time to make. Also clean up is way easier than trying to scrub all the spilled breading ingredients off the kitchen counter for an eternity.
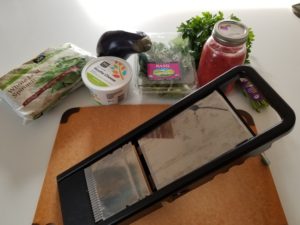
So lets get down to it. Now I highly recommend using a mandoline for this project, it cuts down on the amount of time slicing the eggplant. There are two kinds, a French variation and what is more commonly used in the food service industry, the Japanese style. I picture the former because that’s what most people have and is more readily available in kitchen stores. If you don’t have one you can still make this dish but I implore you to use a sharp (!!) knife and try to make all your cuts as uniform as possible. This will help them evenly cook in the baking process.
Ingredients-
1 Large Globe Eggplant
1 C Frozen Spinach, thawed to room temp
1/4 C Chopped Parsley
1/4 C Fresh Basil
8 oz Ricotta Cheese
1/2 C Shredded Italian Blend Cheese (or Mozzarella or Grated Parmesan)
Jar of Pasta Sauce
1 Lemon
1 Egg
Salt and Pepper
These portion sizes listed are to make a dish that serves 2ish people since that’s generally what I’m cooking for at home. I made my own red sauce from a batch of local tomatoes that I canned last summer but a nice quality store bought one would work just as well and saves some time. Feel free to add some ground meat to the sauce to turn this from a veggie dish into a meat lovers delight.
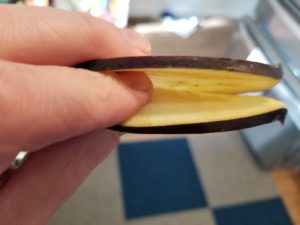
The first step is slicing the eggplant. You want to have the eggplant thin enough so that it will roll with out breaking but thick enough so that it doesn’t fall apart in the baking process. If you have a cooling rack, place it over a sheet tray, if not use a large plate. Heavily salt the eggplant and let sit for 10 minutes, rinse and pat dry.
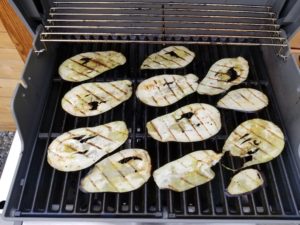
Meanwhile fire up your grill to medium heat and if you’re lacking a grill turn your broiler on to low setting. Season the eggplant with olive oil, just a sprinkle of salt and pepper. Whether you’re grilling or broiling, you are not shooting for a fully cooked slice. More of a par cook, just enough to make the eggplant pliable to roll up. Once done remove from grill/oven and set aside.
Next up is the assembly of the filling, which is wicked easy. Combine ricotta, spinach and parsley in a small bowl and fold together. Season with salt and a few squeezes of lemon. You don’t want the lemon to be overpowering but brighten up the mixture. Take the egg, beat it and fold into filling.
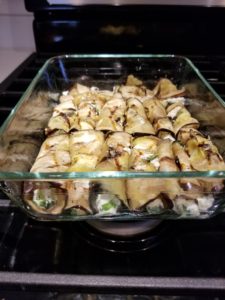
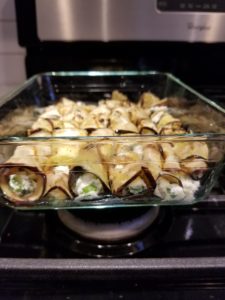
The home stretch is assembling the baked dish. Preheat the oven to 350. Grease a baking dish, I used extra virgin olive oil but butter or cooking spray would work too. Lay out the eggplant slices, spread some of the filling near the top (the side furthest away from you) and roll each slice towards you. Place in greased pan, right next to the previous roll. If you end up with extra rolls try and cram them in, this recipe is very forgiving and it won’t affect the end product. Pour your sauce over the rolls. The eggplant should be covered but not drowning as it will still release some liquid while baking. Bake at 350 for 20 minutes, sprinkle with cheese and bake for another 20/30 minutes or until eggplant can be easily pieced with a knife. Remove from oven and let sit for 10 minutes. Garnish with basil, either roughly chopped, torn by hand or if you’re trying to impress someone, finely julienned. Enjoy!!
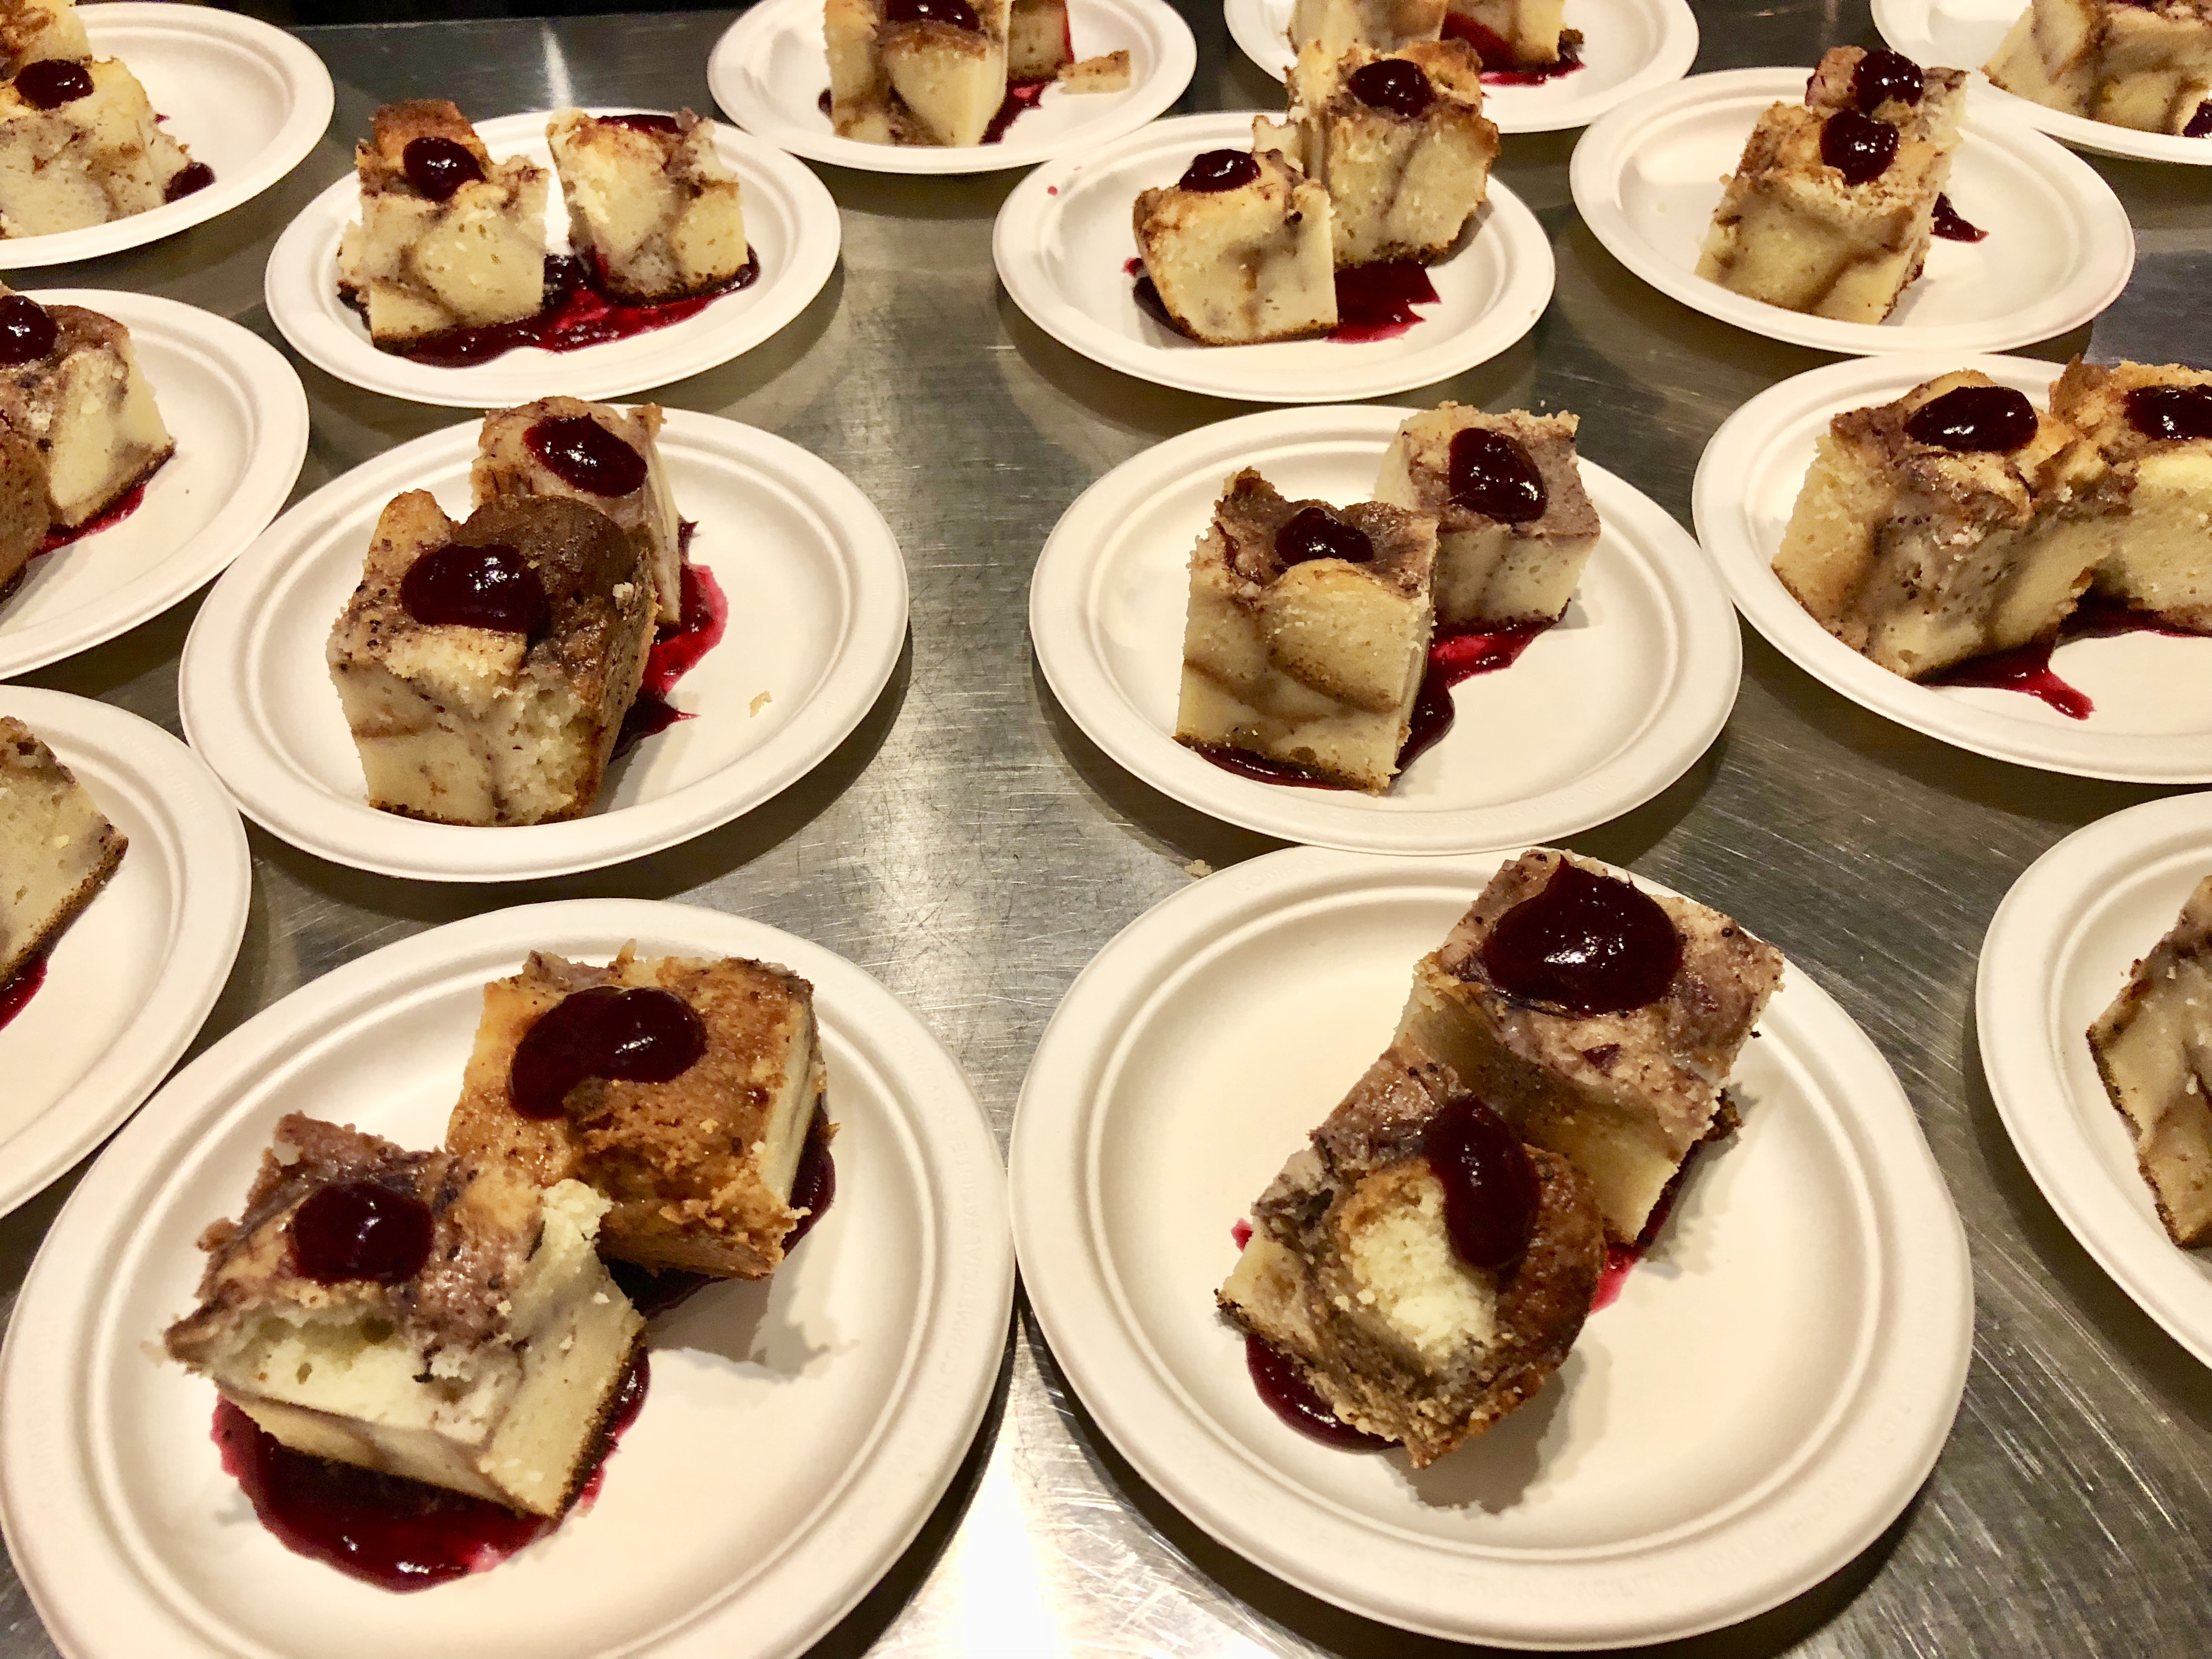
Cranberry Poundcake Bread Pudding
- At November 18, 2017
- By megan
- In cake, cranberries, dessert, favorites, Recipes, Sean Smith, strawberries, thanksgiving
- 0
One of my favorite desserts that Sean makes is pound cake. It’s a simple cake that tastes just like childhood to me as I ate Entenmann’s pound cake by the pound whenever my parents bought it. This twist on bread pudding using home made pound cake as the “bread,” though really labor intensive, is a winner. Especially for holiday parties.

There are three main steps:
1- make a pound cake
2- make a cranberry compote
3- make the poundcake bread pudding
I’ll walk you through these three steps.
Pound Cake
Ingredients-
- 1 cup unsalted butter
- 1 cup sugar
- 2 tsp vanilla extract
- 2 cups all purpose flour
- 4 large eggs
- 1/2 tsp salt
Directions-
Preheat oven to 350 degrees. Butter and flour a six cup loaf pan.
In a KitchenAid stand mixer, cream the butter and sugar together on a high speed. Add eggs one at a time, vanilla, and salt and mix until well combined. Turn the mixer to low and slowly add the flour until it’s all combined.
Pour the batter into the loaf pan and bake for an hour or so until a toothpick inserted in the center comes out clean. Let it cool in the pan for 15 minutes before removing it from the pan to cool on a wire rack.
Cranberry Compote
The next step is to make a cranberry compote. Sean added a couple bags of frozen cranberries to a pan on medium heat like you’d start to make a cranberry sauce. He then added a little water, approximately 1/2 cup of sugar, a handful of frozen strawberries, a handful of frozen blueberries, and some frozen raspberries. This will turn into a sauce if you let it simmer for 30-40 minutes. He added some orange zest at the end.
This part of the recipe can be adjusted to your likes. The addition of sweeter berries allows for a little less sugar and still makes the cranberry sauce really sweet.

The final step is to assemble the bread pudding.
Cut the poundcake up into cubes and let it sit out at room temperature over night to get a little dry.
Cranberry Poundcake Bread Pudding
Ingredients:
- 1 loaf poundcake cut into cubes
- 2 TB melted butter
- 4 eggs
- 2 cups milk
- 1/2 cup sugar
- 1 tsp ground cinnamon
- tsp vanilla extract
- 1.5 cups cranberry compote
Preheat oven to 350.
Put the pound cake cubes in a square pyrex baking dish and drizzle melted butter over the top.
In your KitchenAid stand mixer, combine the eggs, milk, sugar, cinnamon, vanilla, and cranberry compote and mix until well combined. Pour over the pound cake and lightly push down on it with a fork to be sure the bread is covered and soaking it all up. Let this sit on the counter for 45 minutes or so to be sure it has soaked up the mixture before baking for 45 minutes and has cooked through.
Chef Sean served food to Opera on Tap Colorado at Upslope Brewing Company, and he served this dessert paired with their Christmas Ale. Smear a little extra compote on the plate and a dollop on top and shove a fork in it!
Enjoy!
How To Make Garlicky Dill Pickles
For some reason people think making pickles is difficult. But, making pickles isn’t hard, especially once you get the hang of it. My twin sister thinks I’m some sort genius at this kind of culinary art and should write a book about said practice. Once you understand the nuances in flavor that help create the brine, it really isn’t rocket science. Hell, if I can do it, pretty much anyone with half a brain can. There is some trial and error, so if you’re just starting out be prepared to throw some food away. Even I still stumble. I recently cracked a jar of pickled rhubarb from last year, since rhubarb is now in season, and was planning on replacing last year’s canned bounty with this year’s offering. The first bite was immediately spit into the kitchen sink. Who the F made this garbage!?! Oh right, yours truly. Not that the flavor was off or had spoiled (thankfully) but the acid in the brine had turned the rhubarb to complete mush over time. Lesson learned. So you’re going to win some and you’re going to loose some but over time you’ll be knocking it out of the park like you’re a freaking starter for the best baseball team in the league (aka The RED SOX, duh!).
But before we get into the actual recipe and it’s steps, let’s give a quick synopsis of what it means to be a “pickle.” Most Americans seem to think a pickle is just a fancy, spiced-up cucumber, looking down it’s nose at it’s boring cousin. Sure that’s true, but what is being pickled doesn’t have to be a cucumber. As I stated earlier, I’ve pickled rhubarb. I also have a jar of pickled cherries I’m waiting to open and recently posted a pickled garlic scape recipe. I haven’t done it yet, but you can even pickle eggs. The closest I’ve ever come to that is a pickled egg juice-back after a whiskey shot, and don’t even get me started on what a sh*t show of a night out in NYC that was! So, as Portlandia famously stated and is oft quoted around our house, “You can pickle that!”
That said, there are different forms of pickling and certain kinds work better for whatever is being preserved. The easiest method, which I’ll be showcasing, is “quick pickles” aka “refrigerator pickles.” Moving on from there, “freezer pickles” are usually fruit based since the sugar content helps seal in flavor. Indian cuisine also has many pickles but we Americans living in a very sheltered food world, call all them “chutneys.” Asian food also has many types of pickles. I mean, Korea practically runs on Kim Chi.
Which leads me to the most complex way to pickle something, “fermentation.” I won’t get into the complicated process here and will save it for another time but yes, you probably have at some point eaten a fermented cucumber labeled as a “pickle.” Ever had a “full sour” or “half sour” pickle? Yeah those tasty little things sat out at room temperature long enough for cultures to form and give tartness to the cucumber. Hot Doug’s (RIP) in Chicago had a killer version of the full sour and in my experiments, that meant the batch sat out for about two weeks. I dare you to leave something on the counter for that long, consume it and be whisked off to tastebud Nirvana. (No, PLEASE don’t do that!) More likely than not you’ll be spewing your guts out. But hey “A” for effort! I digress. Let’s get this pickle party pumping…
GARLICKY DILL PICKLES
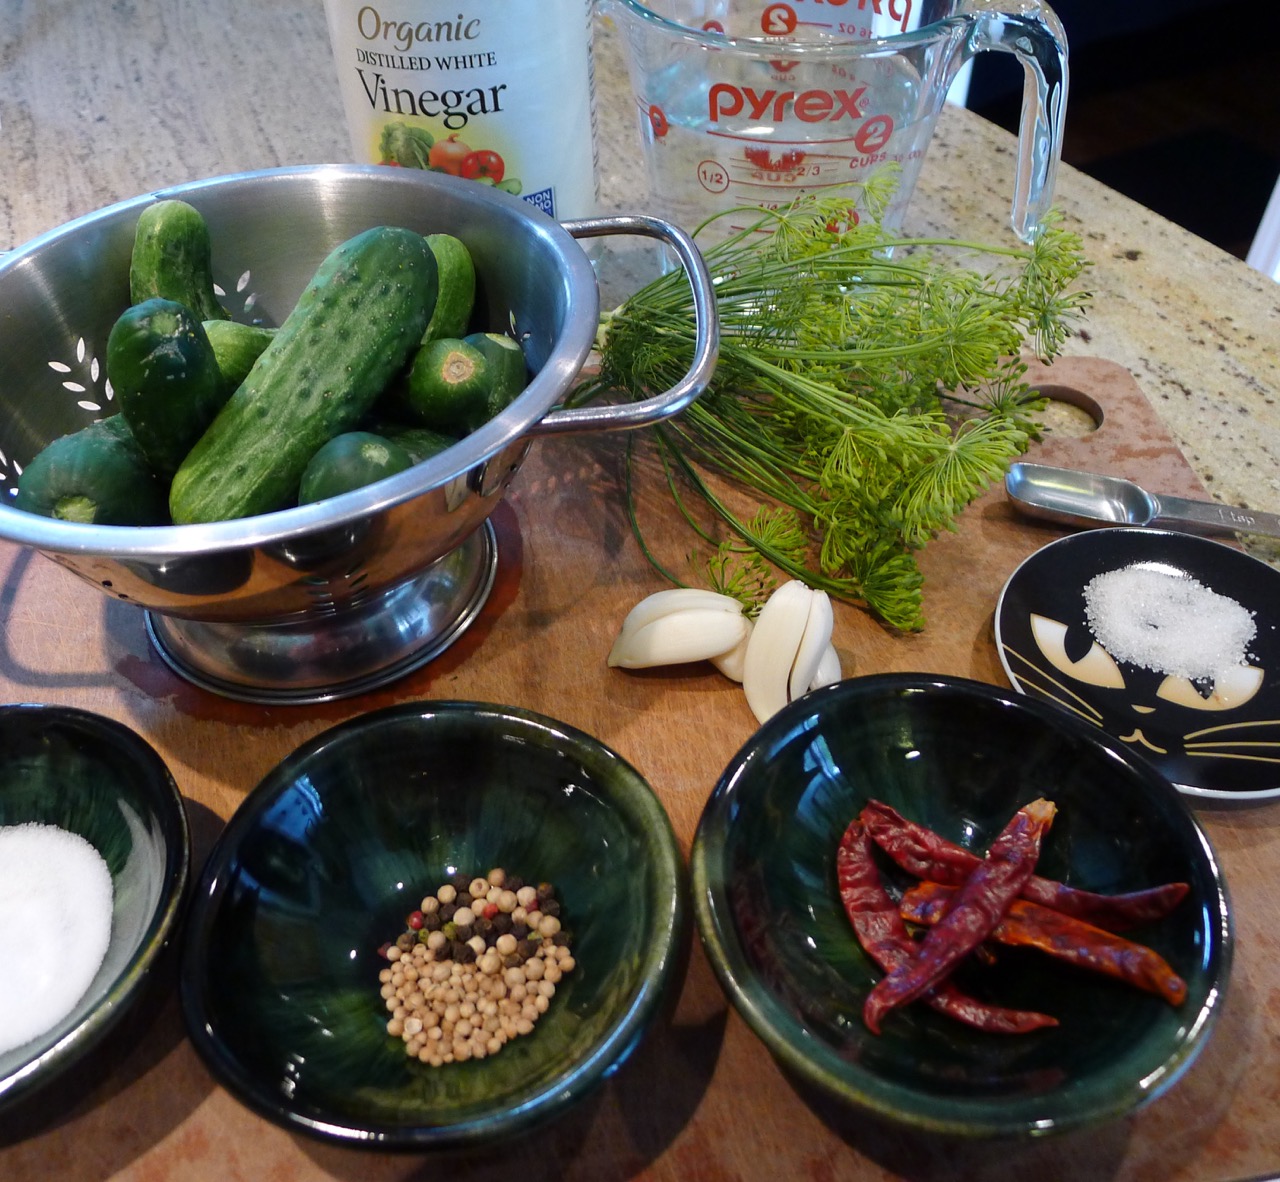
1# Pickling Cucumbers
5 Sprigs Fresh Dill
3 Garlic Cloves
4 Chiles De Arbol
1/2 t Whole Peppercorns
1/2 t Whole Coriander Seeds
1 1/2 t Salt
1 t Sugar
1 C Water
1 1/2 C Distilled Vinegar
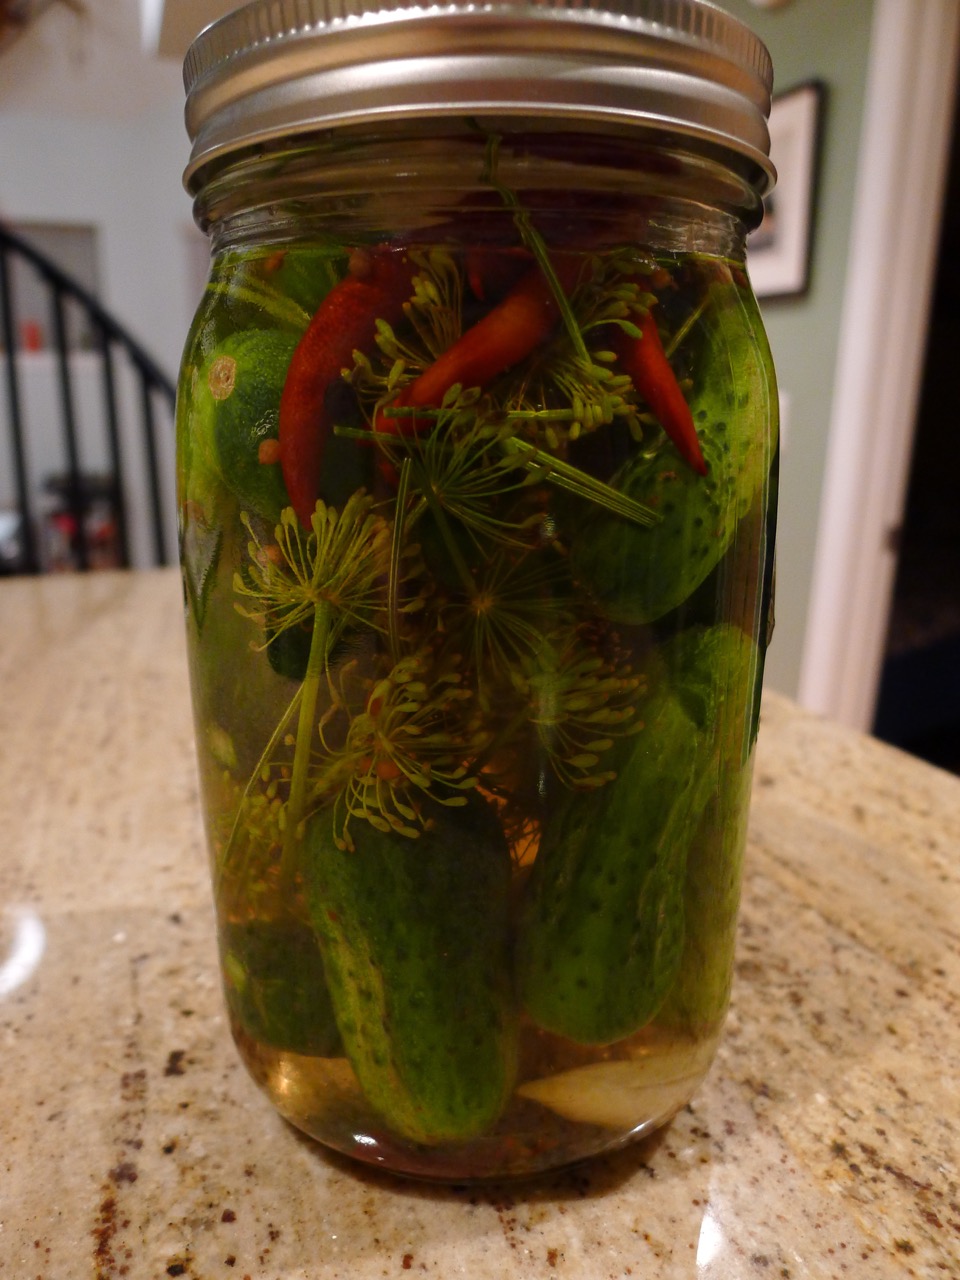
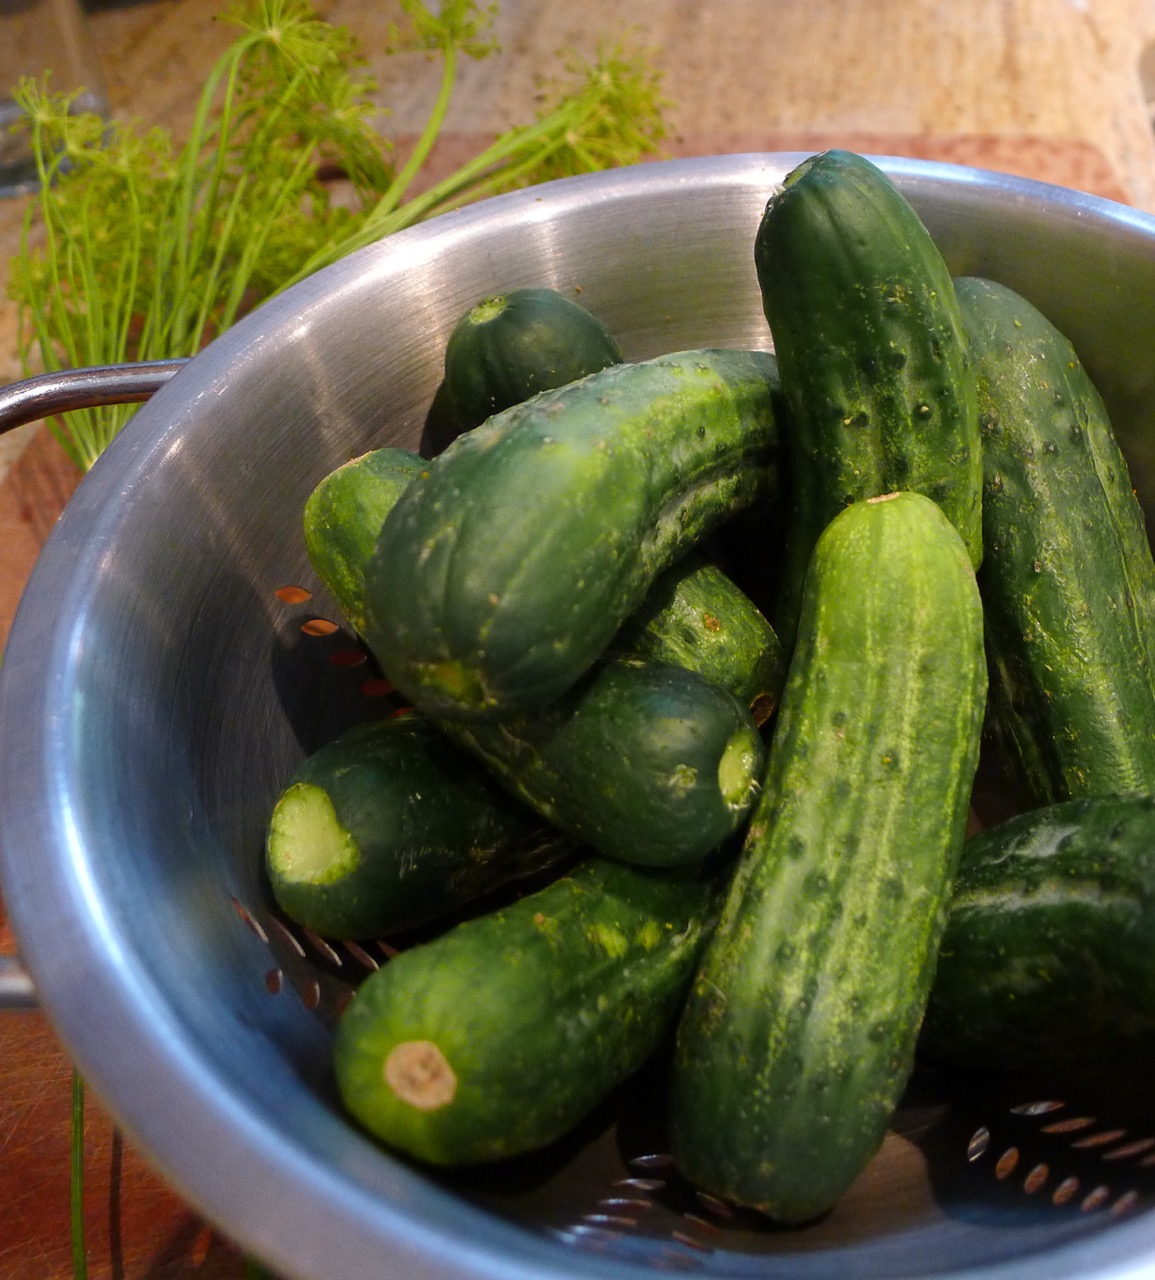
Pickling cucumbers come in all shapes and sizes. Some farmers will actually sell their ugly looking regular cucumbers as pickling ones. They work but have a higher water content and less sturdy flesh so they’re not ideal for this process. What you’re looking for are the stubby, bumpy, is-that-safe-to-put-in-my-mouth kind of cucumber. You may have to trim your cucumber down into spears (or into rounds if you prefer) but I selected little whole ones. I love shoving whole pickles in my mouth, take that as you will. So give your cukes a rinse before cutting it if doing so, as well as the dill. Let them dry and place them in a quart jar, alternating between pickles and dill. Why do you think we do that? To help spread the flavor of dill around.
Next up you’re going to take your garlic cloves and gently crush them. You can smash them if you had a bad day at the office but I’d recommend taking the flat edge of a chefs knife, blade away from you (come on, safety first!) on top of a clove and apply pressure until you feel the clove crack. Feel free to increase the amount of garlic if you really dig on that sort of thing, and the same goes for the chile de arbol if you like pickles with a little more heat. Take all of the ingredients and put them in a pot, give it a quick stir, and crank it up to high on the stove. Heat the mixture until the salt and sugar has dissolved. If you’re unsure if they have, just bring it to a boil.
Now this is important <read- don’t screw it up>
Remove the mixture from heat and allow it to COOL to room temperature. Despite all of their tough looking exterior, cucumbers are delicate. If you pour hot liquid over them, they just go soft. Also, before pouring the brine over the stuff in the jar, give it one last stir to mix up all the aromatics. Pour the brine to cover the cucumbers and turn the jar over a couple of times to mix up everything. Don’t shake it. Remember what I said about delicate! Place it in the fridge and let it sit for at least 48 hours. If you have ants in your pants, 24 hours will work, but you are missing out on some serious flavor country. The longer they sit the better they get and could even last over a year. But if those delicious little cukes are still there that long, you should probably just stick to eating fast food.
Last but not least, there are a million and one pickling books out there (another reason I won’t be writing one anytime soon, sorry sis) but I really love “The Joy of Pickling” by Linda Ziedrich. It has very user friendly recipes which taste great. The book features easy pickling recipes as well as more complex ways of preserving food. But wait there’s more! (I swear I’m not getting paid for this.) The Joy of Pickling has a global perspective and features recipes from around the world, as well as short pieces on each area’s use of pickles and their ingredients.
As always feel free to contact me for questions or recipes, I do have larger industrial-sized pickling recipes if you want to go crazy!
Cheers,
Chef Sean
Let’s get Social