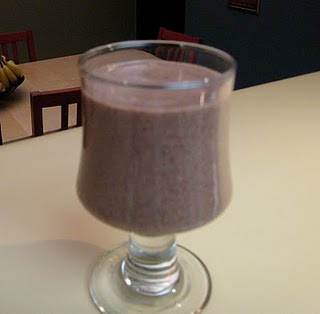
Smooth Chocolate Dream
After cooking for a couple hours after working all day, I didn’t feel like baking brownies or making a proper dessert. Vita-Mix to the rescue!
I put in one ripe banana, 1 cup vanilla rice milk, 1 oz unsweetened chocolate, broken, and mixed that on speed 10 for a minute. Then, added a splash of heavy whipping cream, on to speed 10 again, and there you have it- a Smooth Chocolate Dream dessert in 2 minutes.
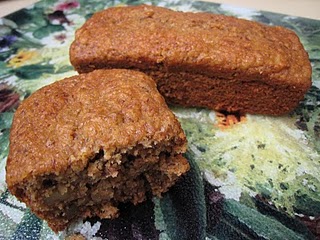
Best Banana Walnut Bread
I am very proud of my banana bread. I worked hard at creating a recipe since I try to personally create each recipe on my blog. The first try at banana bread was a baking failure, but I got it right the second time and this is officially going to be the only banana bread recipe I bake from now on. Give it a try and let me know what you think.
Ingredients:
- 1/2 cup heavy whipping cream
- 1/2 cup honey
- 1 egg
- 2 very ripe mashed bananas
- 1 tsp vanilla extract
- 1 tsp baking soda (a little less if at altitude)
- a pinch of sea salt
- 1/2 cup whole wheat pastry flour
- 1/2 cup whole wheat flour
- 1/2 cup oat bran
- 1 cup chopped walnuts
Preheat oven to 350 (375 if at altitude). Lightly oil a bread pan with butter or walnut oil- I prefer to use mini-loaf pans because it is easy to store one or two loafs in the freezer. They also bake a lot more quickly.
In your KitchenAid stand mixer, turn your cream into butter. How? Pour the cream into the bowl and with the wire whisk (and hopefully your splash guard) turn to speed 10 and whisk a couple minutes until it is fresh butter. Then switch to the paddle blade and start adding the ingredients, one by one in the order listed, mixing a little in between each one.
Pour into your bread pans and bake until a toothpick inserted into the center comes out clean. It took 20-25 minutes for the mini loaves. I would estimate 45 minutes or more for a large loaf. Please let me know if you try this at home just how long a large loaf takes to bake. Enjoy.
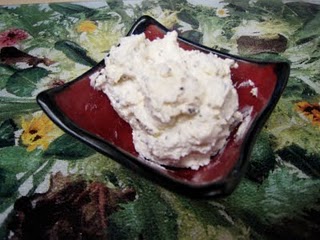
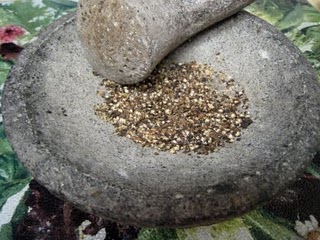
Cracked Pepper Butter
Pumpkin Scones
- At November 15, 2009
- By megan
- In cream, ginger, Maple, pumpkin, scones, taste and create
 0
0
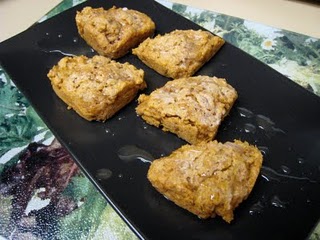
This was my first month participating in Taste and Create, which pairs up fellow food bloggers to prepare someone else’s dish and blog about it. I was paired up with Love Big, Bake Often, and chose to re-create some pumpkin scones since it is indeed pumpkin season.
Here’s my adaptation of the recipe:
- 2 cups whole wheat pastry flour
- 1 tsp cinnamon
- 1/4 tsp nutmeg
- 1/4 cup evaporated cane juice
- 1 tsp baking powder (1.5 for everyone not living and baking at altitude)
- 1/8 tsp baking soda (1/4 for lower elevation)
- a pinch of sea salt
- 1/2 TB grated fresh ginger
- 2 TB chopped candied ginger
- 5 TB butter, cold, cubed
- 1/2 cup buttermilk
- 1 TB maple syrup
- 1 tsp vanilla
- 1/2 cup pumpkin (from a real pie pumpkin that has been cut in half, seeded, boiled, and skinned. Trust me, it is worth the extra effort.)
- 1 TB heavy whipping cream
- raw sugar
Preheat oven to 400 and lightly butter a scone tray (if you have one- otherwise, a baking sheet will do just fine).
In a large bowl, combine the flour, cinnamon, nutmeg, sugar, baking powder, baking soda, salt, fresh ginger, and candied ginger. Mix this evenly with a wire whisk or fork. In another bowl, mix the buttermilk, maple syrup, vanilla, and cooked pumpkin.
Cut the cold butter cubes into the flour mixture with two knives or your hands. The idea is you don’t want to melt the butter by squeezing it between your fingers. You want the butter to stay relatively cold, so using two knives keeps the heat of your hands away. Regardless, mix this well until the texture becomes crumbly and there are no large chunks of butter. Then add the wet ingredients, mix together, and knead a few minutes to work the dough.
If you have a scone pan, divide the dough into the individual sections. If not, place on a lightly floured cutting board, slice it into even pieces, and place on your cookie sheet. Brush the tops with cream and sprinkle with raw sugar. Bake until a toothpick inserted in a scone comes out clean.
If you’d like to make them sweeter, I made a sweet, light glaze to drizzle over them from 1/4 cup un-sweetend rice milk (use real milk if you have it), 1/2 cup powdered sugar, and 1 TB maple syrup. These scones didn’t really need a glaze, but the original recipe had one, so I made a dessert-like topping that came in handy when we ate them for a late night snack.

Let’s get Social