Apple Pie Filling & Cabbage Stew
- At November 4, 2018
- By Sean Smith
- In Apples, cabbage, Farm to Table, pie, Recipes, Soup
 0
0
Everyone has their favorite fruit, or at least should. Some people go gaga for watermelon. Others say bananas are the best. Oranges may rank at the top for just about anyone. Me, I really can’t say I have a favorite. I know which ones I don’t care to consume unless they are presented in a interesting way, which would be melons and figs. Something about the mustiness flavor of both throws me off. But a few slices of watermelon with ricotta, cracked pepper and a drizzle of extra virgin olive oil is divine. A fig compote topped on a nicely grilled pork chop is a party in your mouth. Having the diverse palate that I have I swing from the strange, exotic stuff like say horned melon to the more basic items like strawberries. Oh wait that’s not a fruit technically.
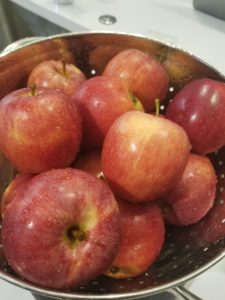
Which leads me to this post. I don’t know if it’s being born and raised in New England or the fact that there are so many culinary ways of using them but apples place at the top of my favorites. I can’t even begin to to list how this humble group can transform an ordinary dish to something stellar. Not to mention if you find yourself at a farmers market they should have heirloom varieties that will fit any which way your mouth desires. Of course, an American tradition, especially this time of year, is Apple Pie. Now the recipe that follows is for canning the filling, saving that fall flavor for later in the winter. If you’re in dire need of a recipe for a pie that needs to go in the oven ASAP, message me and I’ll be happy to give you one. Otherwise, get out there, pick your own from a local farm, stop buy a booth at a farmer’s market, which may be ending this time of year, or head to grocery store to snag some. Just remember, don’t buy “Red Delicious” as they are never delicious and they are definitely not the apple of my eye.
APPLE PIE FILLING
- 5 #’s Apples
- 6 C water
- 1 1/2 C sugar
- 3 sticks Cinnamon
- 1 T freshly ground Nutmeg
- 3 T Corn Starch
- 3 T Citric Acid
- 1 t Salt
- juice of 1/2 Lemon
You’re going to want to start the “brine” before you start peeling the apples. Apples will brown quickly due to oxidation so peeling and slicing them should be the last step. Combine the water, sugar, cinnamon and nutmeg and bring to a boil. Reduce heat and simmer for 15 minutes. This will really help the aromatics infuse into the liquid. Mix the corn starch into just enough water to make it pourable. When the timer goes off, pour the slurry into the pot, whisk and bring back to a boil. Cook for a minute or two whisking to make sure there is no clumps and remove from heat.
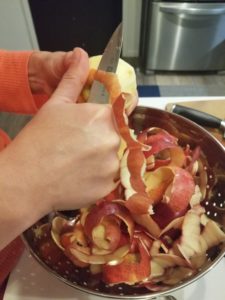
Next up is peeling and cutting the apples. Firstly, combine the citric acid with the salt and lemon juice, if you can’t find citric acid, increase the amount of lemon juice to a whole lemon. If you feel good about using a paring knife to peel the apples, you should as the ribbon of skin will come in handy for the next recipe. If not, a regular peeler will work but save the skins of either! Don’t peel all the apples at once, do it in several batches to avoid them turning brown before being cut. In my experience, most everyone who’s eating apple pie is just happy to be eating apple pie and not looking to see how pretty it is between shoveling it down their throat. Add the apple to the citric and lemon, give them a gentle toss and repeat until apples are gone.
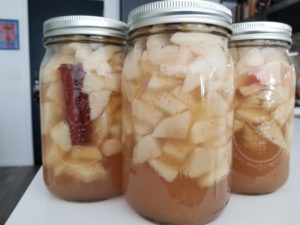
Split the apples between 3 quart jars, packing them in but not mushing the fruit. Any remaining pieces set aside for later. Pour the spiced liquid over the apples, remembering to leave enough head space. If you like, save any leftover liquid to make an alcoholic beverage with later. It would be an excellent mixer for a warmed whiskey drink but would also be fantastic thinned out with some hot water for a relaxing drink on a cold Autumn night.
Follow the general guidelines for canning for your altitude.
Now if you’re still reading this, thank you firstly and secondly, you deserve a bonus recipe. “Cabbage Stew” may not sound that sexy but it’s a really tasty dish. Not to mention it’s hearty, quick to make and freezes well for future use. So let’s get to it!
CABBAGE STEW
- 1 medium Yellow Onion, diced
- 3 Carrots, diced
- 2 stalks Celery, diced
- 4 cloves Garlic, sliced
- 1 medium to large head of Green Cabbage
- 28oz can diced tomatoes
- 3 T dried Oregano
- 2 T dried Parsley
- 2 Bay Leaves
- leftover apple pieces and skins
- 3 T olive oil
- water
- salt to taste
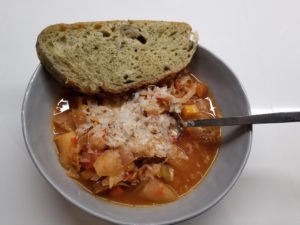
If you’re using leftover apple pieces, give a quick rinse to get off the citric acid & lemon juice. Over medium high heat in a large pot warm the olive oil in a large pot. Add the onion, carrot, celery and garlic and stir frequently for a few minutes. Add in a about a cup of water and bring mixture down to a simmer. Now I should say that if you’d like to use stock instead of water, feel free to but I would stay away from anything except vegetable stock as the flavors of others may not work with this stew. While your mirepoix is softening, cut your cabbage into quarters, removing only the thickest part of the stem. Using the slicer blade on the food processor, add each quarter. If your cabbage is especially large, there may need to be some more downsizing done to fit in the chute. In between each segment, shred a handful of apple peels and mix with the cabbage. Once this part is done add in the cabbage/apple mixture, apple pieces, tomatoes and herbs to the pot. Follow that with enough water (or stock) to cover the stew. You don’t want too much liquid as the cabbage is going to kick out some juice as it cooks and you can always add in more during the cooking process. Turn heat up and depending on how much time you have, or really how hungry you are, simmer or low boil until the cabbage is al dente. Serve with a nice piece of crusty bread and maybe a little bit of grated parmesan on top.
Kimuchi
- At June 16, 2010
- By megan
- In cabbage, CSA Challenge, kimuchi, pickled things, Savory Spice Shop
- 0
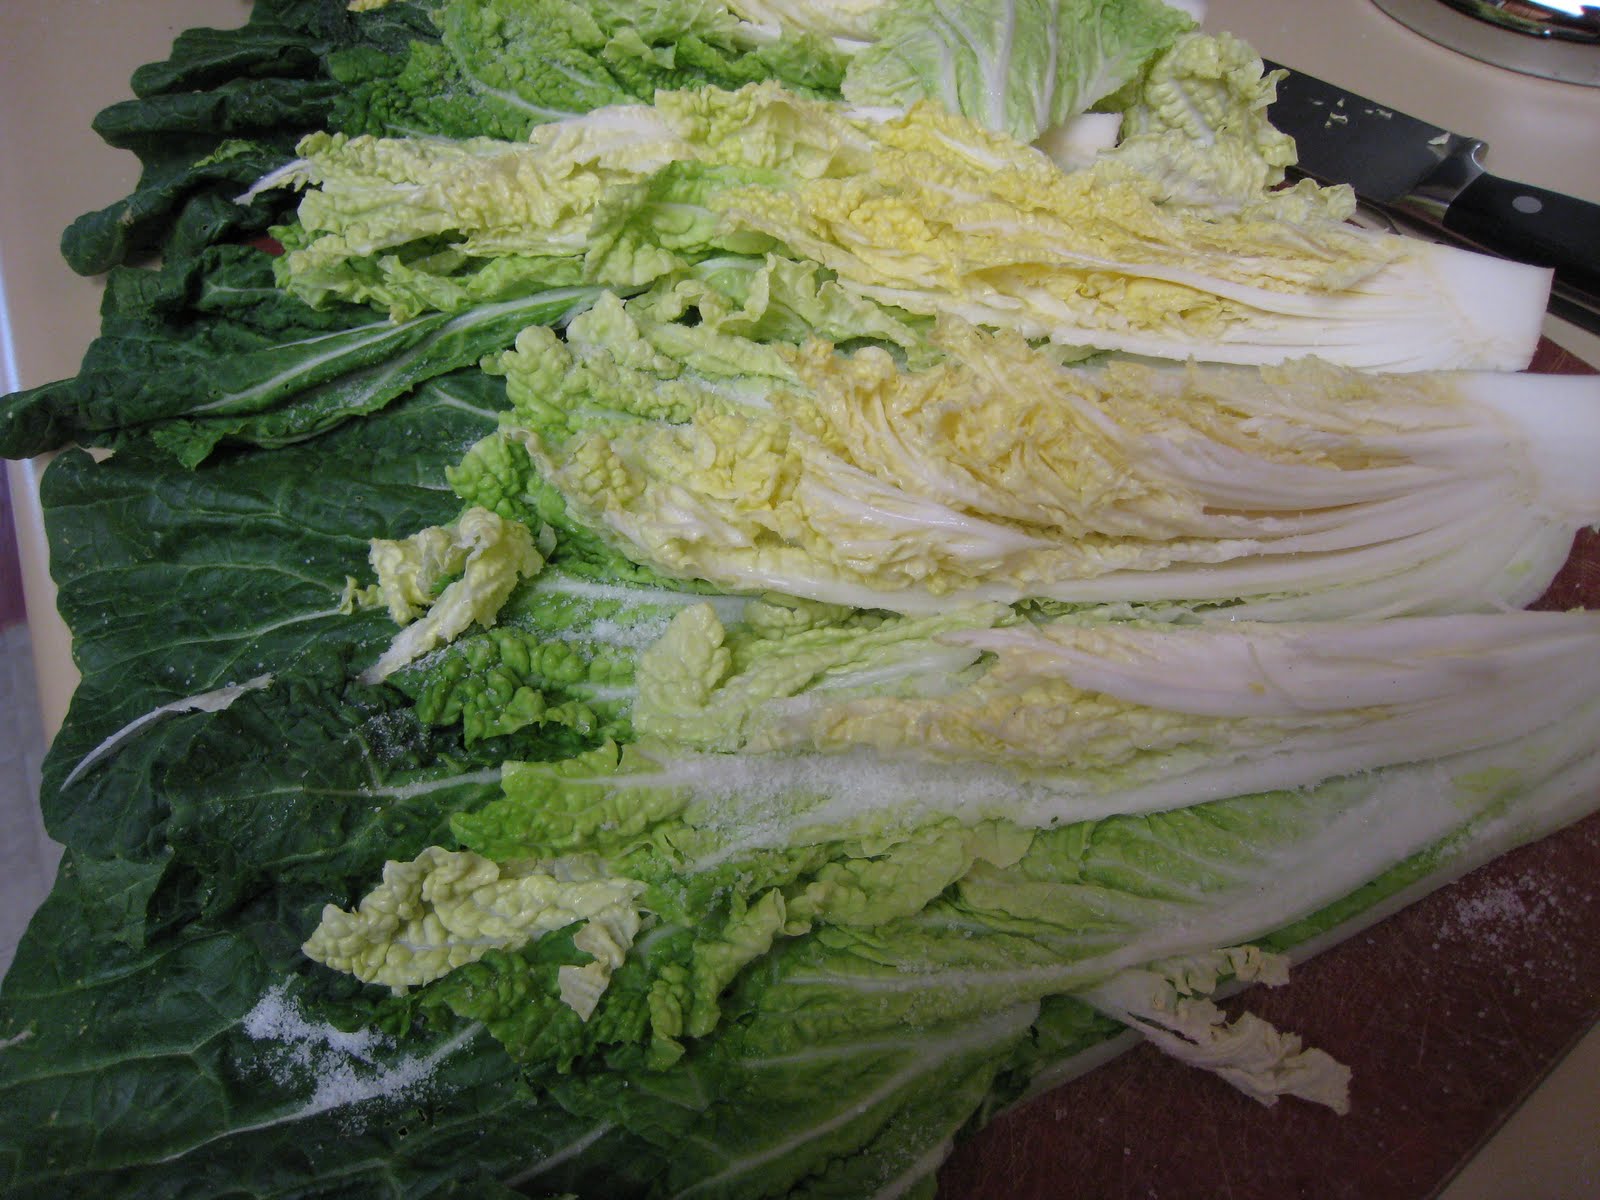
- 1 head napa cabbage, cored
- 3.5 TB pickling salt
- 1 medium sized carrot, thinly sliced and slivered
- 1 apple, coarsely grated
- 3 scallions chopped into thin rounds
- 1 clove garlic, minced
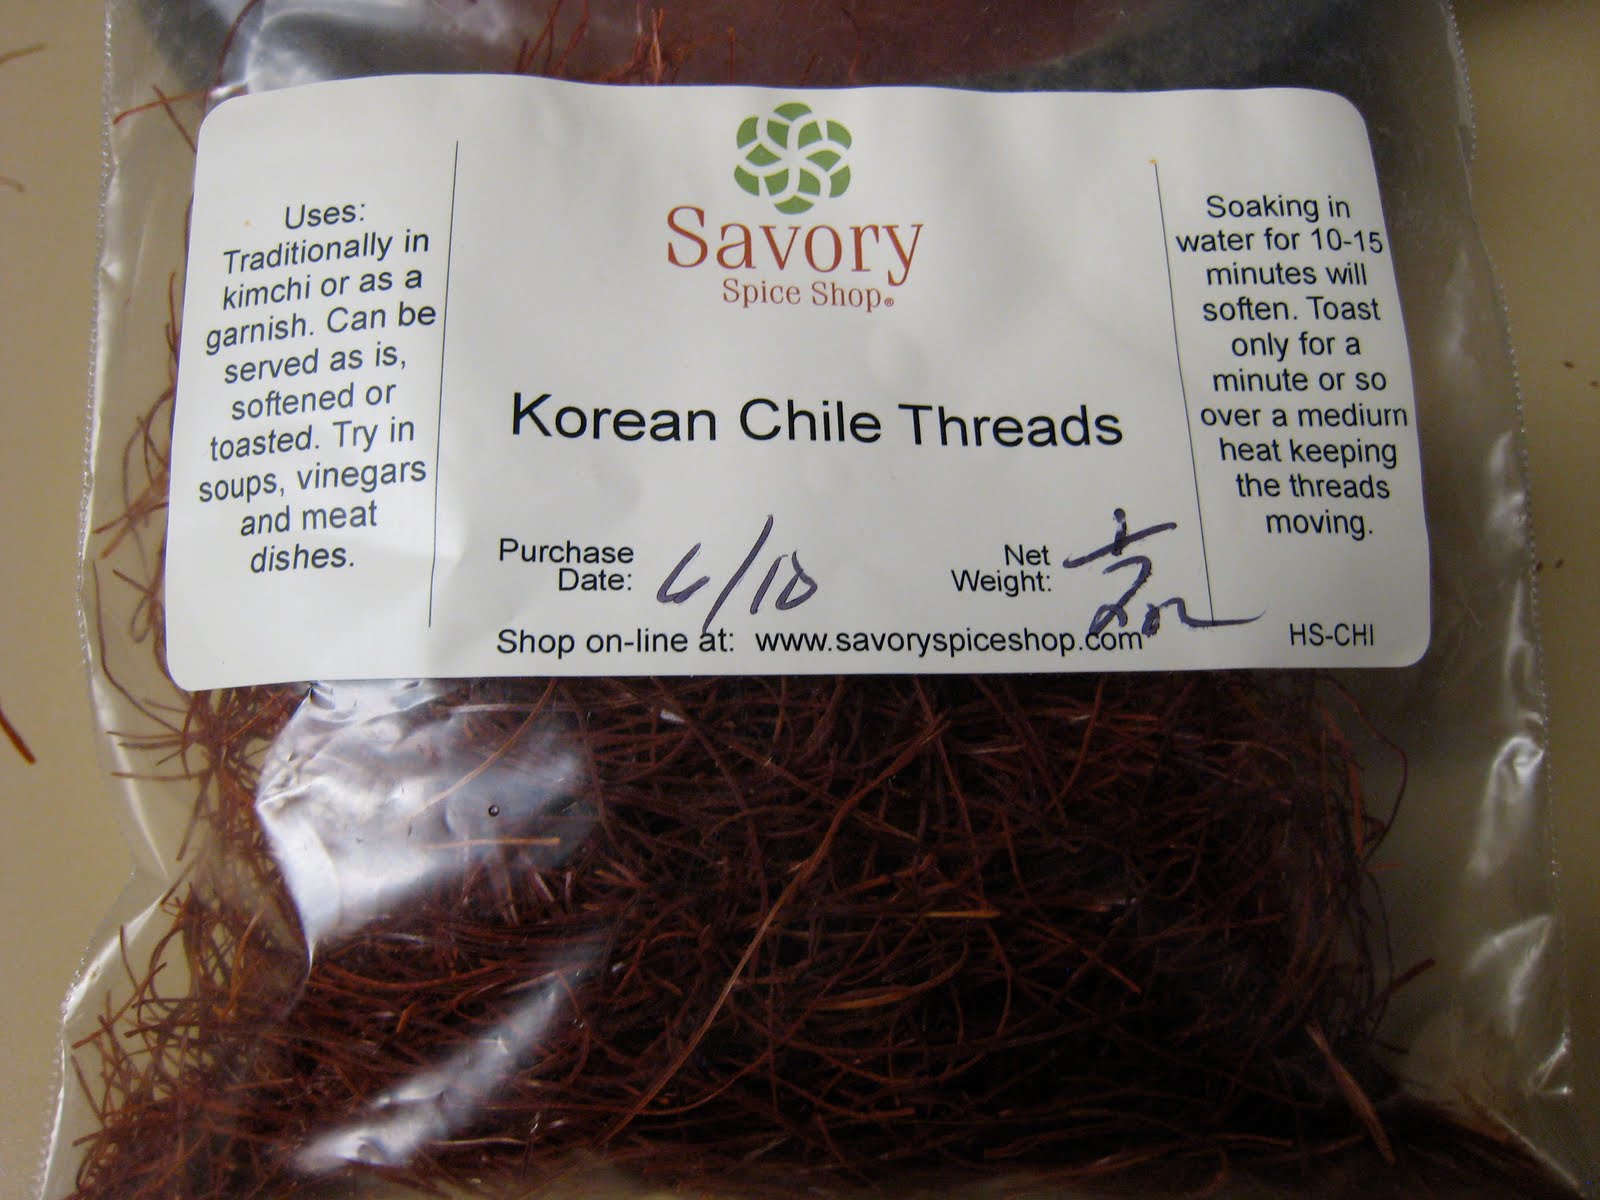
- 1 TB Korean ground dried hot pepper (thanks again to Savory Spice Shop)
- 1 cup water
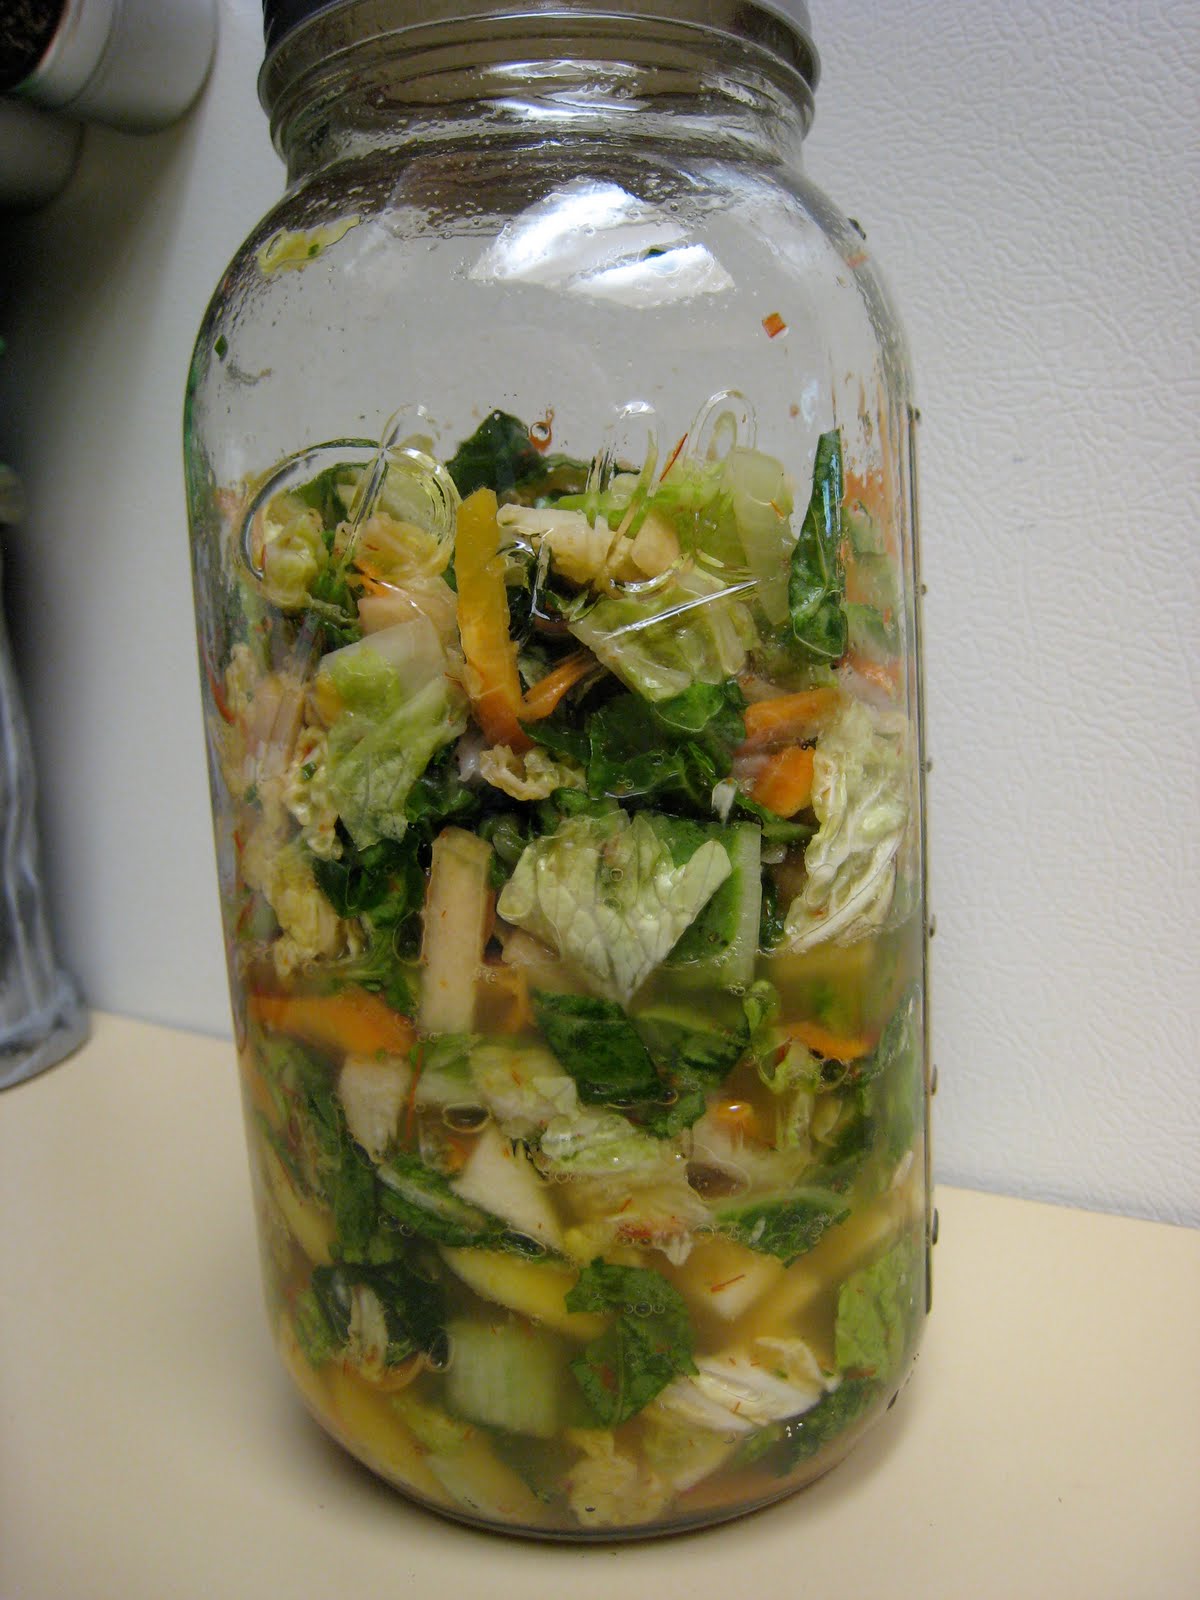
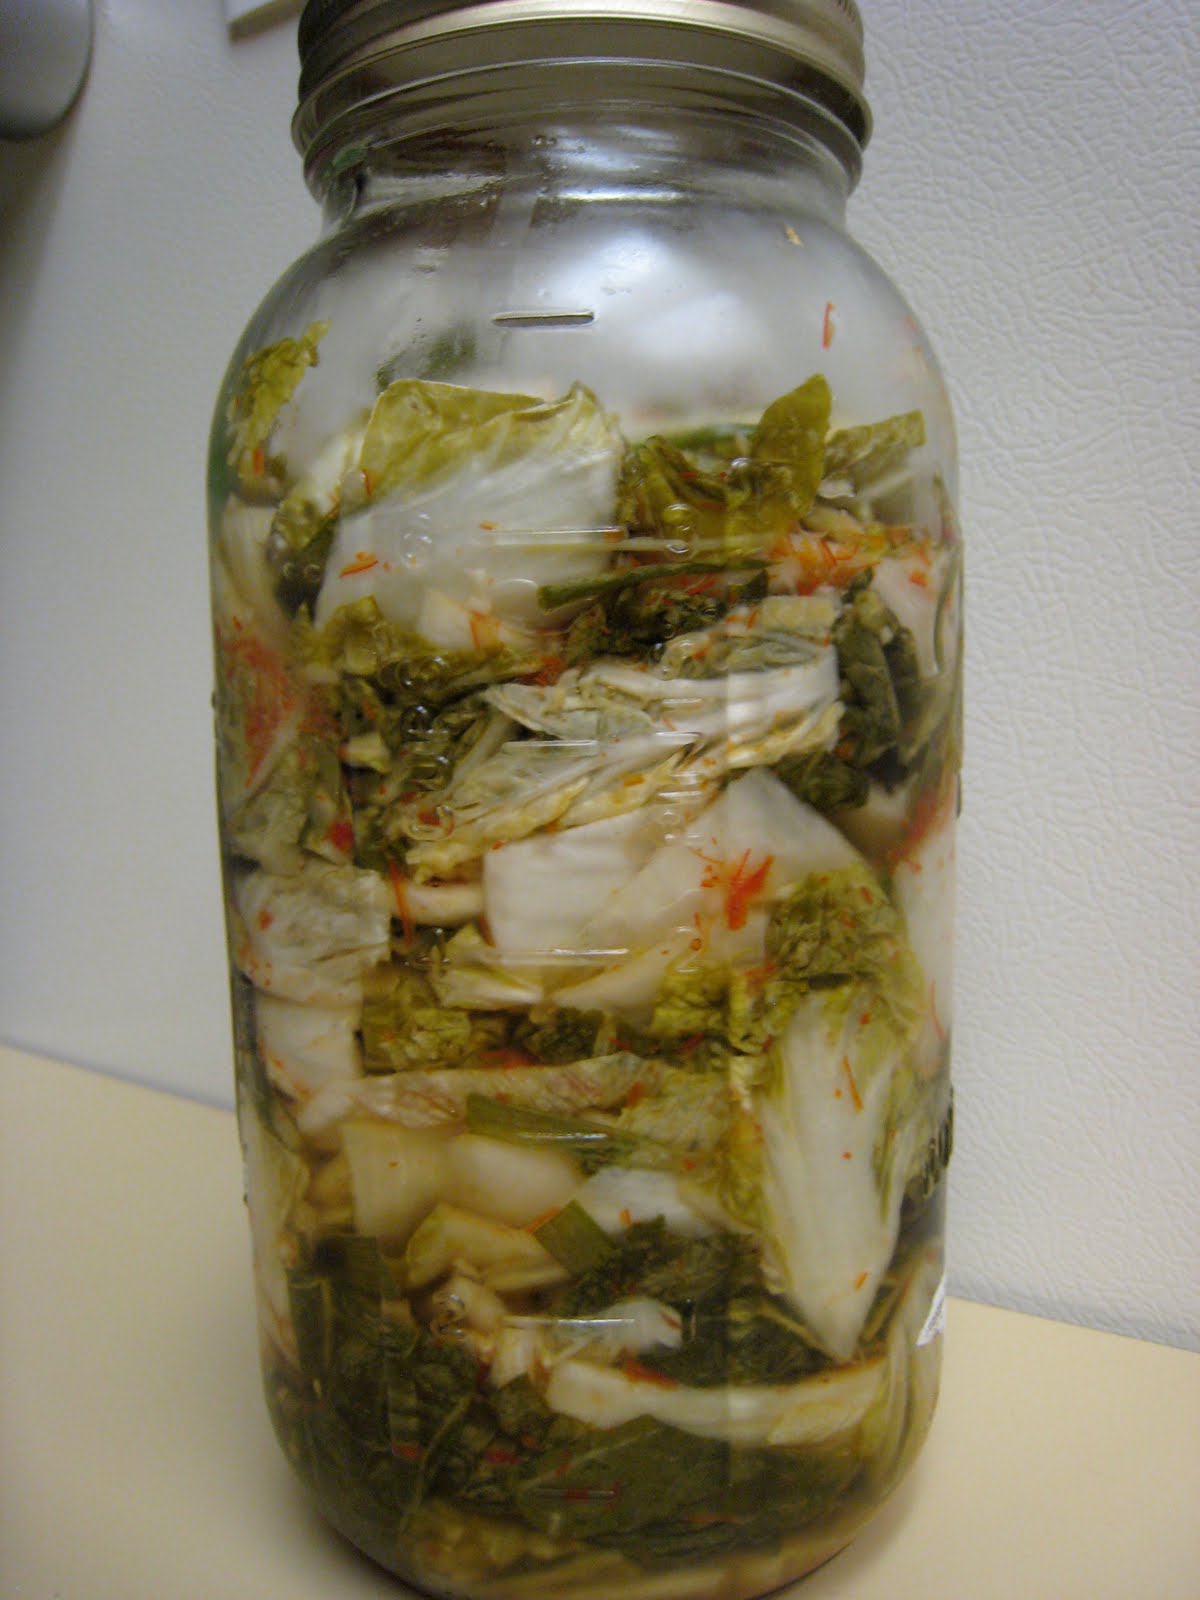
Kimchi
- At June 16, 2010
- By megan
- In cabbage, CSA Challenge, kimchi, pickled things, Savory Spice Shop
- 0
- 3 TB plus 1 tsp pickling salt
- 6 cups water
- 1 large head napa cabbage, cored and cut into 2-inch squares
- 6 scallions, slivered lengthwise and cut into 2 inch slivers
- 1.5 TB minced fresh ginger
- 1.5 TB minced garlic
- 2 TB Korean ground dried hot pepper
- 1 tsp sugar


Let’s get Social