Homemade Plain Yogurt
- At August 27, 2012
- By megan
- In Recipes, whole foods, Yogurt
 0
0
When I first moved out to Boulder seven years ago, my mom gave me her old Salton yogurt maker and I definitely dabbled in making homemade yogurt for a few weeks. But, it really only lasted a few weeks because the bottom line is it is MUCH easier (read: more convenient) to go to Whole Foods and buy yogurt than to make it at home.
I’ve been watching a lot of documentaries lately in my spare time and saw a couple on plastic and, besides freaking me out, made me think about how I don’t actually use much plastic at home since I generally try to avoid it. Yogurt, however, is always sold in plastic and, being that I have a brand new yogurt maker (I replaced my mom’s old one… though I can’t remember why), I decided from now on my yogurt would be served in little glass jars and I’d be that much less responsible for the ridiculous amount of plastic we toss out (or down-cycle).
It’s so easy… ANYONE could do this. Just takes a little time.
Step 1- Bring milk (I used 2%) to just under a boil.

Step 2- Let it cool to the right temperature- 108-112 degrees Fahrenheit- I have a special yogurt thermometer that lets me know when the milk is in the right temperature range to add the starter.

Step 3- Dissolve 5 grams of yogurt starter in a little of the warm milk. Then add that to all of the milk and mix well.
What’s yogurt starter? Well, it’s freeze-dried skim milk powder, sucrose, ascorbic acid, and lactic bacteria. I bought Yógourmet brand in the dairy section at Whole Foods.

Step 4- Pour the milk mixture into glass yogurt jars (they come with the yogurt maker) and then incubate them for at least 4 hours. I let mine sit there for 7 hours.

I have a Salton brand yogurt maker I bought at Bed Bath & Beyond. It essentially keeps the milk and lactic bacteria mixture at a warm temperature so it thickens into yogurt.

When it is thick enough for you, turn off the yogurt maker and remove the jars. I like to let mine sit until they reach room temperature before stacking them in the fridge. When you’re in the mood for yogurt, you have seven individual servings, all in nice glass jars rather than plastic.

We’ll see how long I keep this up.
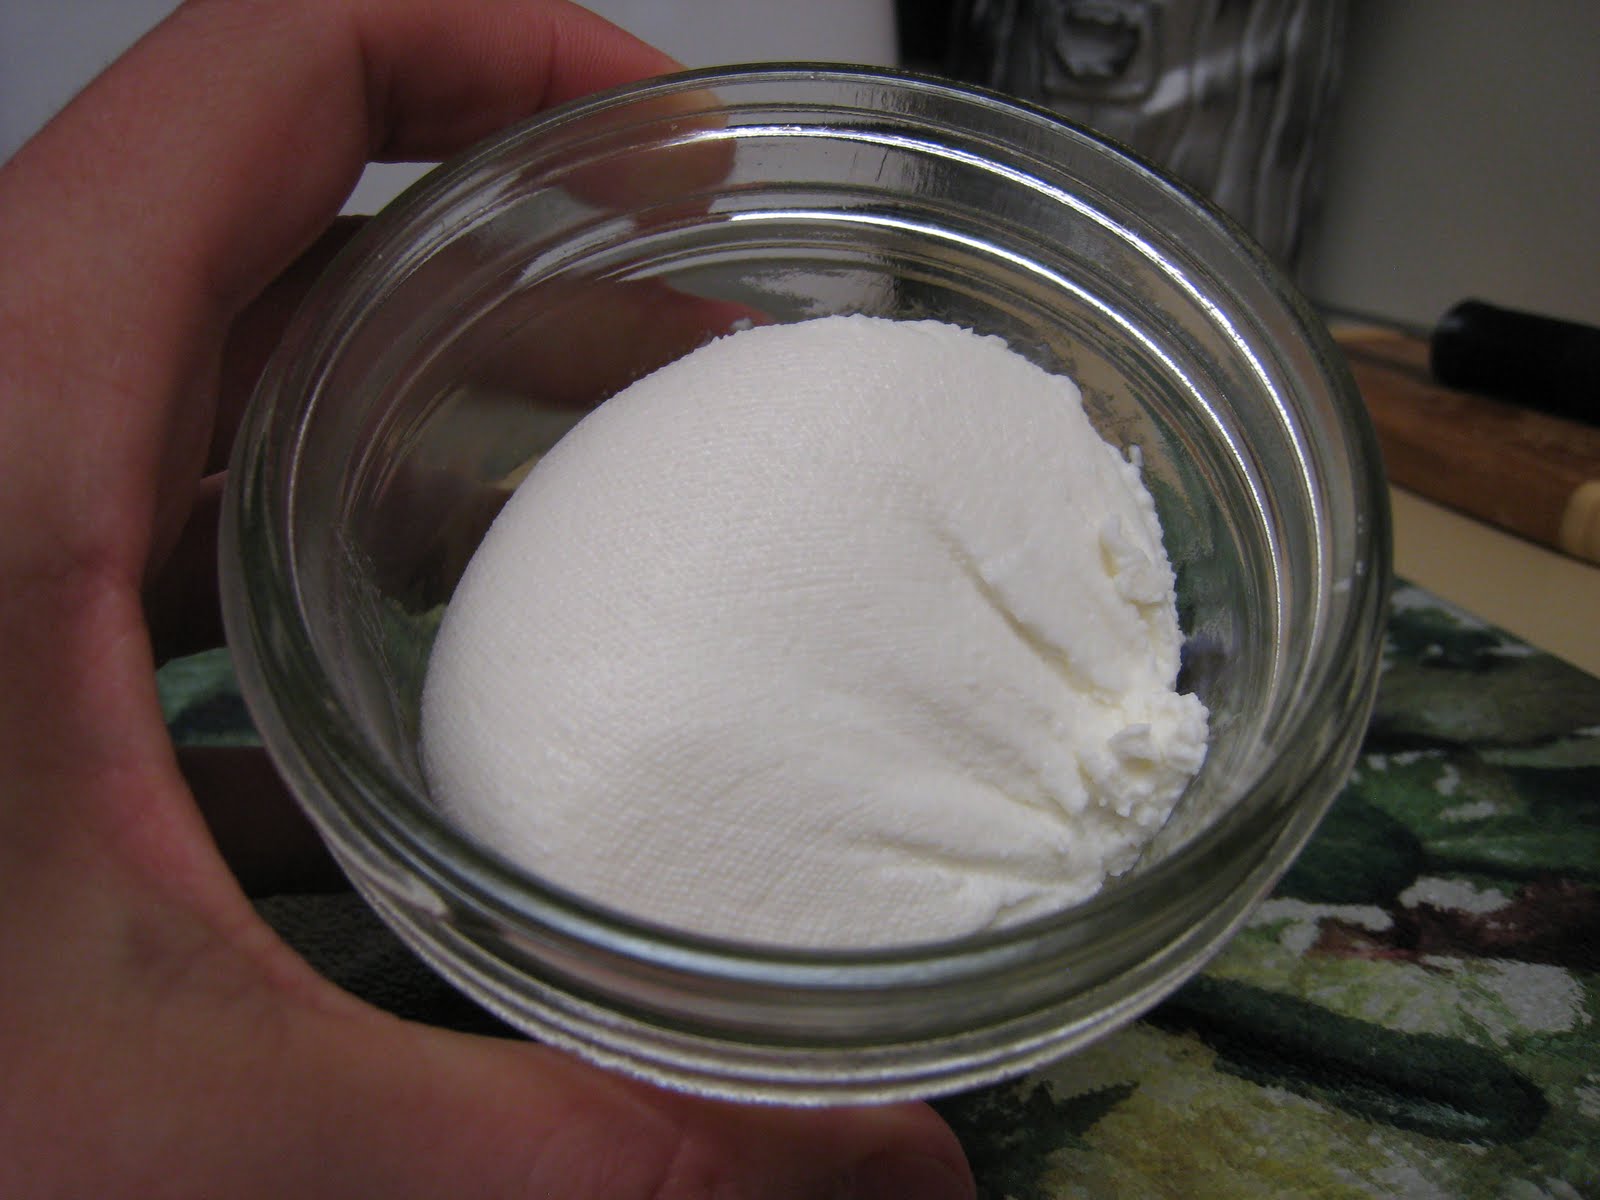
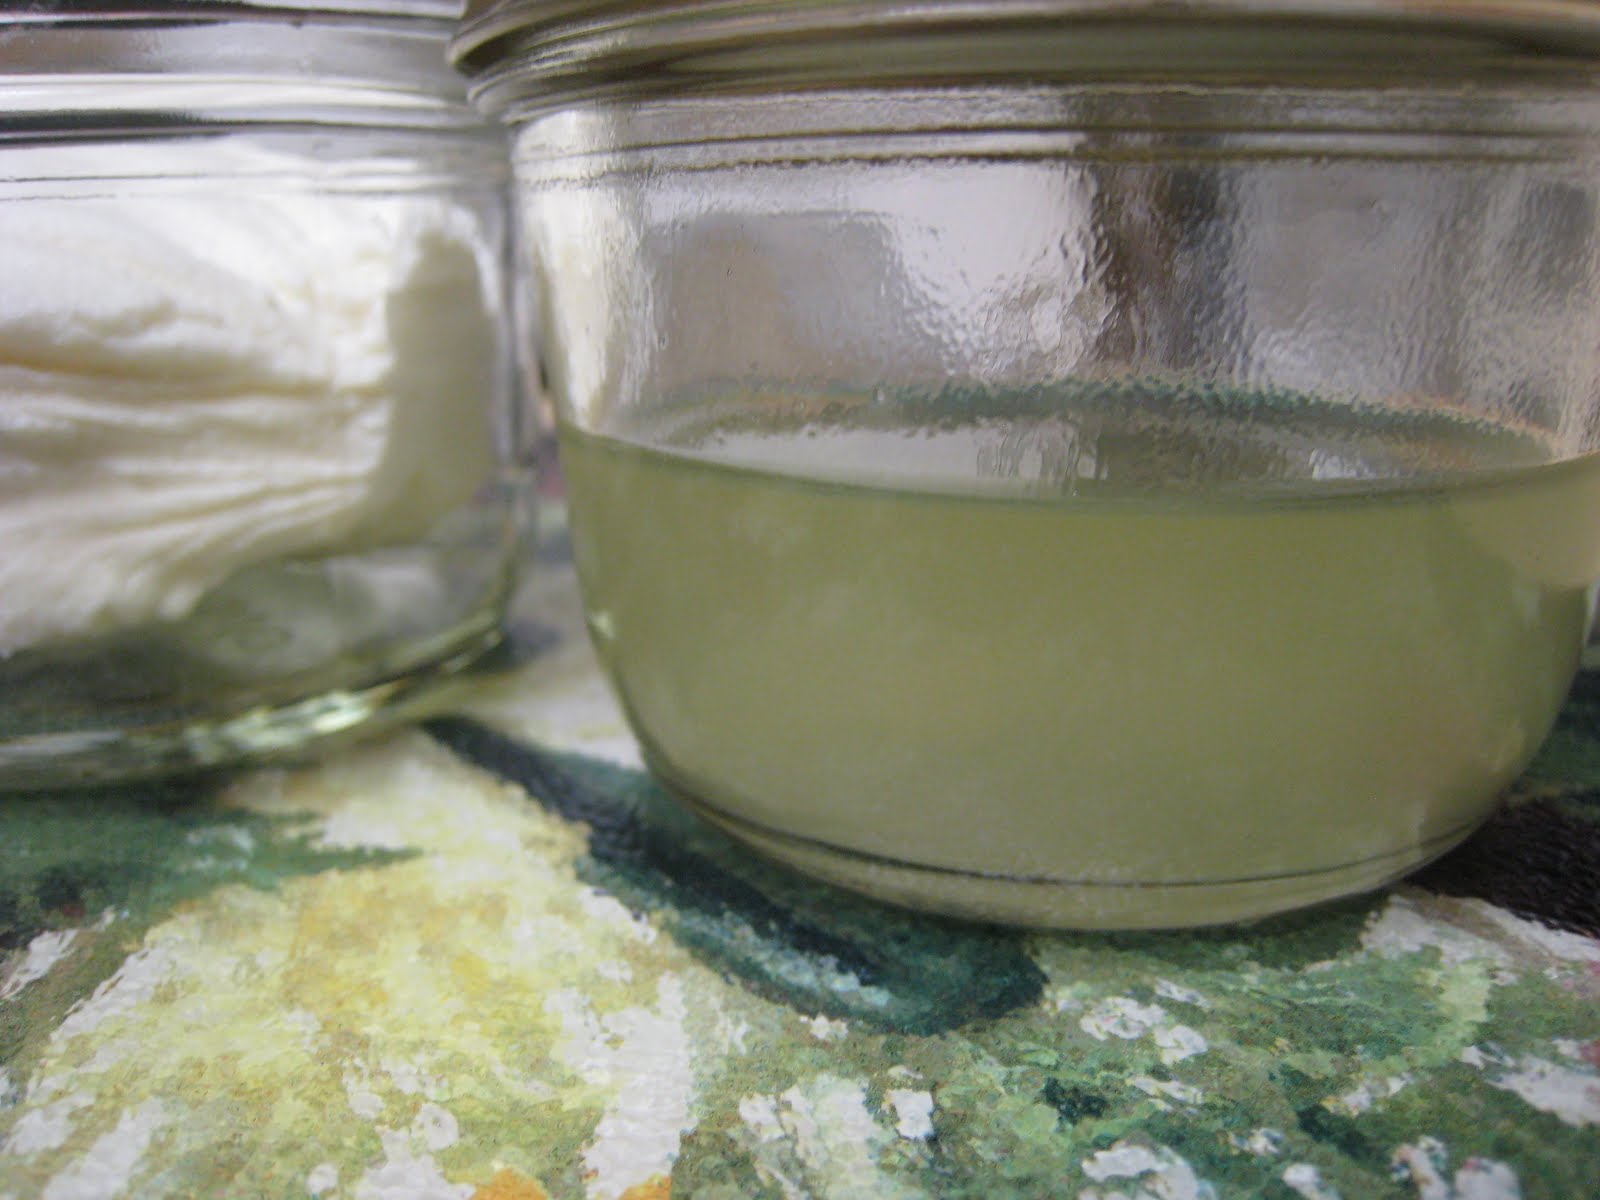
How to make homemade cream cheese (and separate whey)

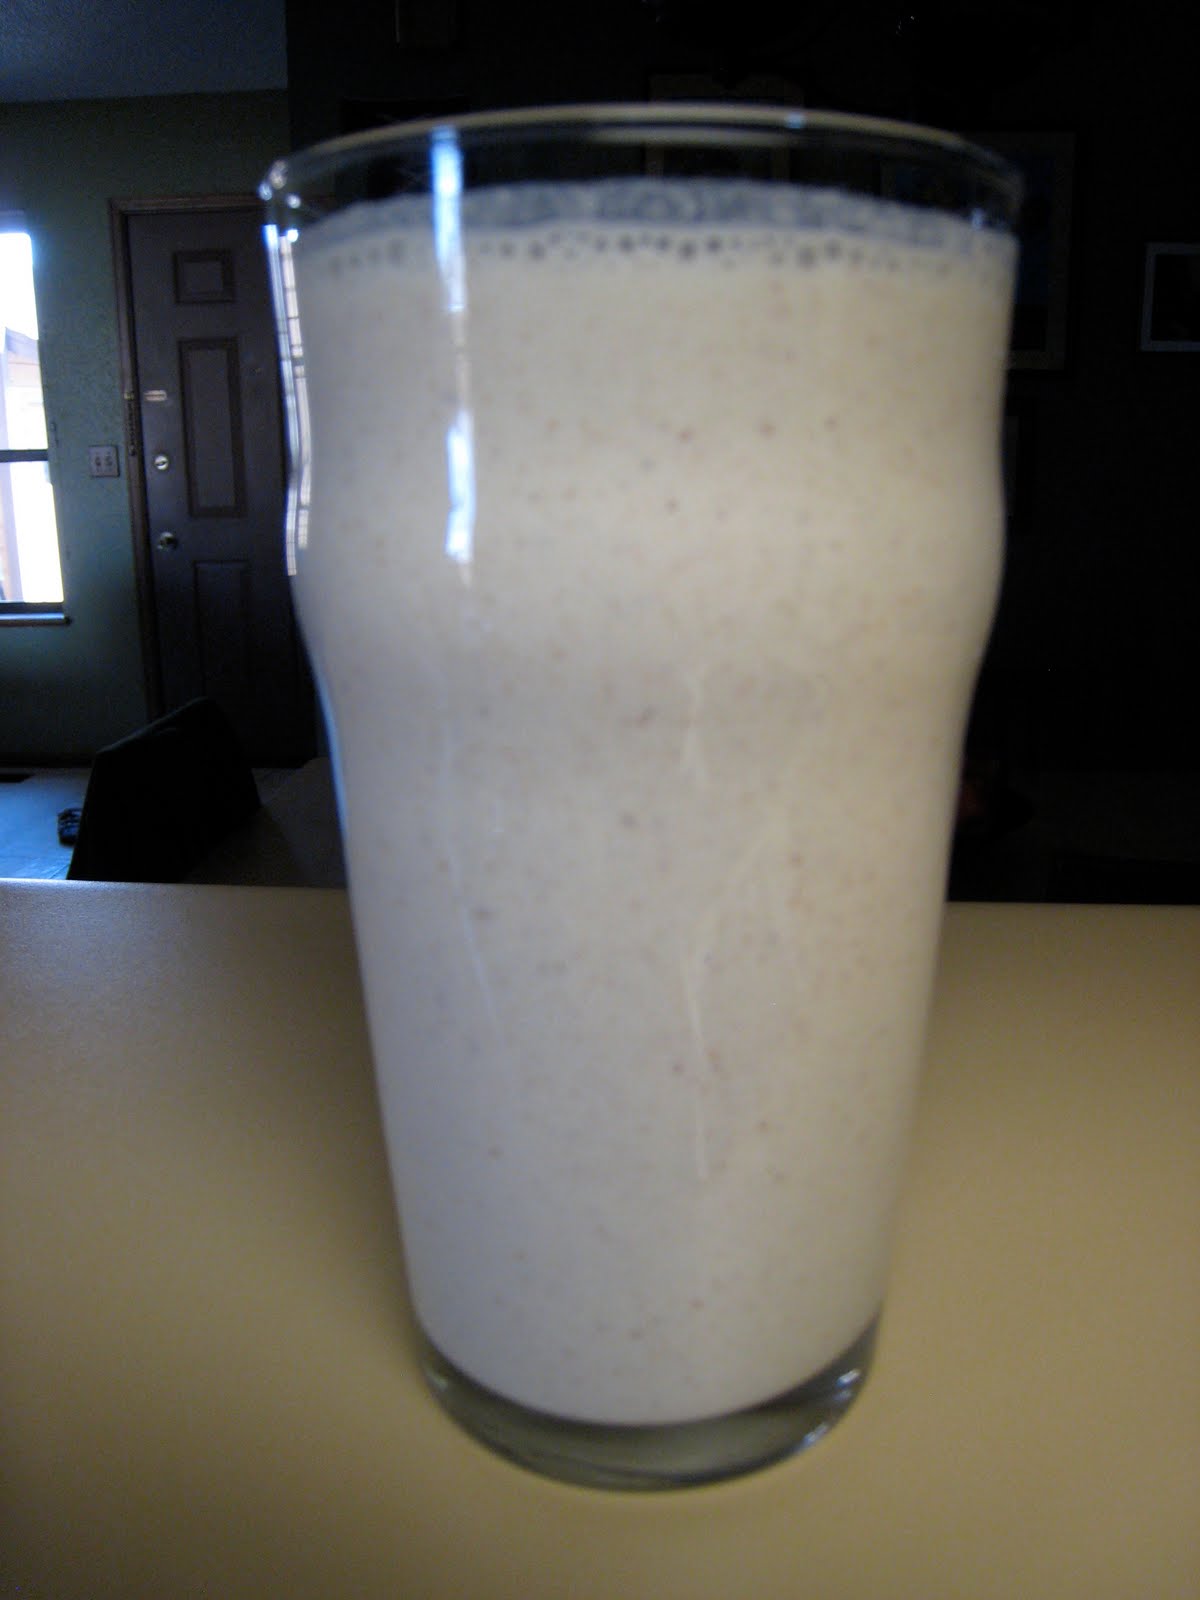
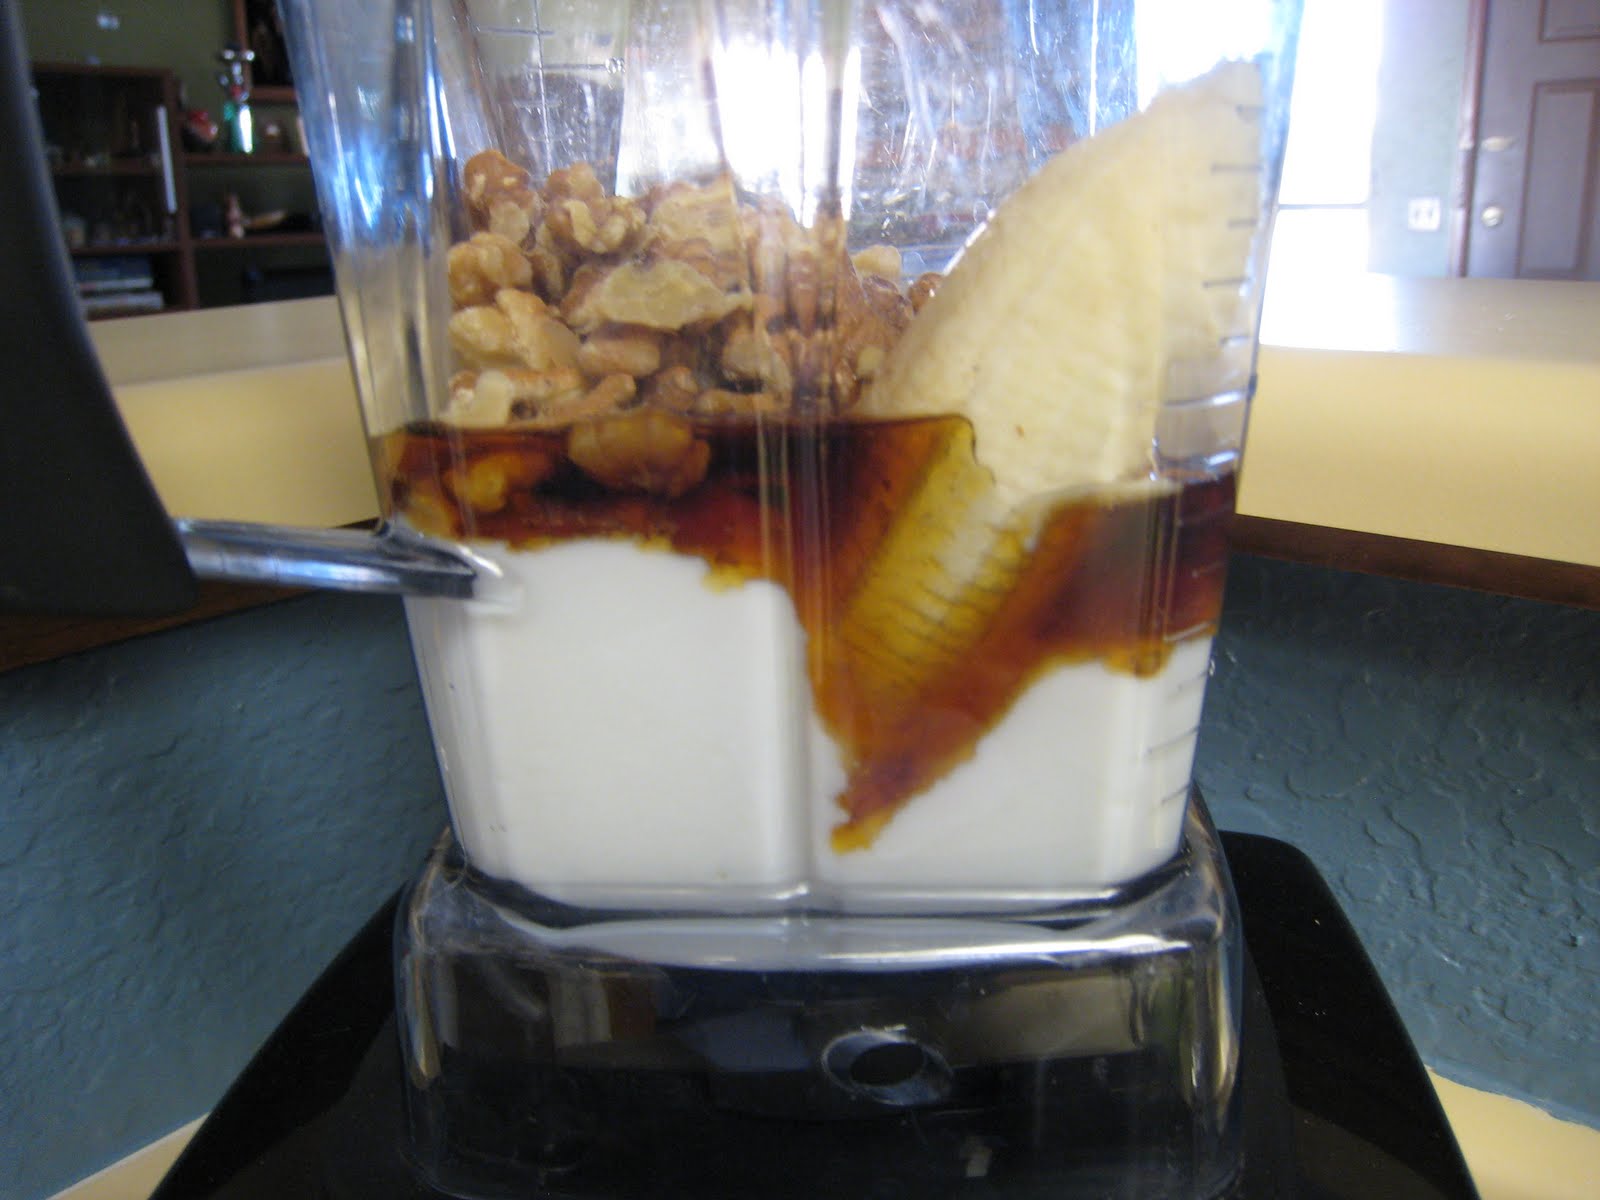
Banana Maple Walnut Smoothie

Let’s get Social