Taste 2- Pan Fried Zucchini
On day one of my 14-part project to give him a taste of how much I care, I made some nice picnic sandwiches. For day two, I decided to make something fun that I don’t make very often. For me, that’s pan-fried zucchini.
I sliced a couple small zucchini into 1/4 inch thick rounds, lay them on paper towels, and sprinkled them with a bit of sea salt to expel the excess water. You’ll see small drops of water forming on the salted surface, so pat that dry, flip them, and lightly salt the other side.
Heat a frying pan and prep your breading assembly line: a bowl or plate with a cup or so of flour (any kind of flour), a bowl with a beaten egg (I added a little heavy whipping cream to my egg because I had some in the fridge), and a bowl or plate with panko. I like pan frying with panko because it adds a nice crunchy texture. I also added a tablespoon or so of Red Rocks Hickory Smoke Seasoning from Savory Spice Shop to the flour and panko to add a great flavor to the seemingly simple zucchini.
Pat dry the zucchini slices and start the following process: lightly coat in flour, dip in egg, roll in panko, place on a plate. Then pan fry them in a few tablespoons of olive oil on medium high for a few minutes on each side.
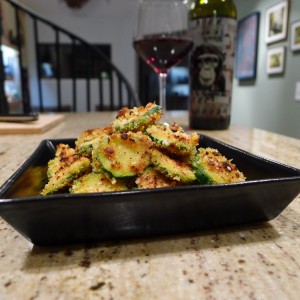 When they’re GBD (golden brown delicious) let them cool on a paper towel for a few minutes… not because they’re super greasy, but because that’s just what I do with everything I pan fry… I think. Salt to taste, and enjoy.
14 Ways in 14 Days- A Taste of How Much I Care, Taste 1
On my first day of giving him a taste of how much I care, I brought us a picnic lunch to share in the park. It was, after all, another gorgeous winter day in Boulder.
I rode my bike to Whole Foods for some in-house roasted turkey breast, a loaf of Udi’s roasted garlic ciabatta, cream cheese, sharp cheddar, and an avocado. Oh, wait… and a miniature Chocolove milk chocolate bar. Dessert is important.
I had a plan to make a good, simple sandwich.
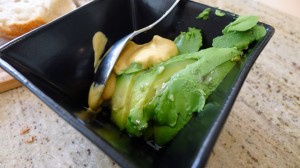
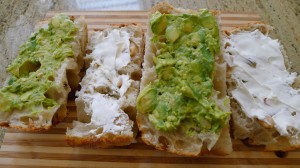
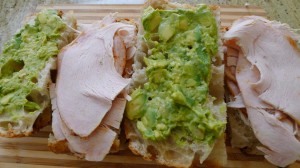
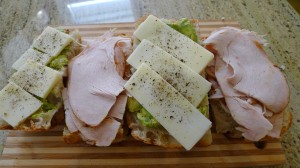
I mixed and mashed half an avocado with approximately one tablespoon of both dijon mustard and honey. I sliced the roasted garlic ciabatta into reasonable sandwich sized slices and topped one side with cream cheese and the other with the avocado spread.
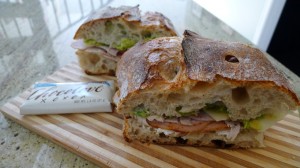
It just takes a little turkey, cheddar, and fresh ground black pepper to make a delicious sandwich. Put it together, and don’t forget a bit of chocolate for dessert.
I picked up a mini Chocolove milk chocolate bar as an impulse buy at the Whole Foods checkout. Best impulse buy of the year so far.
Chicken Mole Enchiladas
- At December 14, 2011
- By megan
- In Recipes
 0
0
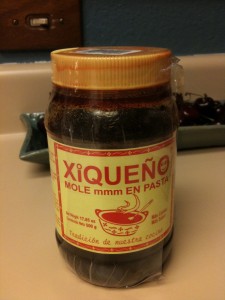
A man called me last February from Mexico asking about food tours here in Boulder. He had lived in Boulder, moved to Veracruz, and was returning for a week to attend a friend’s wedding. We made a deal over the phone that involved him bringing me a jar of traditional Veracruz mole. In July, he showed up on tour with a slightly sticky bag containing a slightly leaking jar of brown paste: Mexican Mole base.
The summer came and went. I went through a breakup, which led to a cooking hiatus, and this jar of mole moved with me into my new condo and new kitchen. I had no plans for this jar until I met Giovanni- an architect/designer who recently moved to Boulder and happens to be half-Mexican. Having lived in Mexico and learning to cook from relatives there, Giovanni offered to teach me how to make chicken mole enchiladas.
There were a number of steps involved.
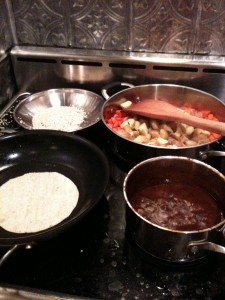
First, we boiled a couple chicken breasts until they were cooked through. When cool enough to touch, Giovanni shredded the meat with his hands. We also got to work making the mole sauce. Approximately a third of the jar of paste went into a sauce pan with a couple cups of water and that reduced on medium-high for 30 minutes or so. We also sauteed some fingerling potatoes and carrots in a little olive oil and lightly toasted sesame seeds. We definitely had to use all burners on my stove for this meal.
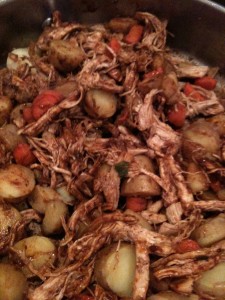
When the chicken was cooked and shredded, the mole sauce was done (not too thick, not to thin), and the potatoes were cooked, we added the chicken to the potatoes, covered them in sauce (keeping a couple cups reserved in the pan), and made a chicken potato carrot mole combination for our enchiladas. Then, the fun began.
First, Giovanni dunked 3 corn tortillas in mole sauce and lay them out on a plate. Next, he filled and rolled them, one by one. Finally, he drizzled them with extra mole sauce, toasted sesame seeds, and topped them with thinly sliced onions. It was really cool to watch.
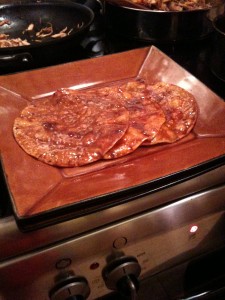
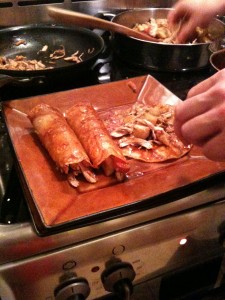
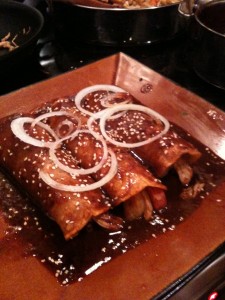
Mole sauce is a really complex sauce with many different variations. This jar from Veracruz was great for my first traditional mole experience and I’m definitely looking forward to my next enchiladas de mole evening.
Caramelized Onion Gravy
- At November 24, 2011
- By megan
- In caramelized onion, Recipes, thanksgiving
 0
0
Three pounds of yellow onions really break down to be not too much after 1.5 hours of caramelization. But, all that time spent stirring and checking on them is worth it. Trust me.
Every year for my Thanksgiving gravy base, I hang by the stove, diligently stirring a pot of gold. The onions will turn into a beautiful pot of gold if done correctly, and it takes so much time, this pot is as valuable, time-wise, as a pot of gold. I suggest you give it a try. You can also scale this down for smaller meals and use it as your secret weapon gravy base.
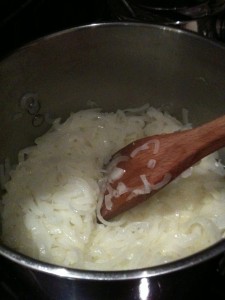
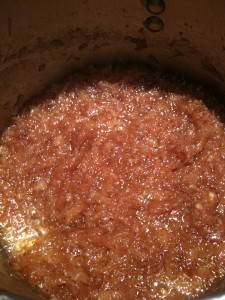
This year I started with 3 pounds of thinly sliced locally grown Colorado sweet yellow onions. I put them in a 4 quart stock pot, knowing they’d end up as a splash in the pan once caramelization took over. Start with the heat up at medium-high and add two sticks of butter. Let this start to sizzle. You want to hear it doing something.
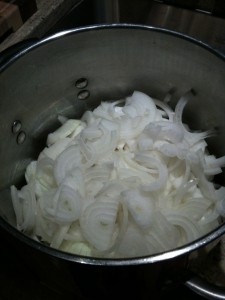
Give it a stir every few minutes and let the butter melt. Then, turn down the heat to medium and keep coming back and stirring… and stirring… and stirring.
This is going to take some time, so plan to spend over an hour in the kitchen. Multi-task if you can because it really is a long time to spend looking over one single pot.
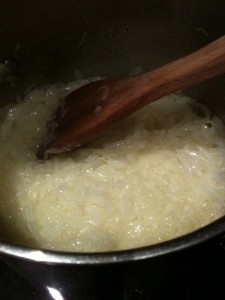
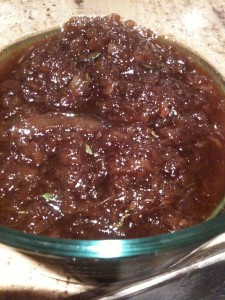
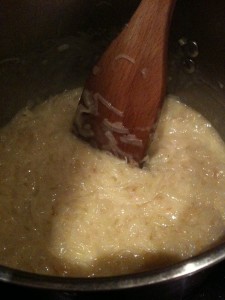 There eventually comes a time I call a “crucial moment” in the caramelization process because if you get bored and leave, your onions are going to burn. Trust me. As they turn into golden brown deliciousness, start stirring them more frequently. They’ll eventually be a gorgeous pot of gold. So get them off the heat.
Next, stir in 1/4 cup honey, 1/4 cup balsamic vinegar, a couple teaspoons of fresh thyme and a teaspoon of minced fresh rosemary. Mix everything really well and taste it to be sure the vinegar cuts through the fat from the butter. You might find that it needs a little more vinegar and a dash of salt. But, remember that this is just the base for your gravy, so all of those flavorful pan drippings are going to add a rich complexity to this somewhat straightforward caramelized onion base. This can be made in advance, refrigerated, and put on the stove with pan drippings when you’re getting ready to serve the bird.
Enjoy in moderation!

Let’s get Social