Grilling on the Stove Top with a Himalayan Salt Brick
- At July 14, 2013
- By megan
- In Boulder Farmers Market, carrot, Grilled, local foods, Recipes, Savory Spice Shop, Sean Smith, tofu
 0
0
I bought a Himalayan Salt Brick from Savory Spice Shop to explore something new in my kitchen. Lucky for me, I’m dating a chef, so it turns out he took on the opportunity to try something new and let me drink wine and take photos. Not such a bad arrangement.
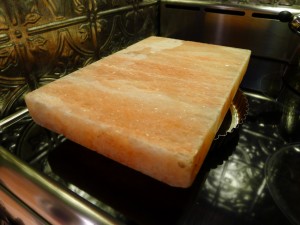
A Himalayan salt brick is a large slab of Himalayan crystal salt that you can heat up to high temps to bake, sauté, or grill; chill to serve cold foods; use to cure meats; and present as a serving platter. It’s a gorgeous slab of light pink marbled “stone,” and I’d wanted one ever since they were first for sale at Savory.
Sean and I used our brick once before in the oven, and I never got around to a blog post… been busy guiding food tours, you know.
Baking on the brick was similar to baking on a pizza stone. The stove top, however, was a new frontier.
Sean spent some time researching this one. If you have a gas range you can set the flame in a way that the stone isn’t directly in contact with fire, but heats up. An electric range, however, requires something to be positioned between the stove top and the brick. We used a tart shell, but a cake ring or wok ring would work also.
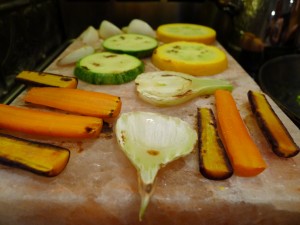
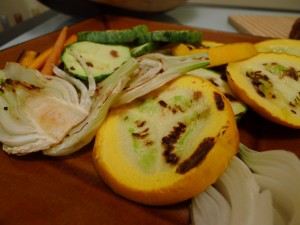
After a trip to the Boulder Farmers’ Market, we had carrots, onions, and squash for grilling.
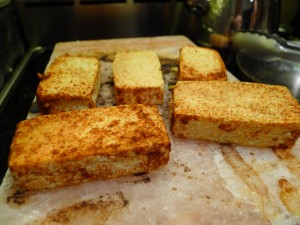
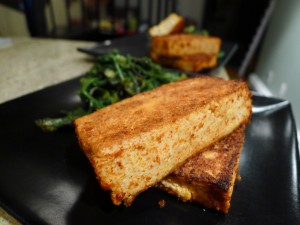
Sean sliced them and threw them on the hot salt brick while marinating some extra firm tofu that had been frozen, pressed, thawed, and marinated in a little peanut oil and Harissa Spice Mix from nowhere other than Savory Spice Shop.
Our meal was simple, yet took quite some time to execute since we spent forty minutes or so heating up the brick, which crackled and poped in ways that concerned us it was going to crack on the stove. The brick did impart a slightly salty taste to the veggies, which were grilled plain, but didn’t give off a flavor that stood up to the Harissa blend. In the end, the food was great and our dinner was fun, but it was a very long process to prepare what could have been a quick meal on the grill outside or the stovetop. But then, we wouldn’t have been able to say we grilled on a salt brick, now, would we?
Cheers!
Ruby Red Grapefruit in Mint Simple Syrup
- At January 24, 2013
- By megan
- In cocktails, Grapefruit, Recipes, Sean Smith, whole foods
 0
0
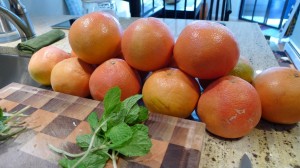
Citrus season is upon us, and lucky for me, a local Boulder chef wanted to preserve some ripe ruby red grapefruit in a mint simple syrup right here in my house. I got to watch, take some photos, and will eventually get to enjoy the fruits of his labor. Not such a bad deal for me…
Chef Sean Smith plays with fire at Boulder’s esteemed OAK at Fourteenth. Recently, we decided to collaborate on a few food projects, and preserving grapefruit in mint simple syrup is one of the first recipes in a series that will be featured here on A Bolder Table.
You’ll need:
- 10 pounds of ripe ruby red grapefruit
- 2 cups loosely packed fresh mint
- 1 cup sugar- not the refined crap. I prefer Vegan Cane Sugar
- 1 quart water
- 2 quart or 4 pint jars for canning
Sean started by preparing the jars for canning. This is a boiling process to kill anything that might cause spoilage, and I’m not a canner, so please don’t just trust me when I say to boil the jars for 15 minutes or so. To avoid botulism, check out these canning tips.
While the jars are boiling, bring the quart of water to a boil in a non-reactive pot. When it’s rolling, add the sugar, lower the temp a bit, and stir until the sugar dissolves. Add most of the mint to the sugar water, reserving a few sprigs for later, take it off the heat, and let it steep for 20 minutes.
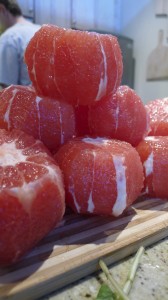
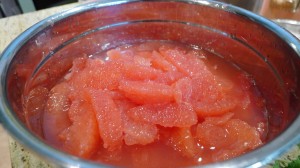
Then it’s time to supreme the fruit, or remove the skin, pith, membrane, seeds, and segment it. This takes a little time, and gets juicy, so be prepared to capture that grapefruit juice in a bowl.
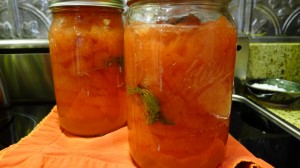
Fill each jar slightly more than halfway with the grapefruit, layering with the reserved mint. Remove the mint sprigs from the simple syrup and pour evenly into the jars.
Process each jar as you properly should, and allow them to cool at room temperature. Enjoy at some unknown date in the future.
Also, you’re likely going to have extra grapefruit juice that will not fit in your jars, so I recommend making a Greyhound or a Tequila Grapefruit Collins.
Sweet Potato Kale Frittata
- At December 28, 2012
- By megan
- In Cheddar Cheese, frittata, kale, Recipes, sweet potato
 0
0
I hadn’t planned to blog about this dish, but it was so simple and good, I thought- Why not?
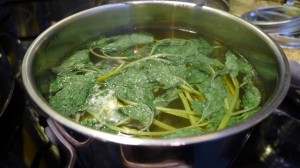
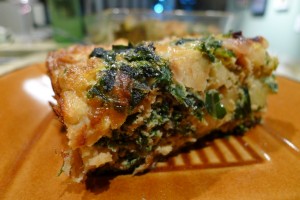
Kale was on sale at Whole Foods, so I came home with more kale than a single woman can consume without juicing it. That meant kale was going to be added in to whatever concoction I came up with for dinner. I also had a dozen eggs I hadn’t even touched in a week, so I decided to throw together an egg-based baked dish (or baked frittata, if that is even a culinary possibility, as frittatas are traditionally skillet-fried…) But, I’m calling this dish a Sweet Potato Kale Frittata. Sorry that it’s technically not a frittata.
I sautéed half of a chopped red onion in a few tablespoons of olive oil, and then added a peeled and cubed white sweet potato (2 cups or so). When the potato was soft, I added a couple cups of thinly sliced kale and a half cup of chopped parsley. Next, I transferred the potato kale base into a bowl and mixed it with 6 eggs that had been whisked with a few tablespoons of olive oil and a little bit of grated white cheddar cheese. After all of the potato and kale mixture was coated with egg, I salted, peppered and poured it into a pyrex baking dish.
I baked it for 40 minutes or so on 350 and it came out perfectly, which could have been a fluke as I was on the phone the entire time and not even paying attention to the oven.
As I was in a no-frills cooking mood, I topped it with my favorite condiment: Ketchup mixed with Red Rocks Hickory Smoke Seasoning from Savory Spice Shop. You can’t go wrong with that combo.
Cheers!
Hazelnut Pesto
- At September 10, 2012
- By megan
- In basil, Boulder Farmers Market, Hazelnuts, olive oil, parmesan, pesto, Recipes
 0
0
I bought a bouquet of basil at the Boulder Farmers’ Market. When I picked it up, I knew it was large. When I got it home, the enormity of this bouquet really struck me. What’s a gal to do with so much basil? Pesto, of course.
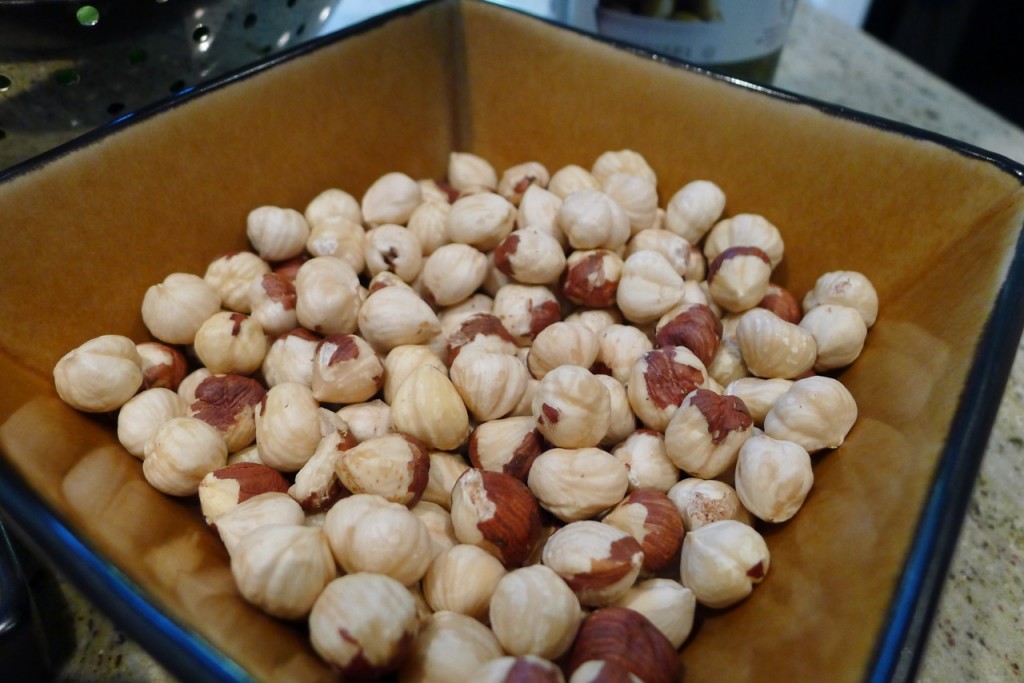
I had raw hazelnuts in the house, so I decided on hazelnut pesto. I’d never made it before, but walnut pesto is great, so hazelnut pesto should be great, too. And, it is.
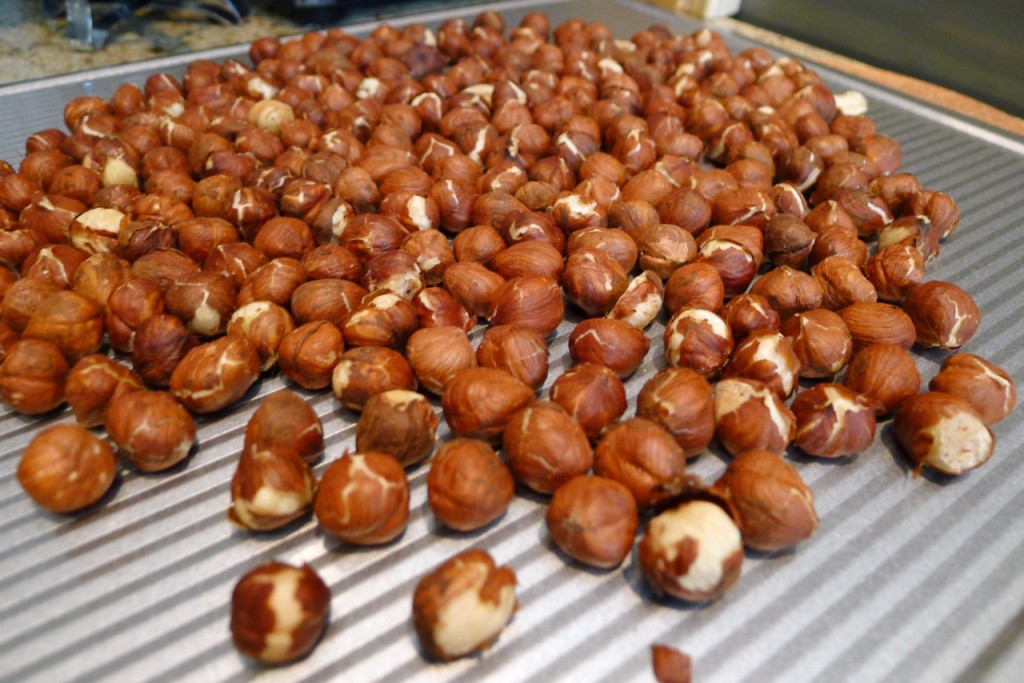
First, I roasted a couple cups of hazelnuts in the oven at 200 degrees until they became fragrant. Reminder: PAY CLOSE ATTENTION WHEN ROASTING NUTS! You turn your back for a second and they burn…
When they were cool, I peeled off the skin.
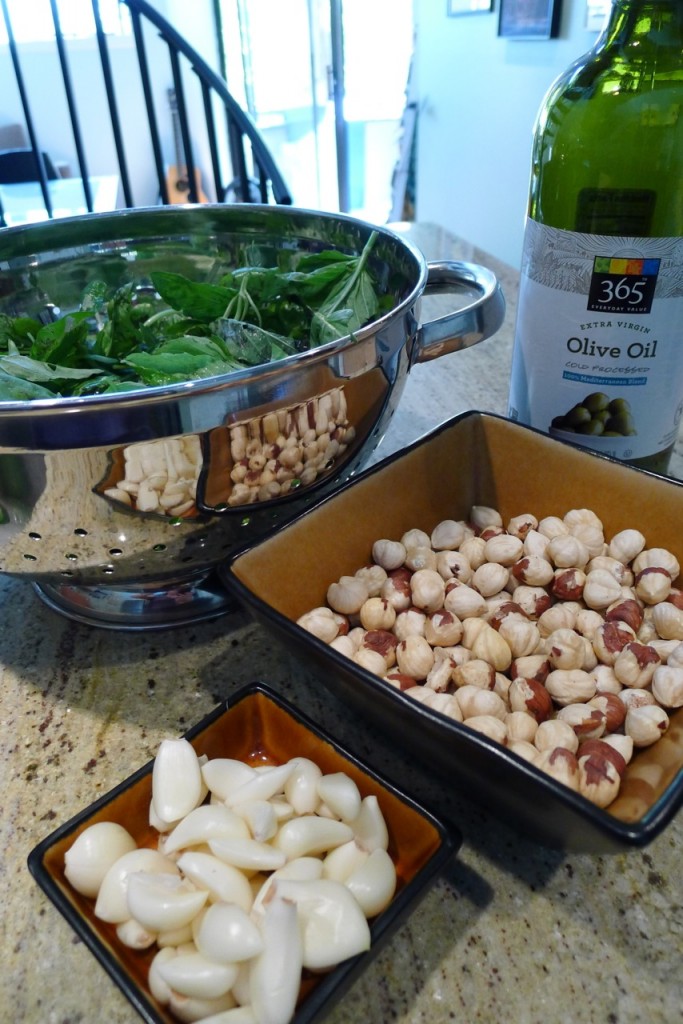
Then it’s all quite simple. I peeled some garlic from the market, washed the basil, found my olive oil.
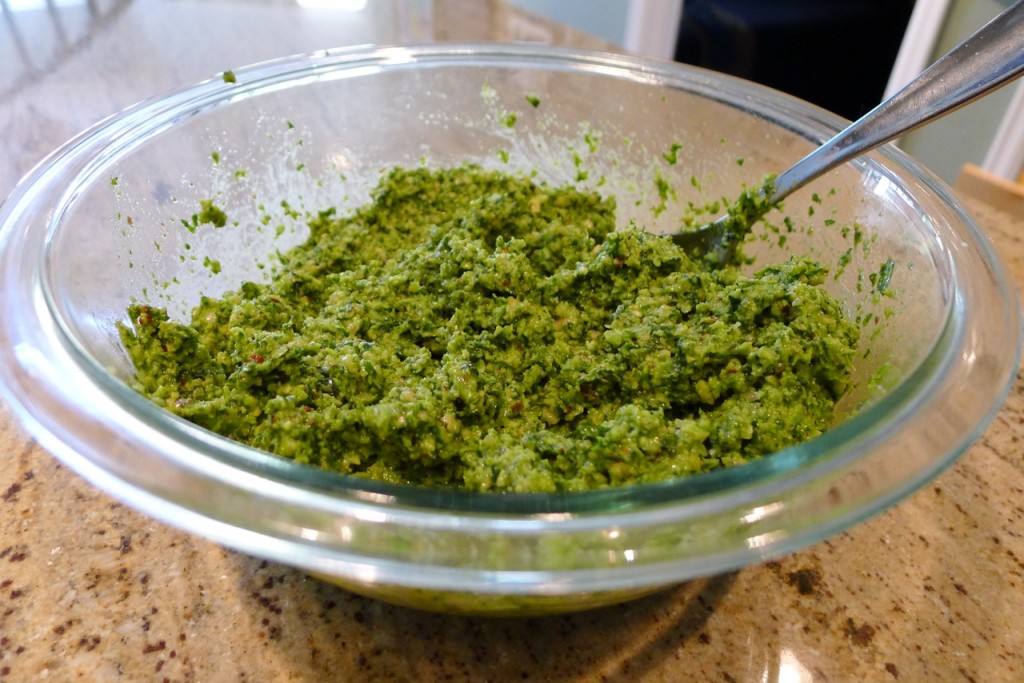
It took four batches in my mini food processor, plus a little sea salt and freshly ground black peppercorns, and I have multiple meals-worth of pesto.
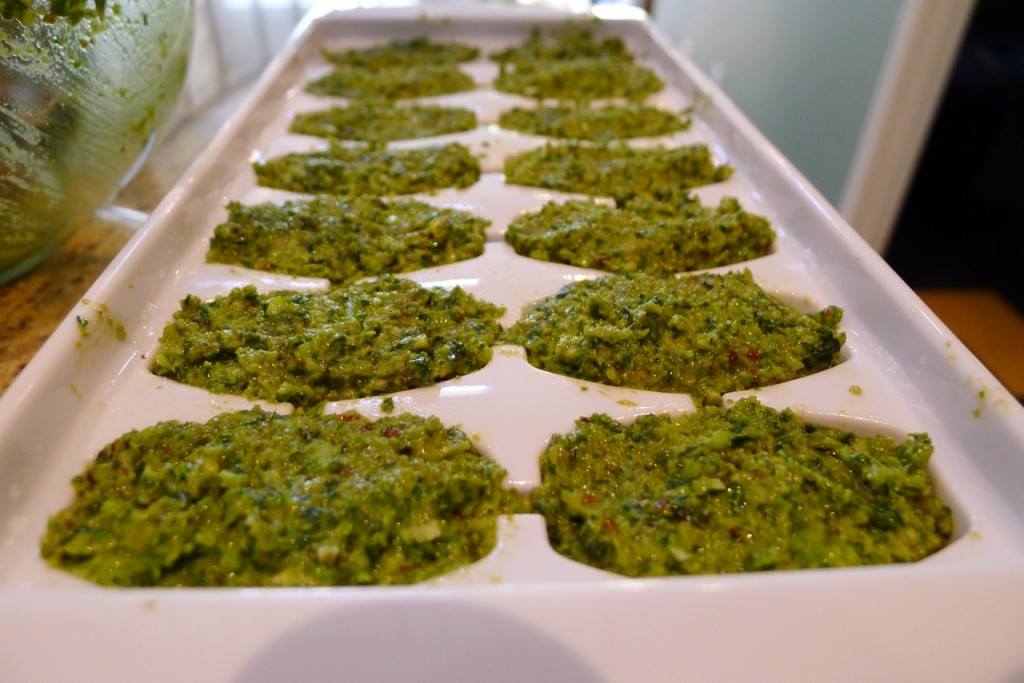
Finally, I filled two ice cube trays to freeze my pesto so I can enjoy the flavors of the summer harvest in the fall or winter. When I thaw my little pesto cubes, I’ll add some grated parmesan cheese.
Enjoy!
Let’s get Social