Jackfruit Quesadillas
- At August 6, 2020
- By megan
- In Avocado, jackfruit, quesadilla, Recipes
 0
0
If you haven’t tried jackfruit yet, I’d like to suggest you find some and experiment for your next meatless Monday or any day you want to enjoy a filling, vegetarian, meaty substitute. Here in Denver we can buy plain jackfruit in a can at the local Asian grocer. I also saw plain frozen jackfruit there. I prefer it plain (unseasoned) because I like to control the ingredients I add to dishes. But, there are some companies you’ll see in your local grocery store selling BBQ jackfruit and some other common saucy flavors near the tofu and vegetarian protein section. Just ask someone at the store to point you in the right direction!
Jackfruit is a tropical fruit that doesn’t have much flavor on its own. It has a texture, when cooked, that can pass for pulled pork or chicken. So think of this alternative the next time you’re making something that would have a shredded chicken or pork ingredient.
I drain the canned jackfruit and then break it apart before cooking.
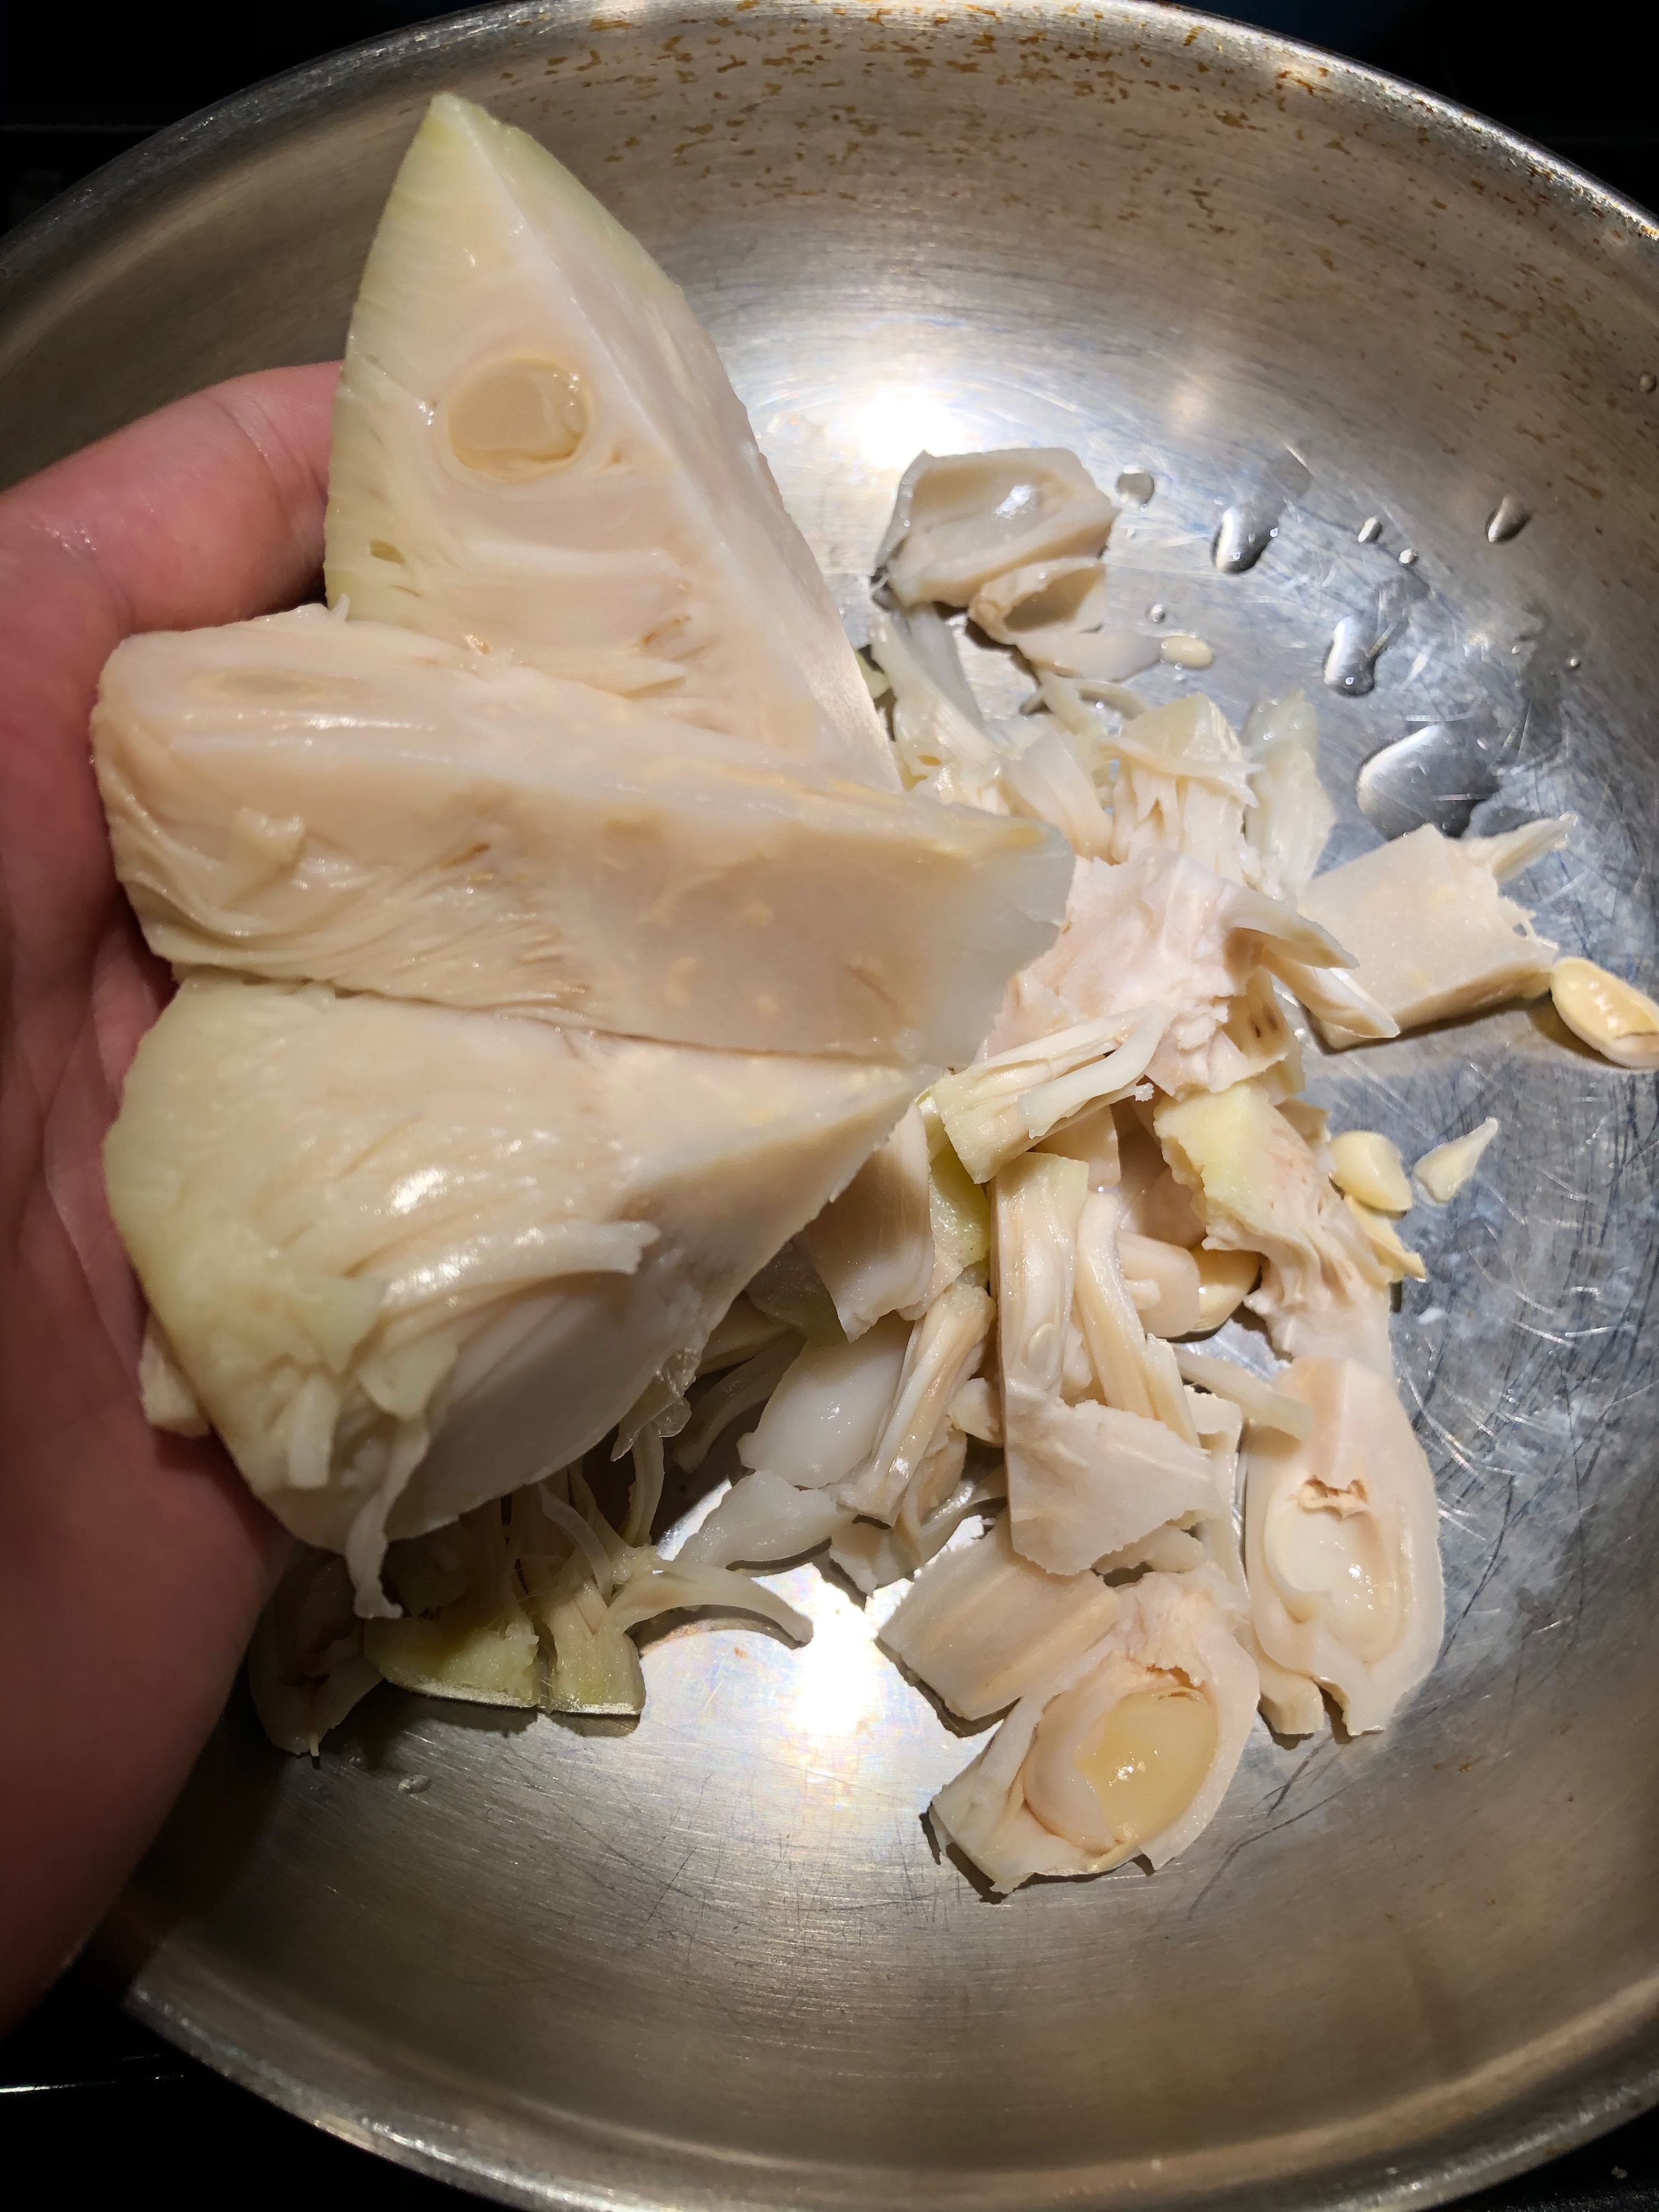
There are some large round seed-like pods, but they’re not hard, so just go ahead and use all of it.

I like to break it into small pieces to be sure whatever sauce I’m cooking it in penetrates every nook and cranny. As with tofu or tempeh, it’s just bland on its own. Maximizing where the flavor/sauce goes will make each bite better.
This time I made jackfruit quesadillas. I picked up a locally made salsa at the mercado down the street and added some to my jackfruit.
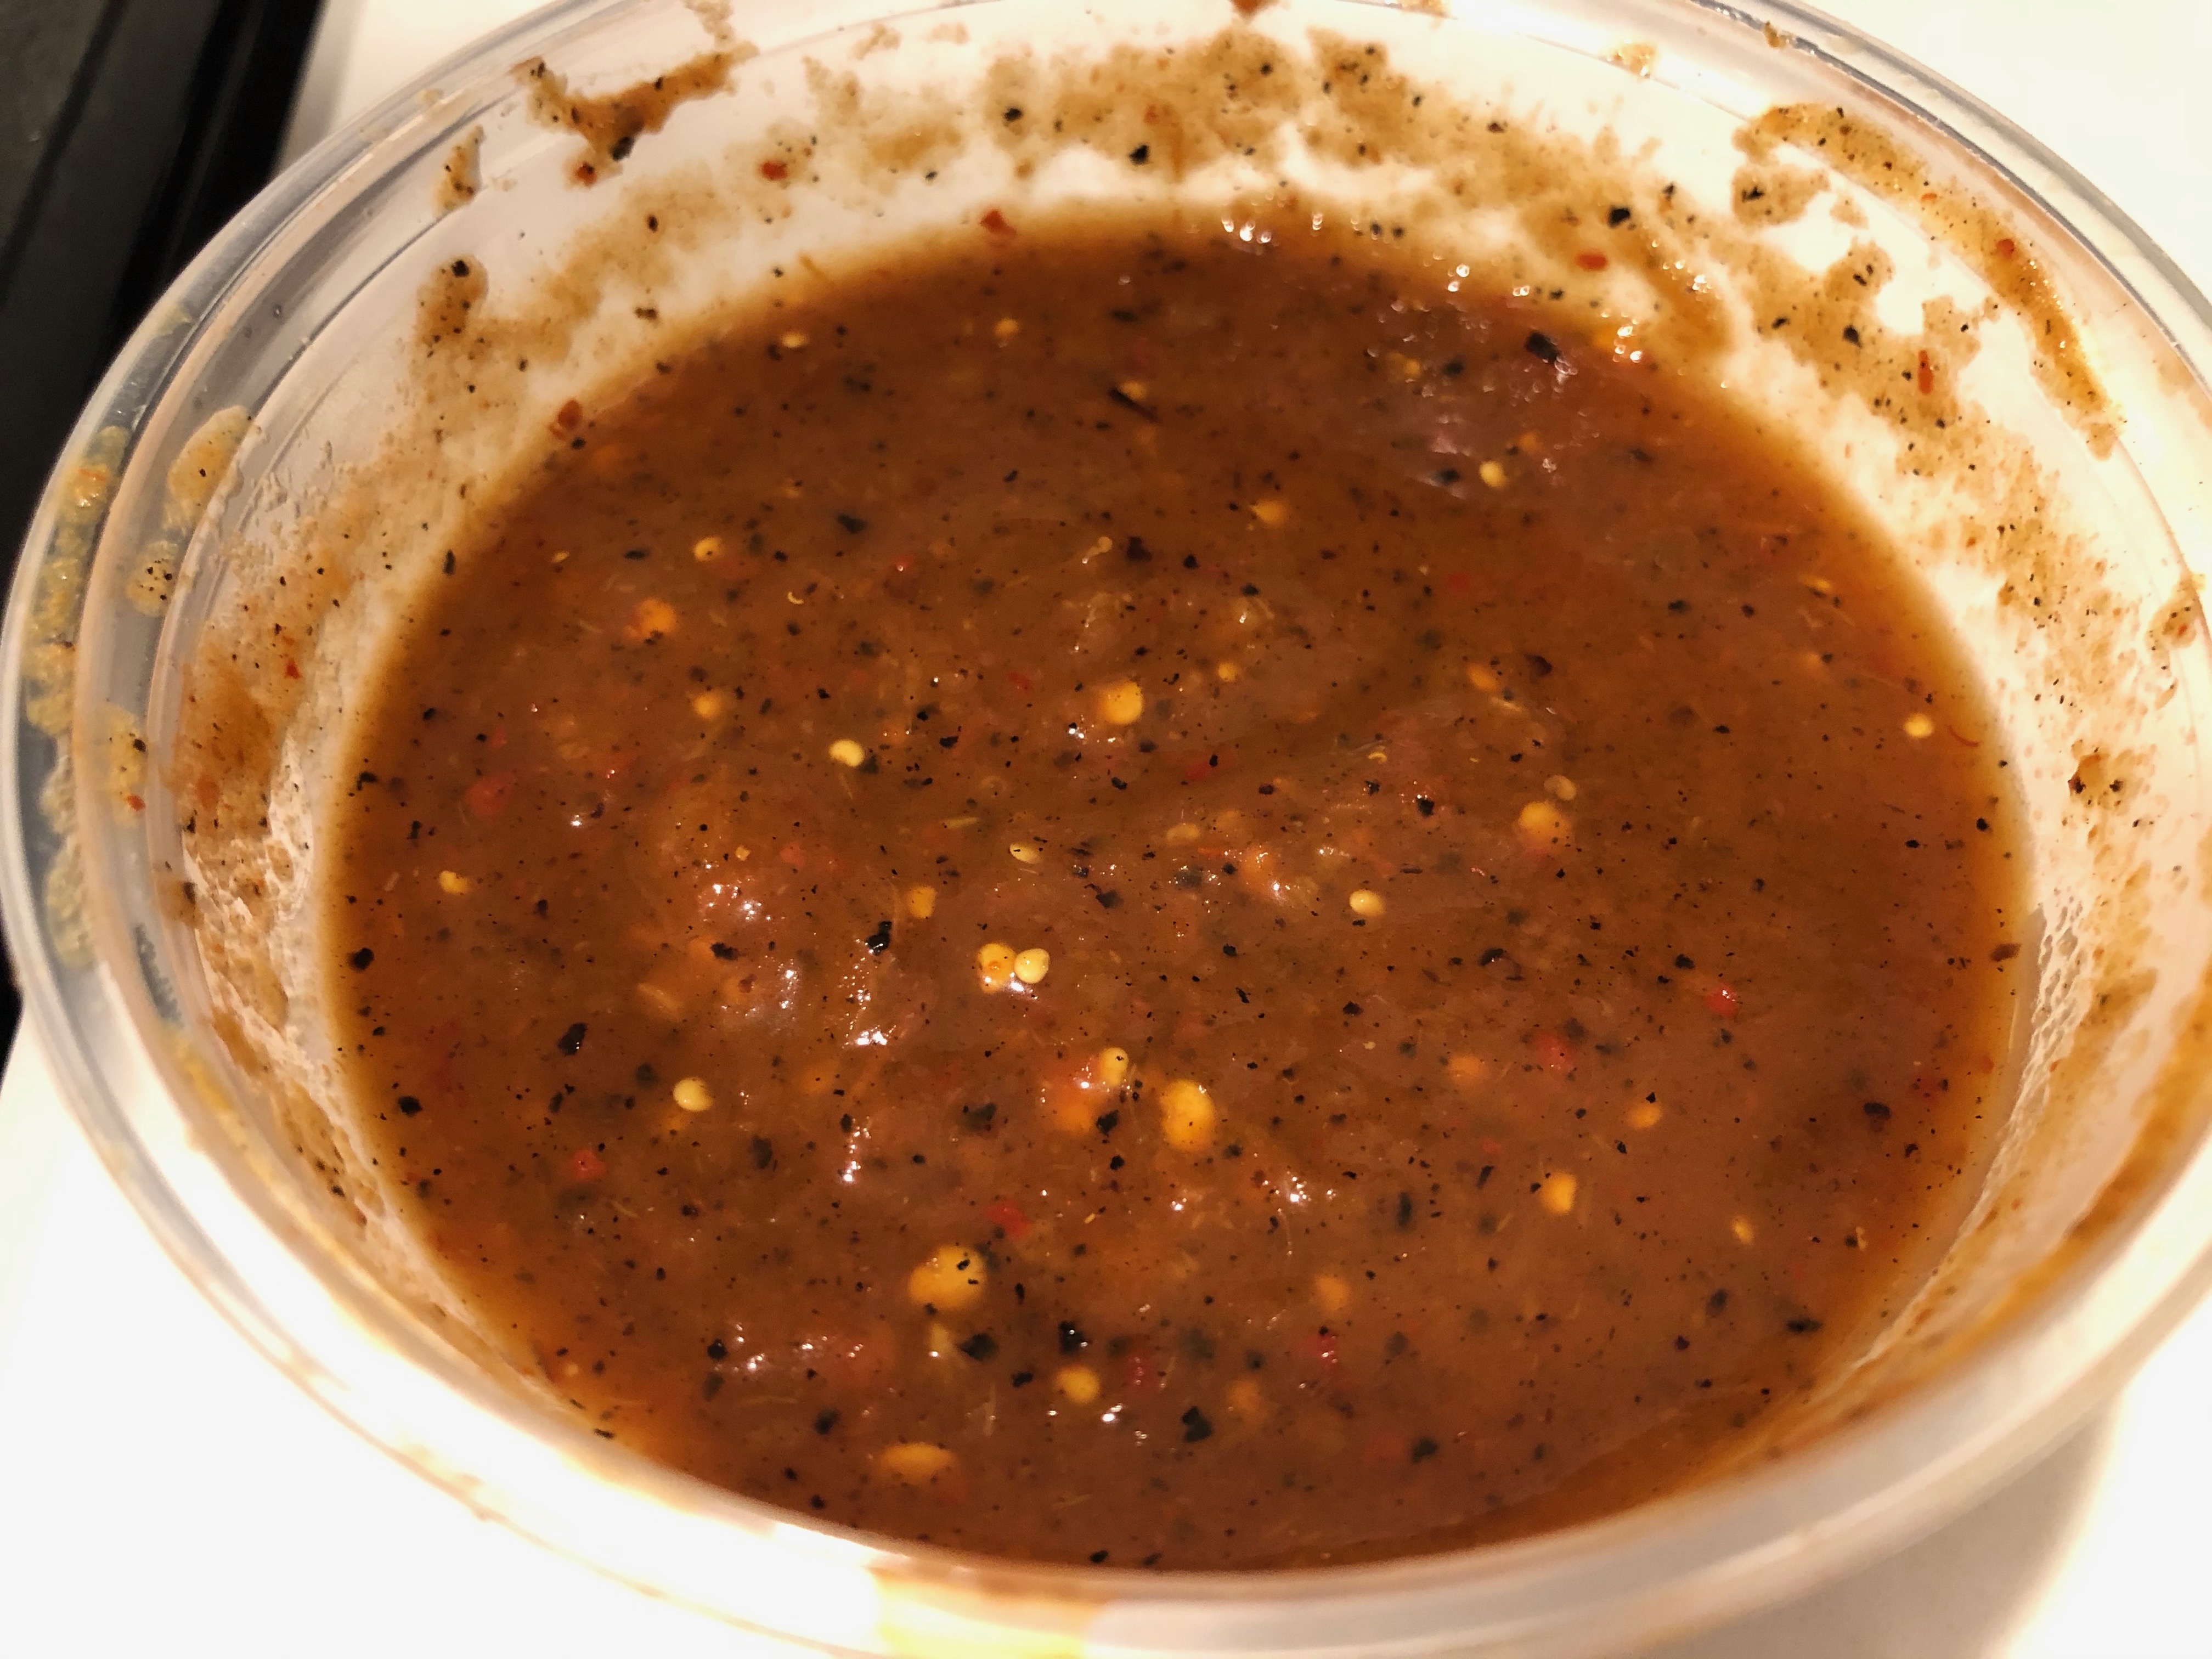
This salsa de piña was SPICY. Whatever salsa you have will do. Use something you like.
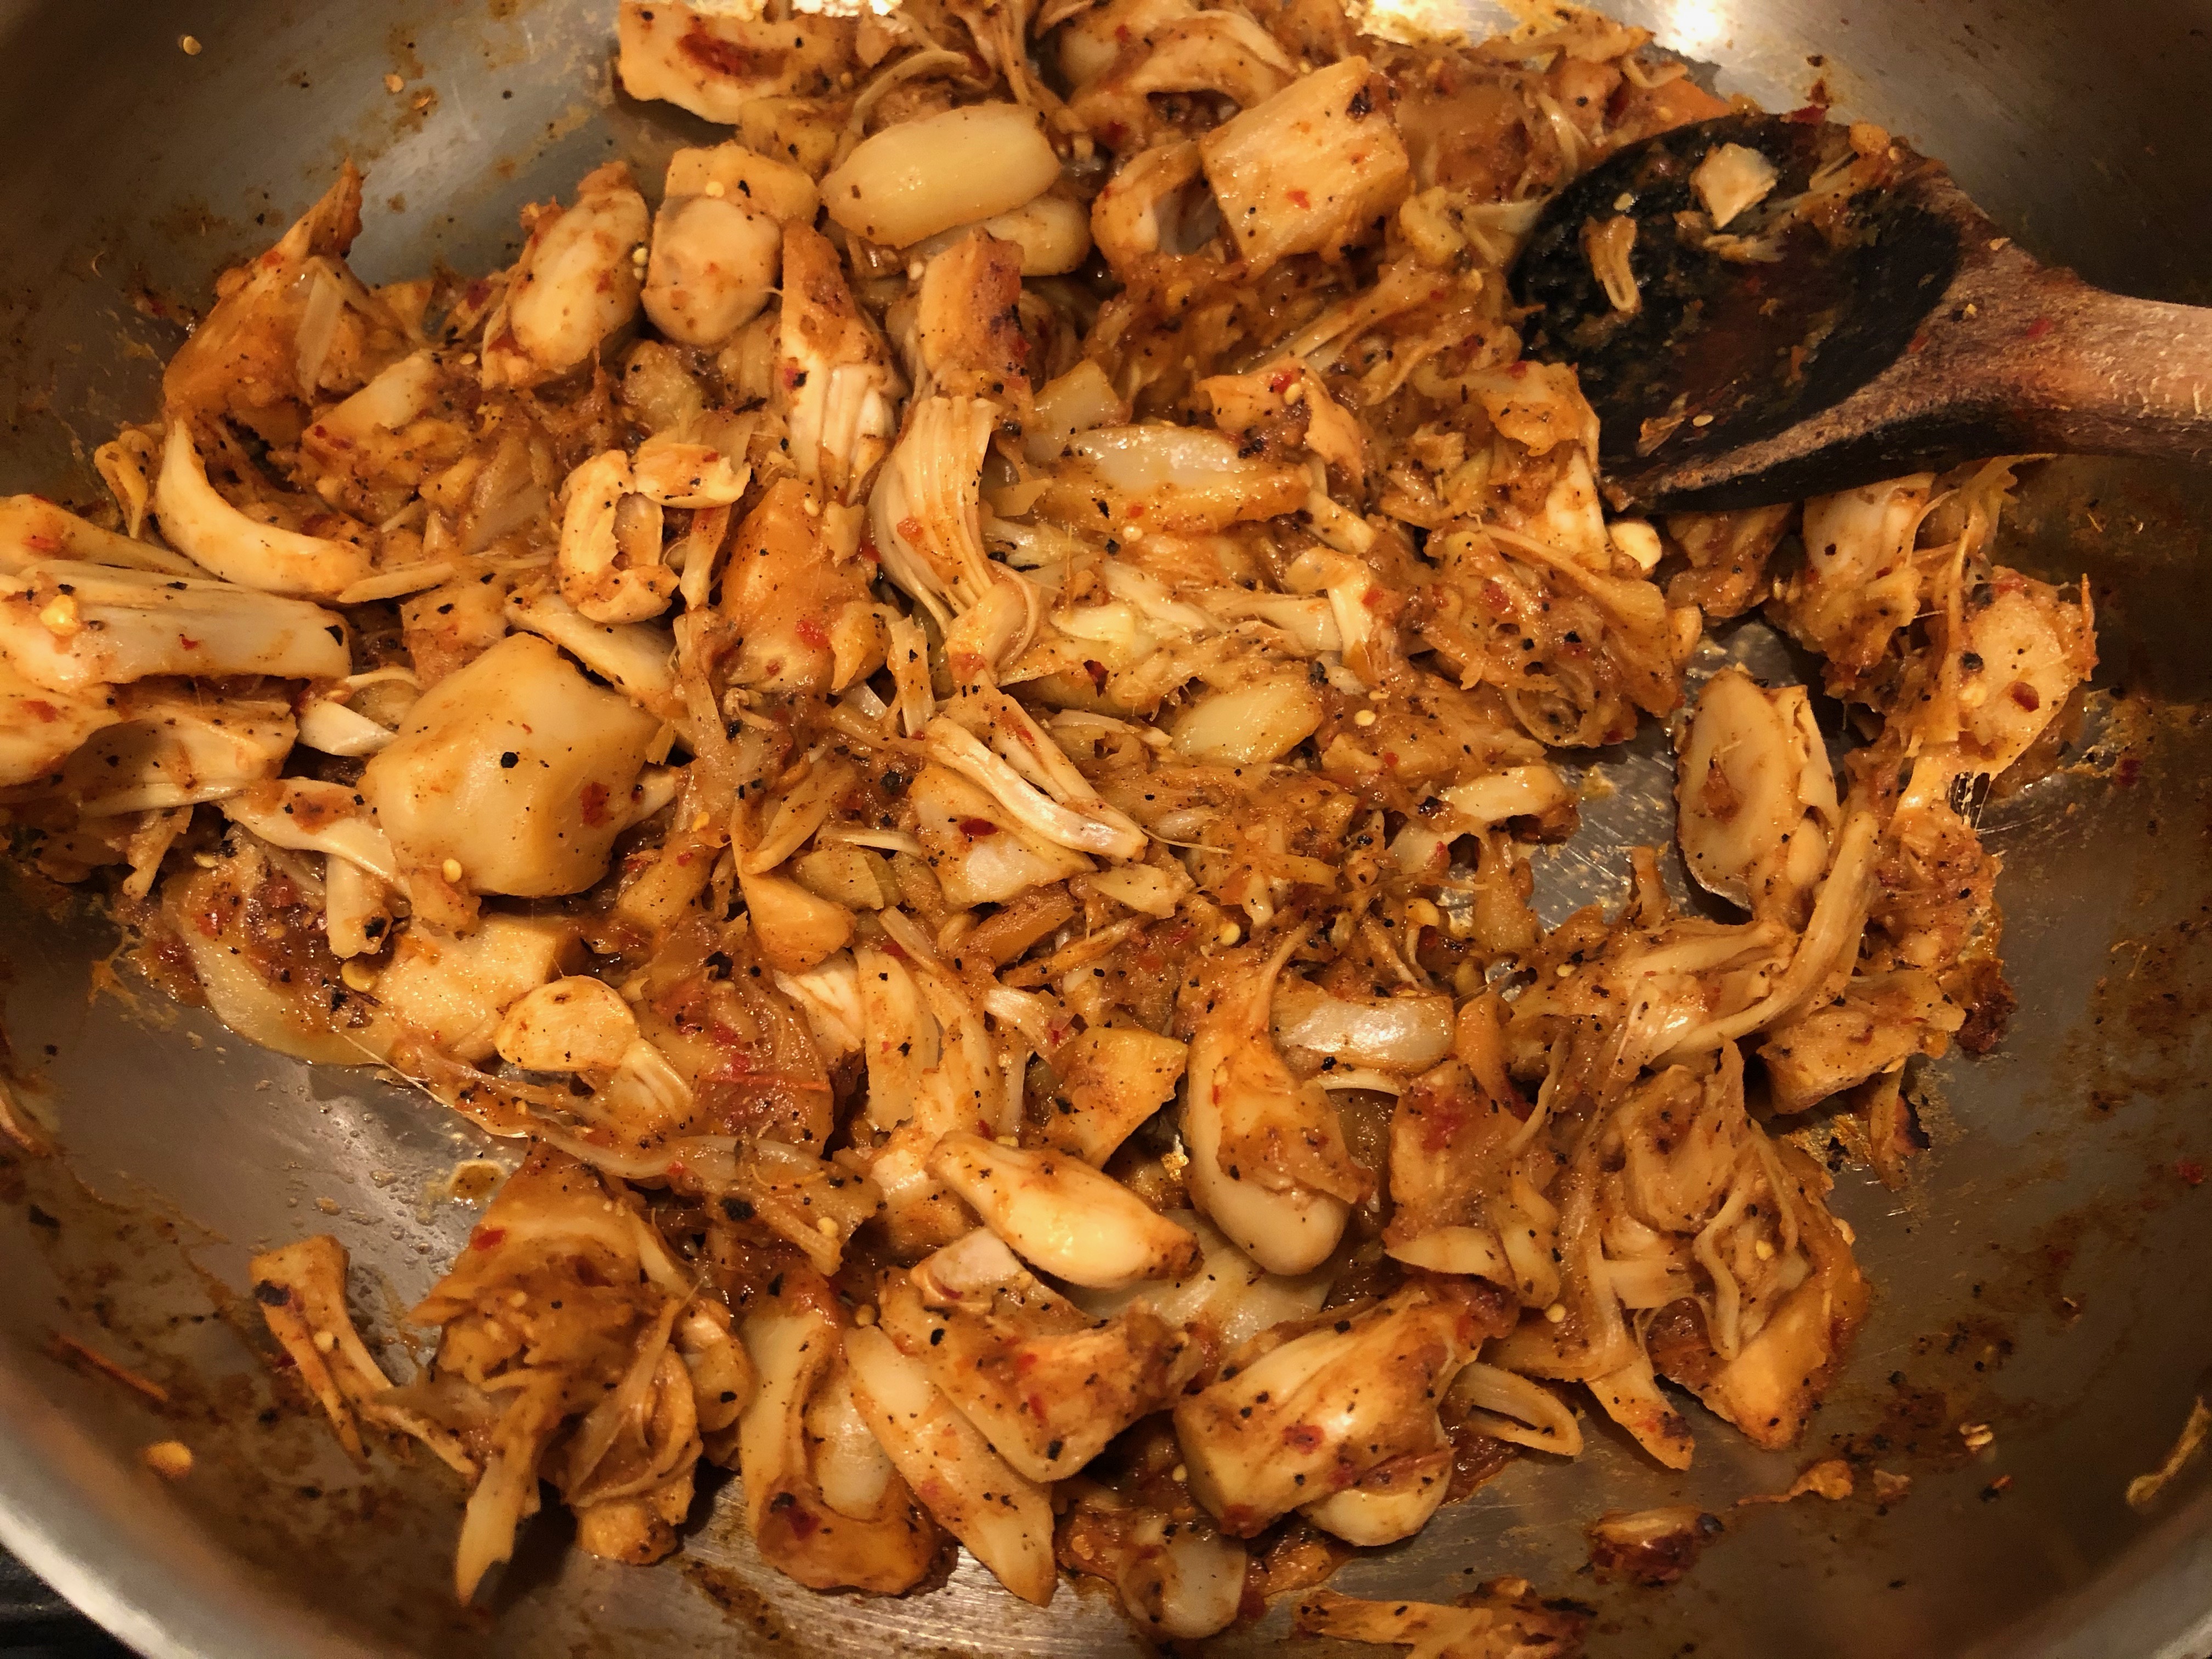
Cook the jackfruit on medium-low for 15 minutes or so and then assemble your dish. In this case, I made quesadillas.

I enjoy quesadillas because each piece can be loaded up to your liking.
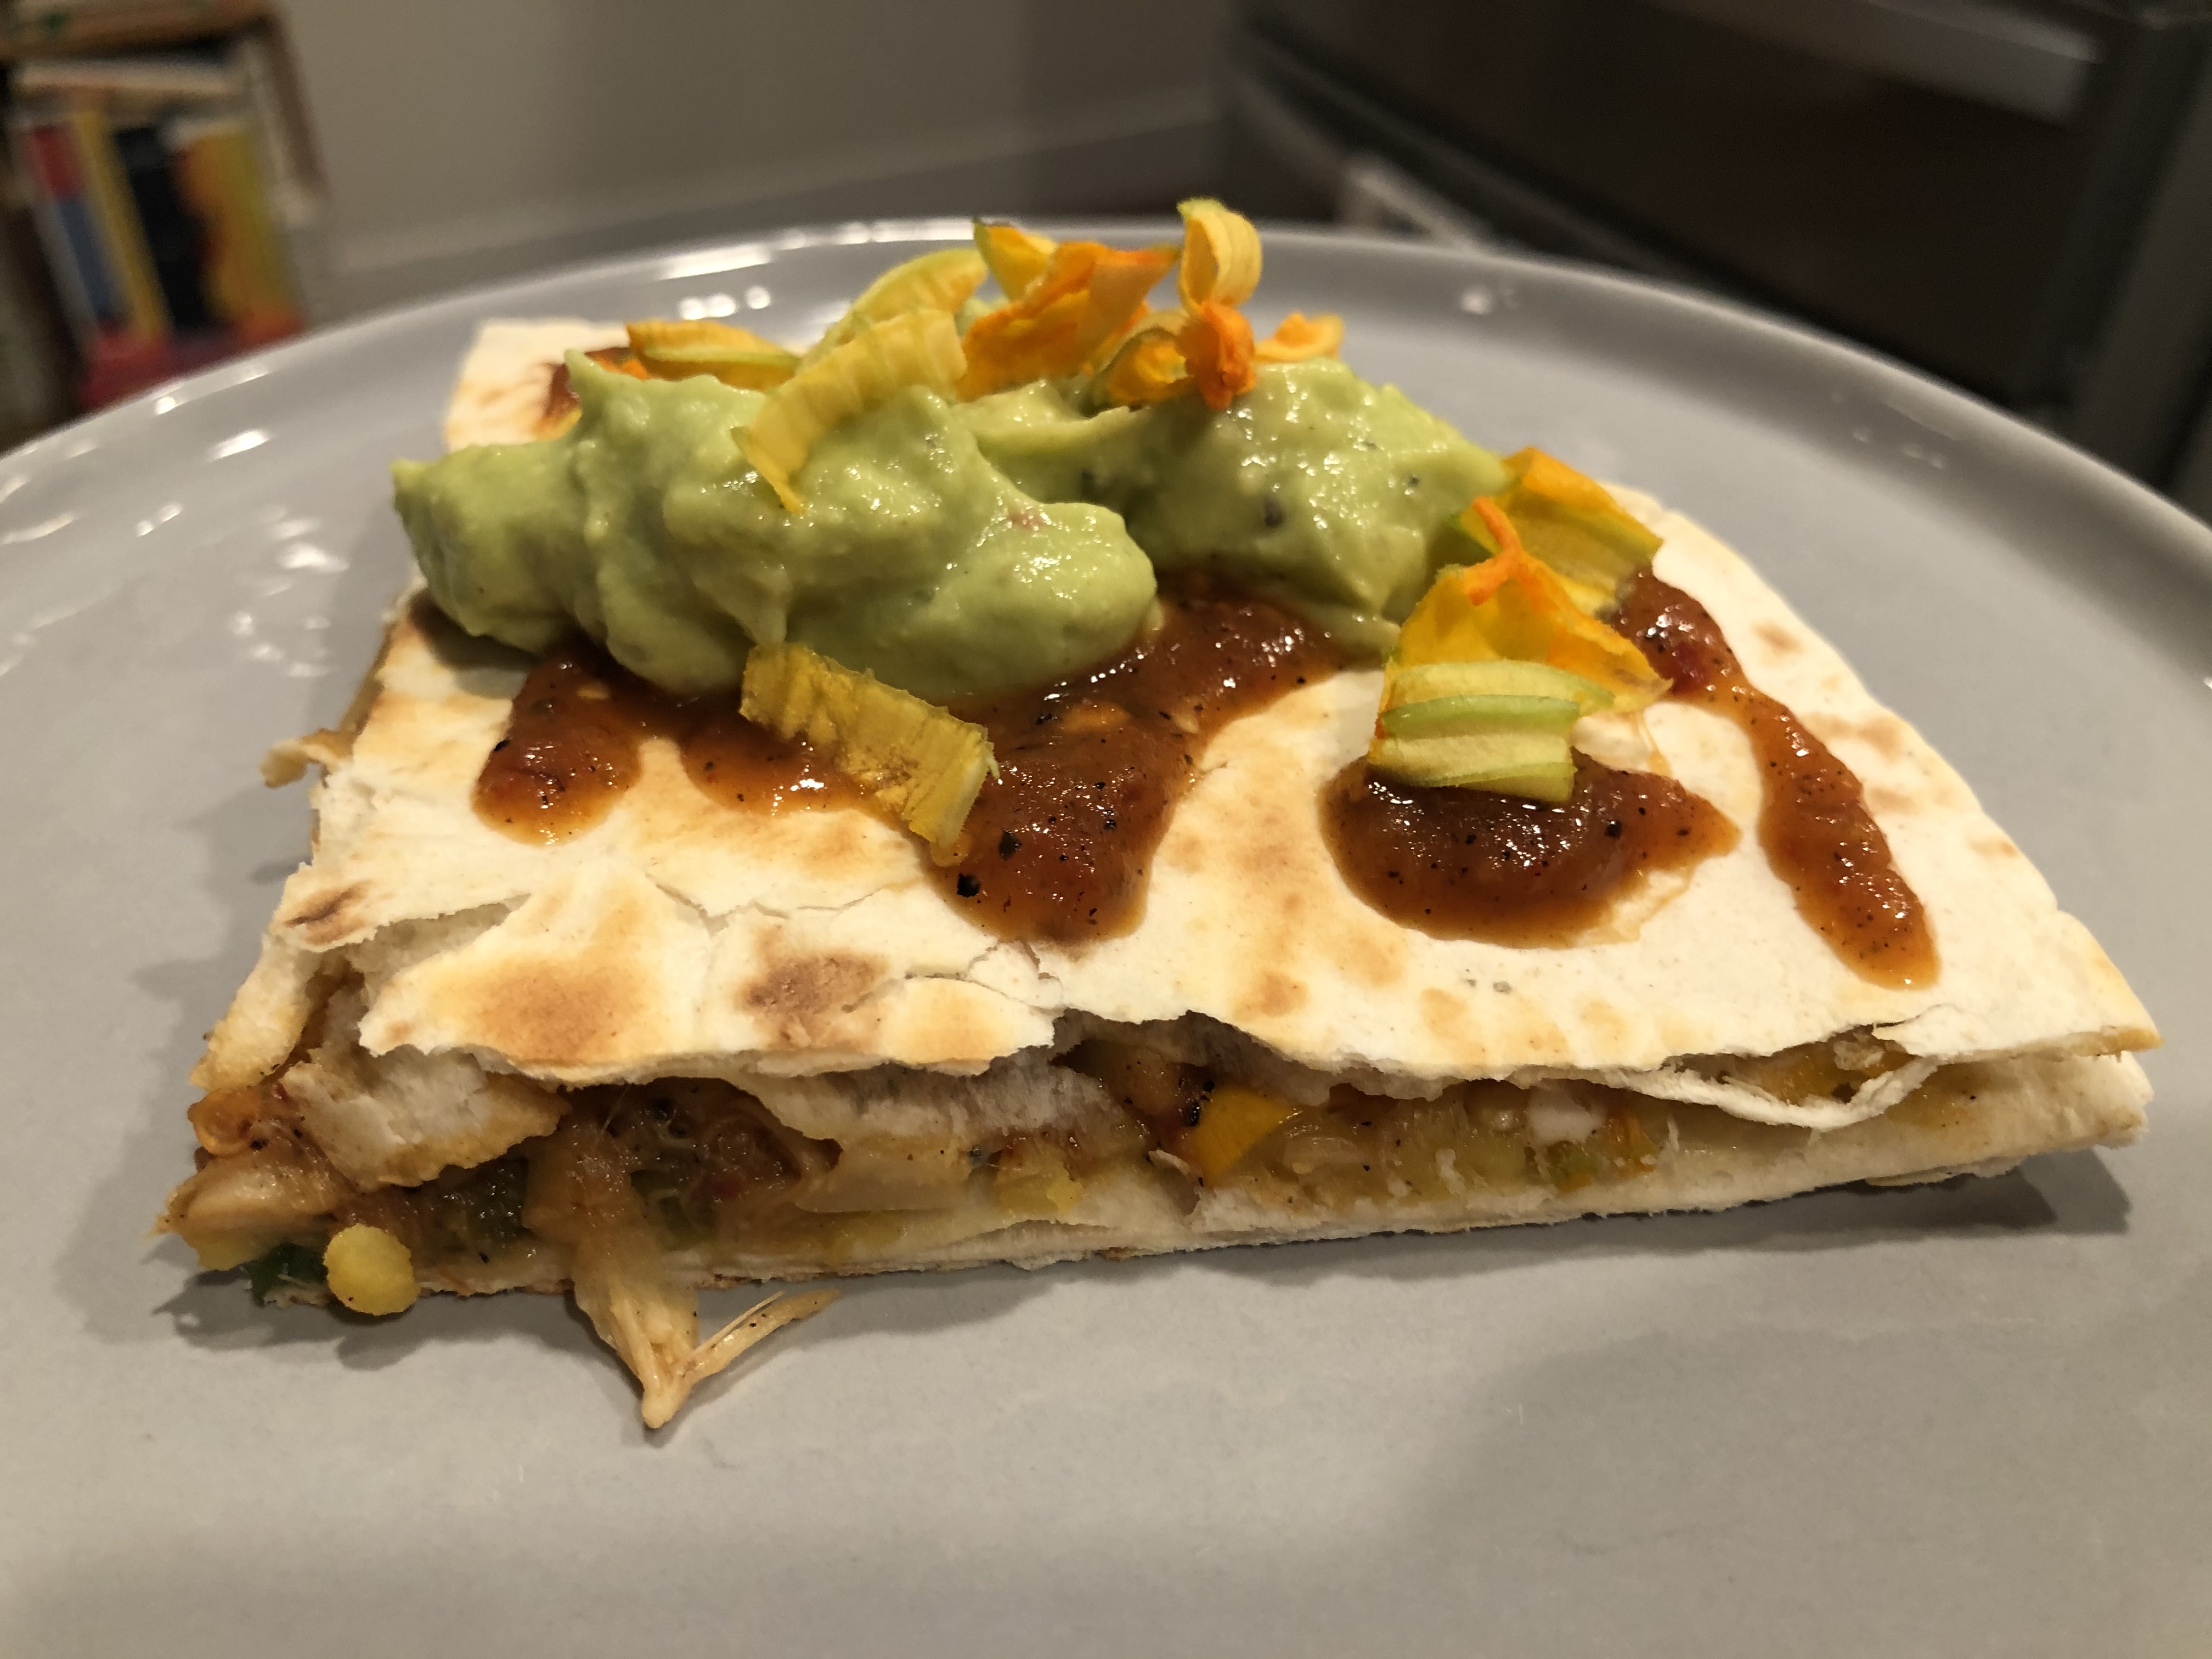
Extra salsa, avocado, and squash blossoms made for a fun snack.

Or, guacamole, sour cream, and cortido (an El Salvadoran slaw) make yummy combination as well.
Basically, the bottom line is jackfruit is versatile, inexpensive, filling, and vegetarian. It’s worth exploring in dishes that usually call for chicken or pork.
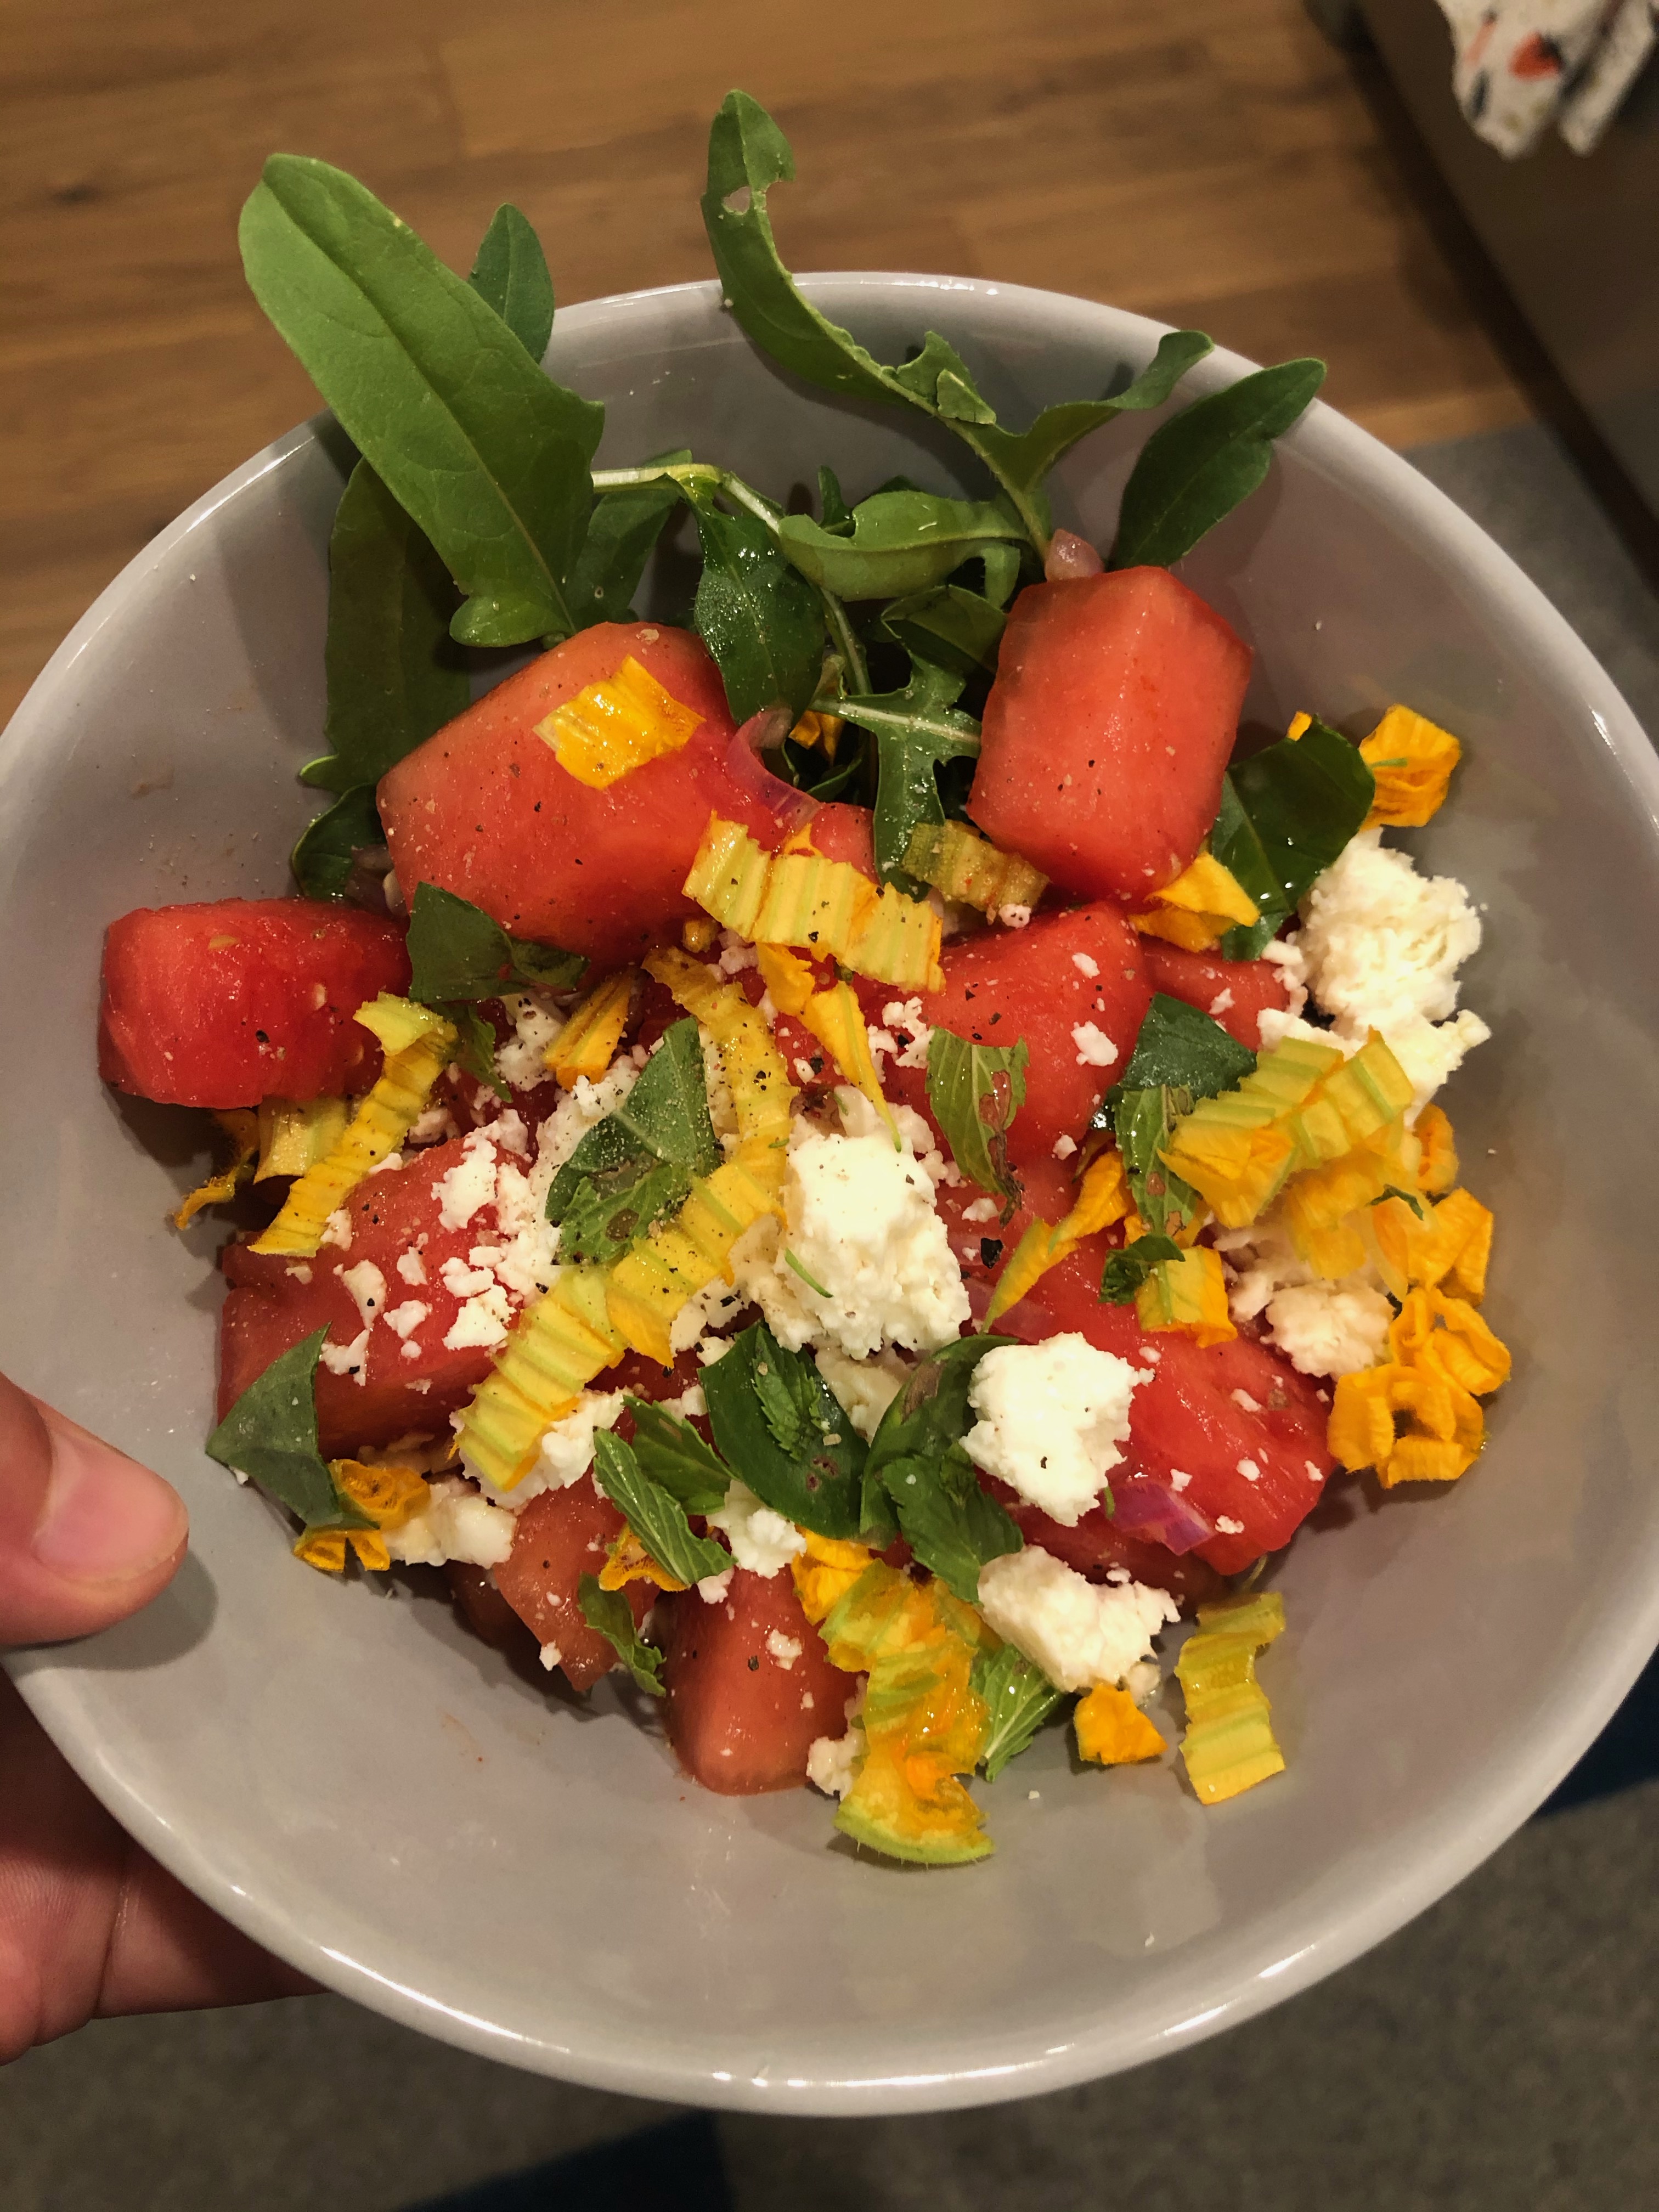
Savory Watermelon Summer Salad
- At July 24, 2020
- By megan
- In arugula, basil, Farm to Table, favorites, gluten-free, lime, mint, olive oil, Recipes, salad, shallots, side dish, watermelon
- 0
THIS is what summer dreams are made of!
I love watermelon- grilled, juiced, frozen into ice cubes for cocktails- it’s versatile. A savory summer salad is a fun way to enjoy the quintessential summer melon.
For this recipe I used a small seedless watermelon, so it made enough for 5 or 6 side salads. Just serving two people? Cut back, or make the whole thing and eat it over a few days. I seasoned and “dressed” the watermelon separately and then assembled the salads individually so none of the greens were left soaking in the citrus juice. There are also a lot of possible substitutions: Don’t have arugula? Spinach could work. No shallot? Try a red onion. No idea what cotija cheese is? Try a chevre or feta cheese. It’s versatile, so play around and enjoy something new.
Ingredients
- One seedless watermelon
- juice of 2 limes
- 1/2 shallot, finely chopped
- 1 teaspoon paprika
- Arugula
- basil
- mint
- squash blossoms
- cotija cheese
- olive oil
- salt
- pepper
Cut up the watermelon into bite sized cubes. Add the chopped shallot, squeeze lime juice on top, sprinkle paprika, and toss to coat. Portion into a bowl and add some arugula, basil, mint, slices of squash blossoms if you have them, and some cotija (or feta) cheese. Drizzle some high quality olive oil and salt and pepper to taste.
Enjoy!
Carrots and Mac N Cheese
Mac n Cheese is one of my all time favorite comfort foods. But, let’s be honest- it’s not healthy. This version cuts out a lot of the cheese and other dairy like milk and butter and adds in purred carrots for the mouth feel of a baked mac n cheese. I made a short video explaining this dish, so take a peek here: You Tube
Ingredients:
- 5 large carrots
- 1 yellow onion
- olive oil
- salt
- pepper
- ziti noodles, macaroni, etc- I used 1/2 of a box for 2 people
- 2 cups grated cheese
- optional chopped kale
Preheat oven to 350
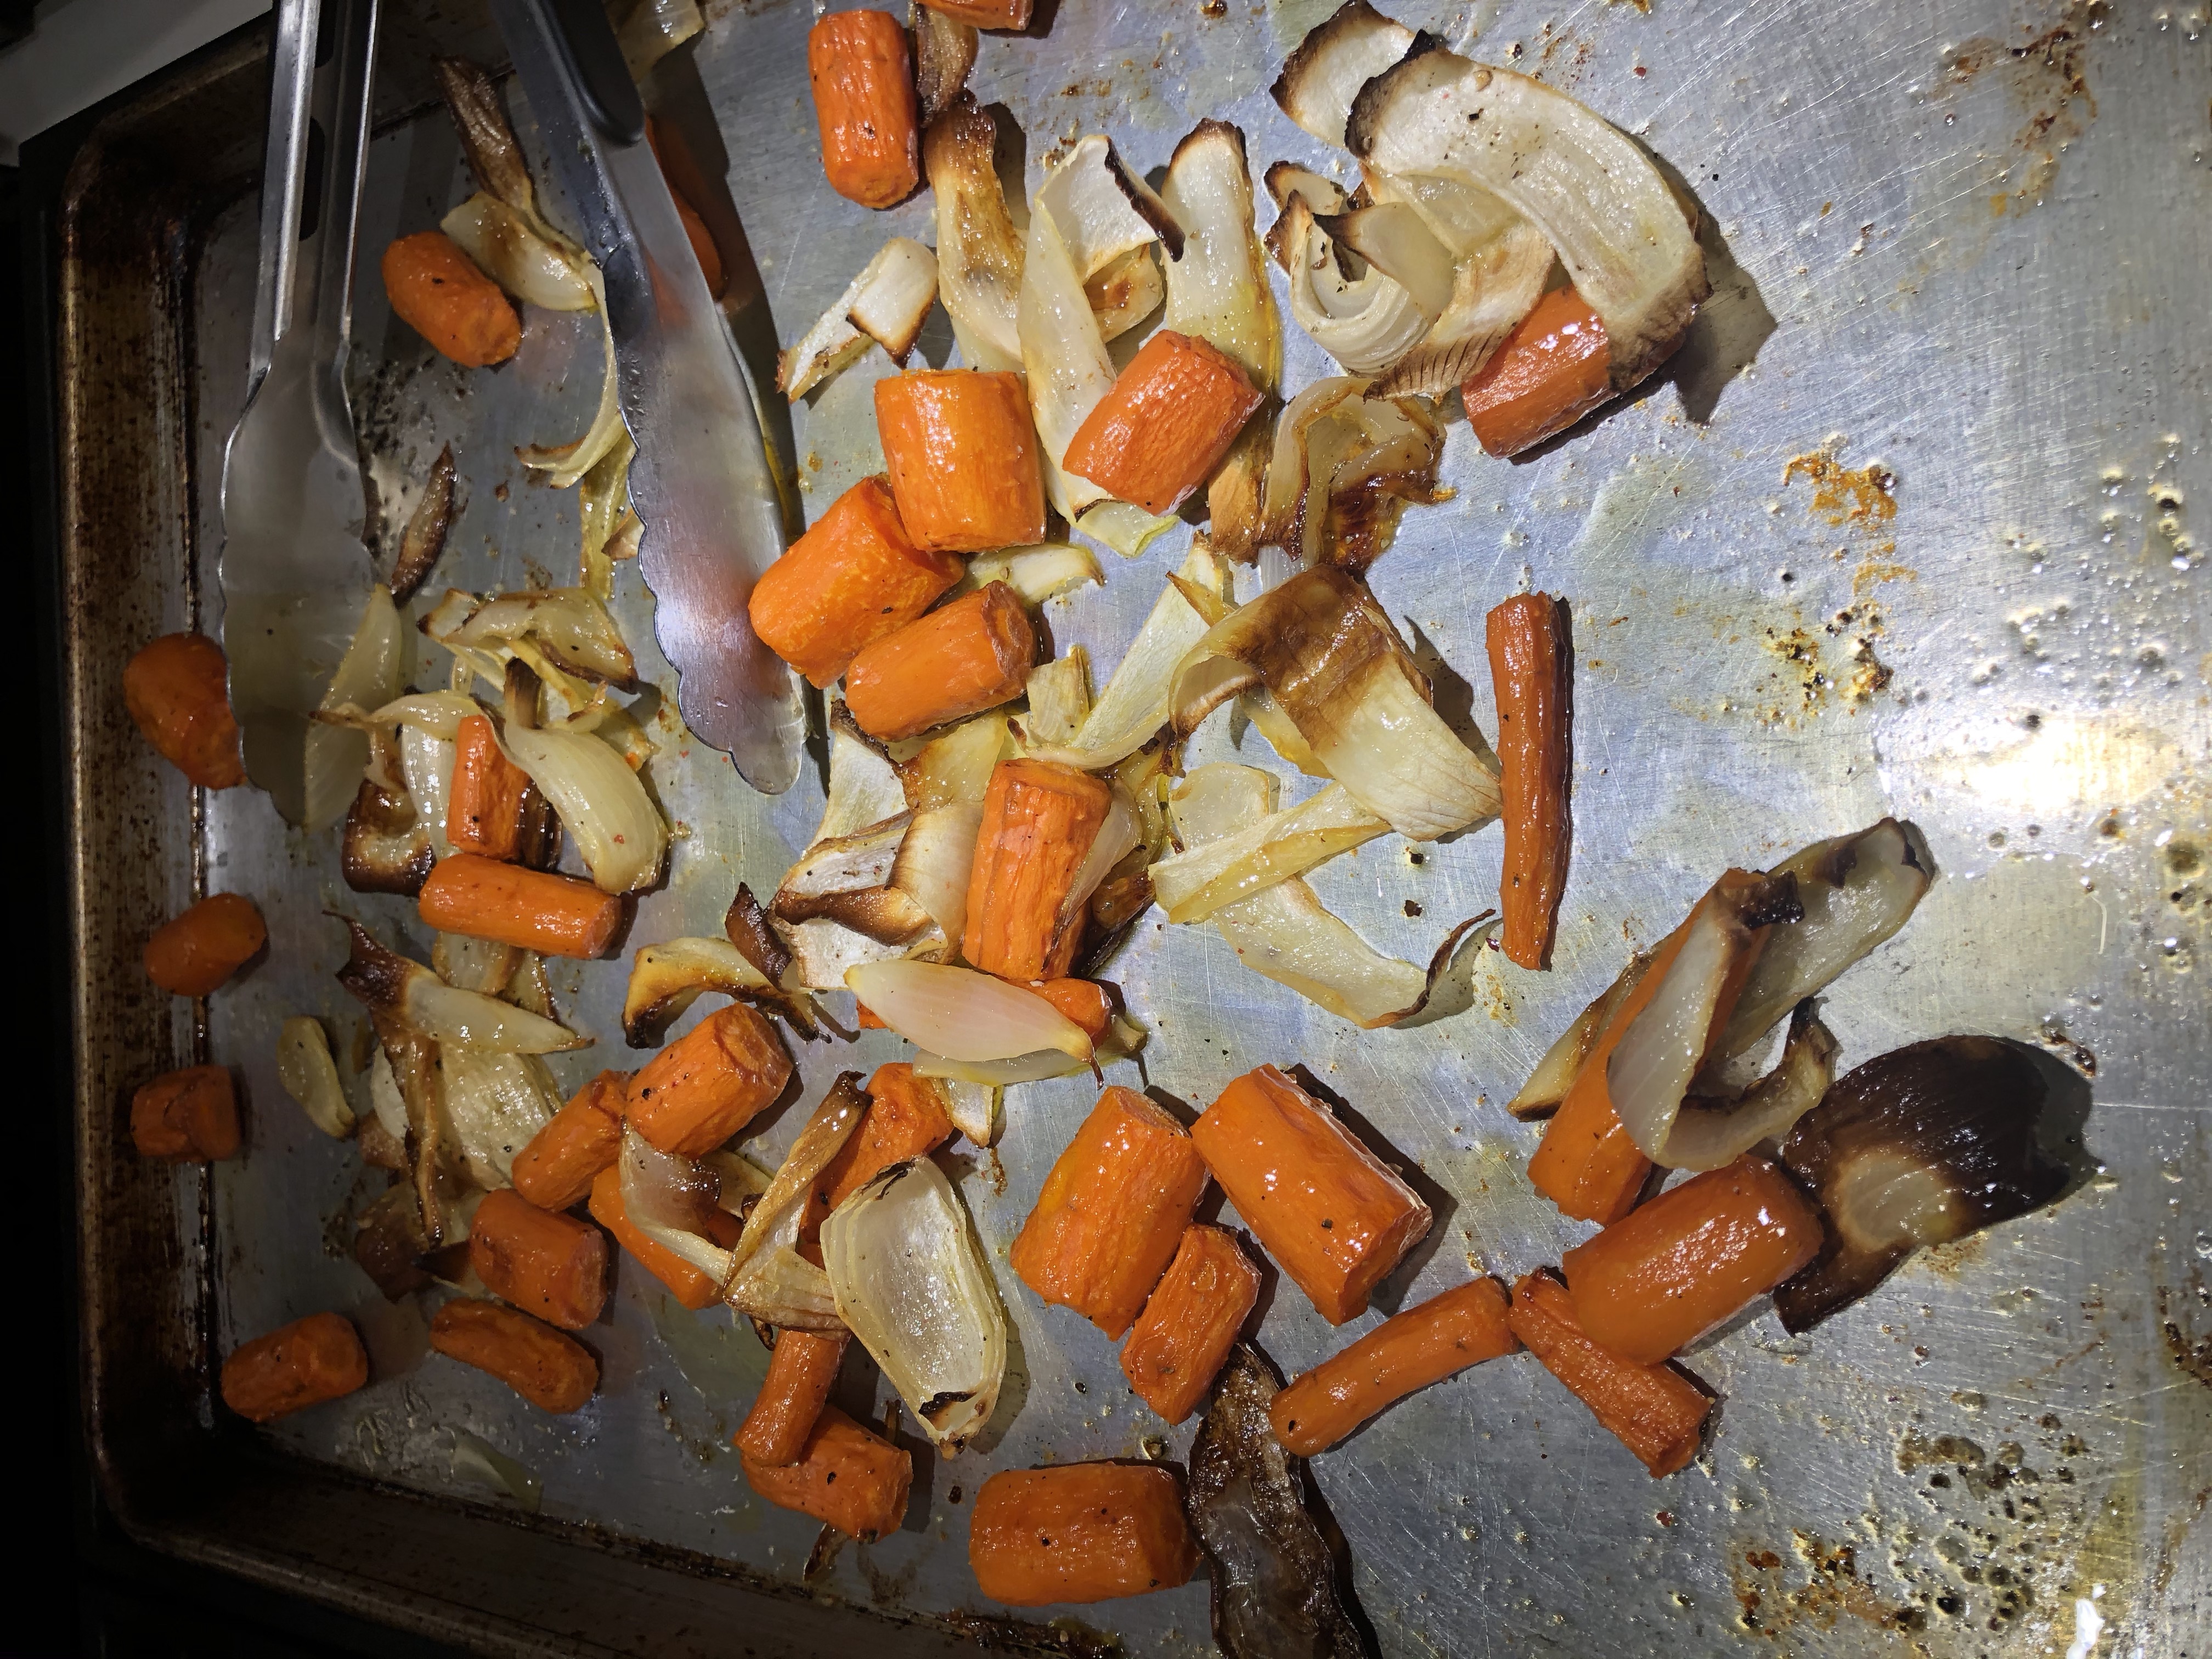
Peel carrots and cut into inch long pieces. Peel and quarter onion and break up the layers. Arrange the carrots and onion on a sheet tray, drizzle with olive oil, salt, and pepper, and roast until golden ~ approximately 30 minutes.
Boil the pasta, drain, return to the pot and drizzle with olive oil to prevent them from sticking.
When the carrots are roasted, puree in a food processor with a little water until they are smooth.
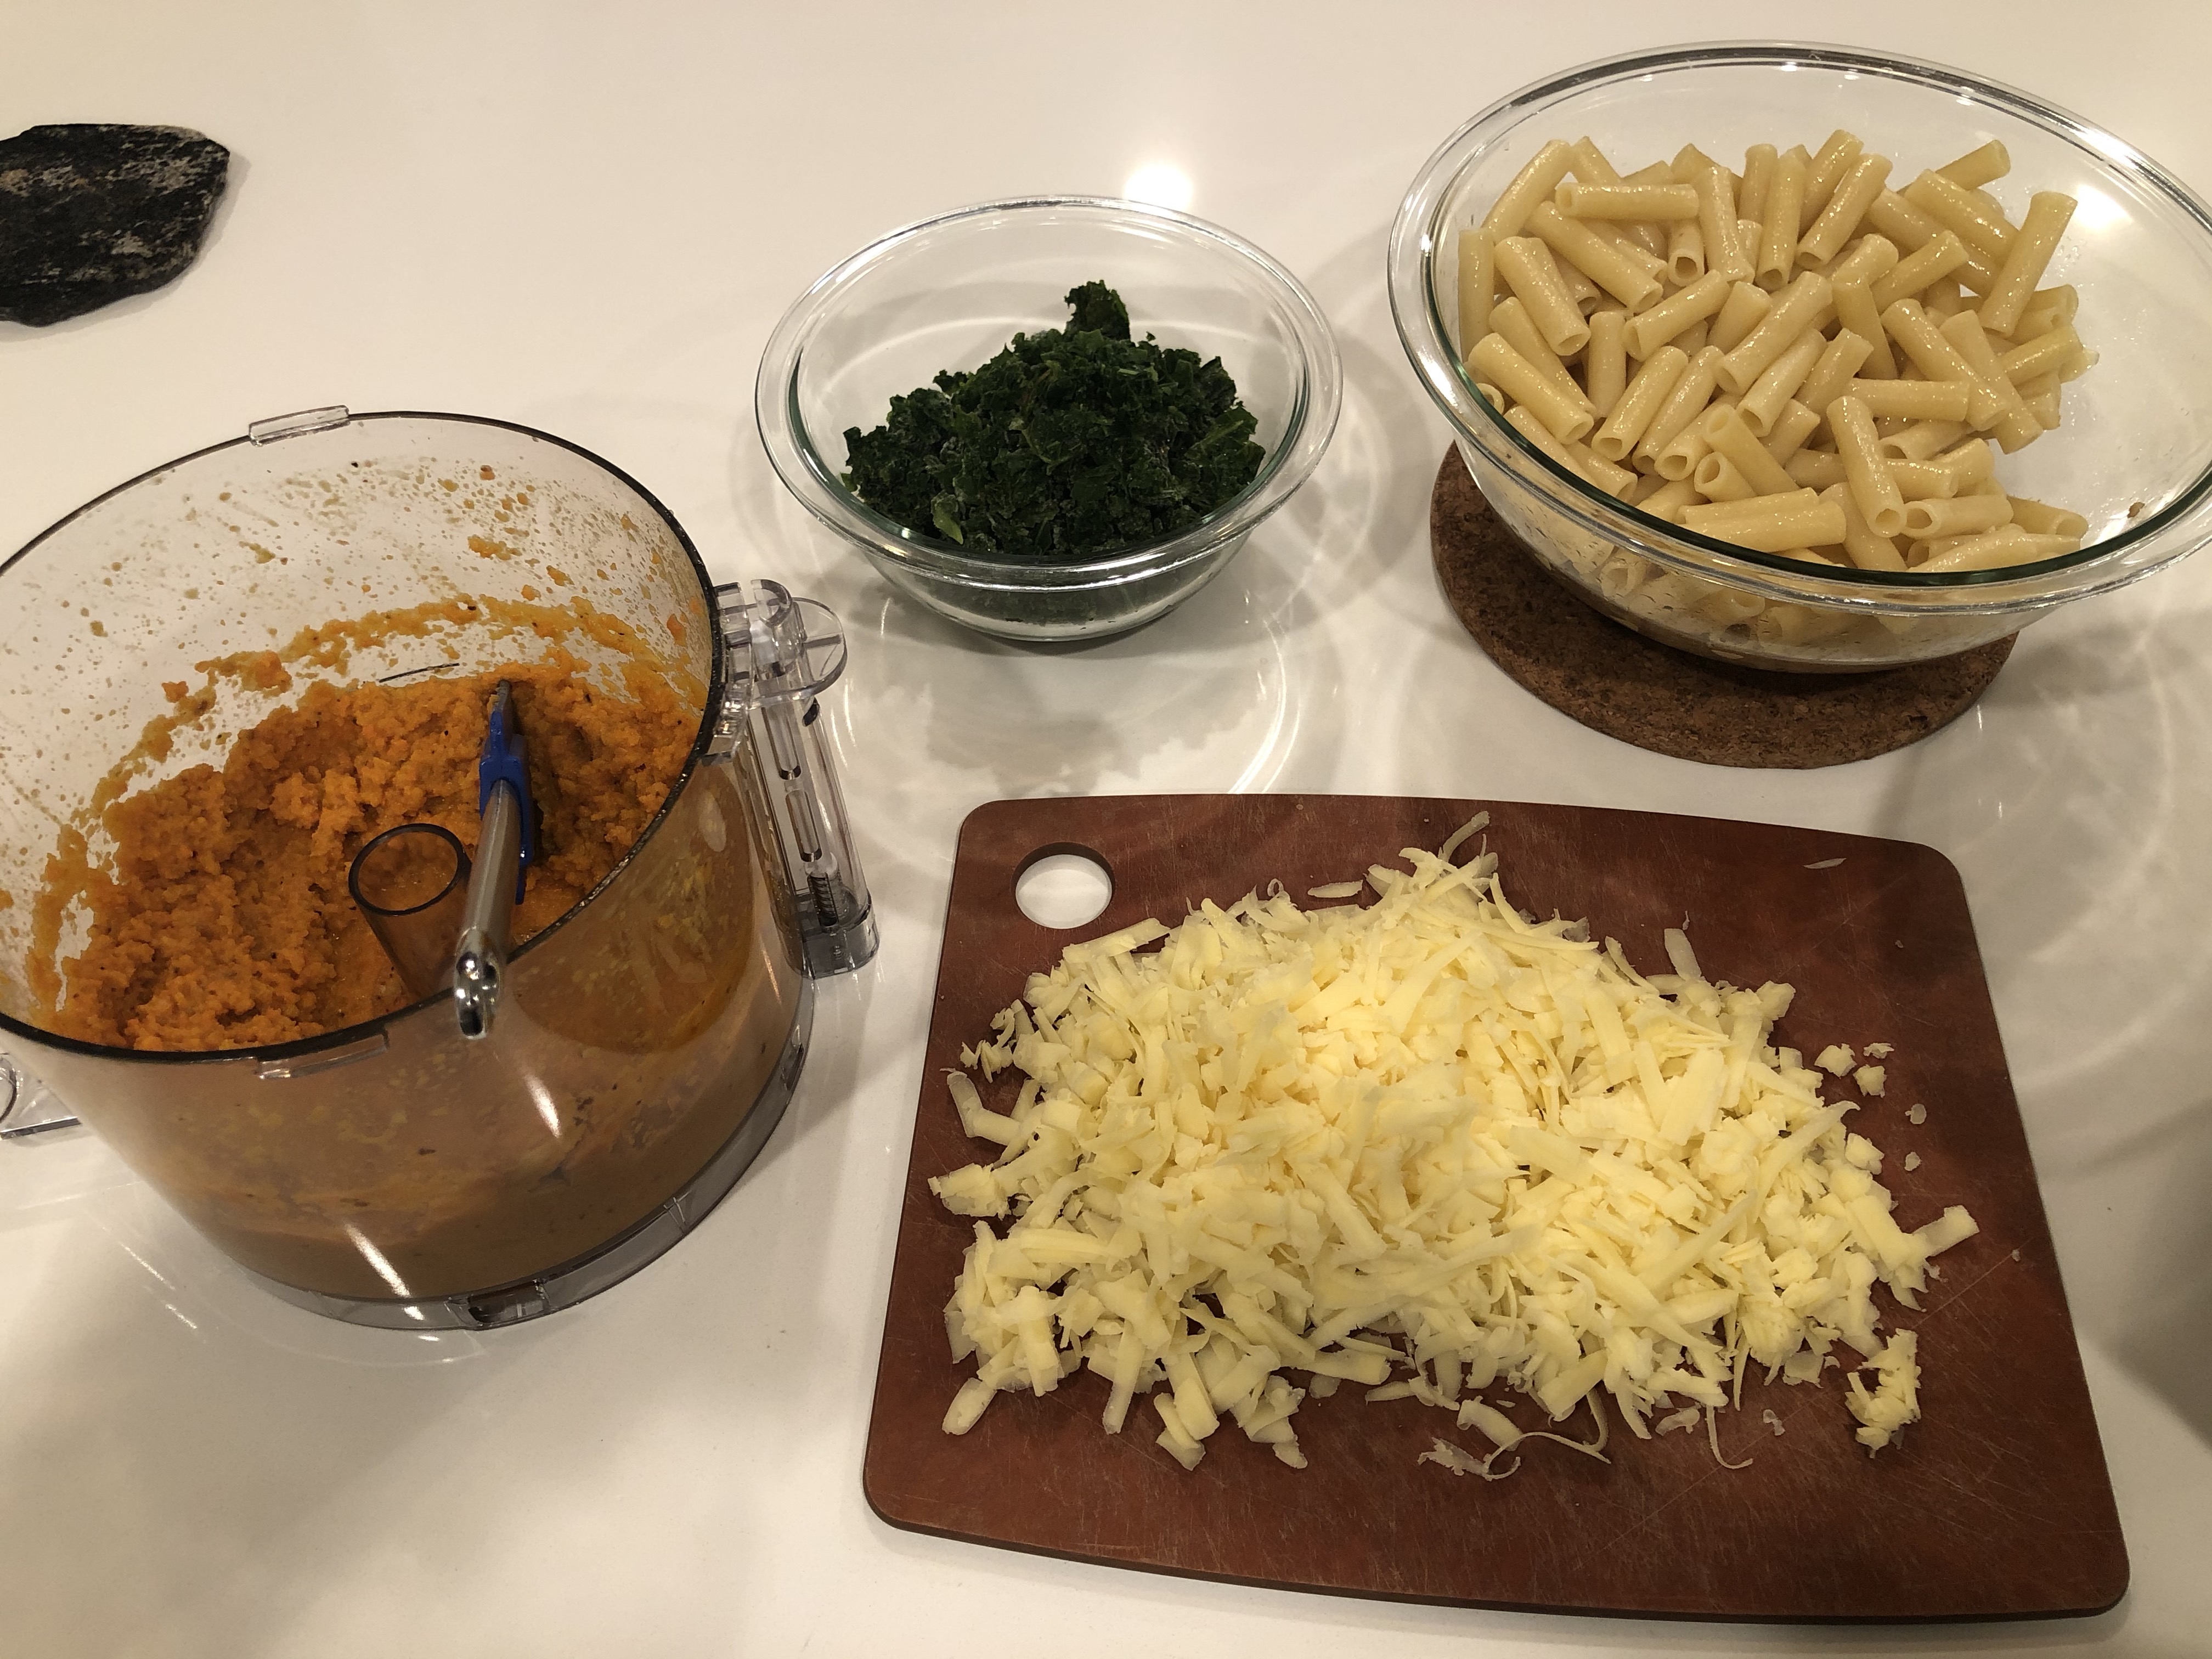
Assemble all of the ingredients in a baking dish, reserving a little cheese for later, and bake at 350 for 30 minutes. Add the remaining cheese and bake for another 5 minutes.
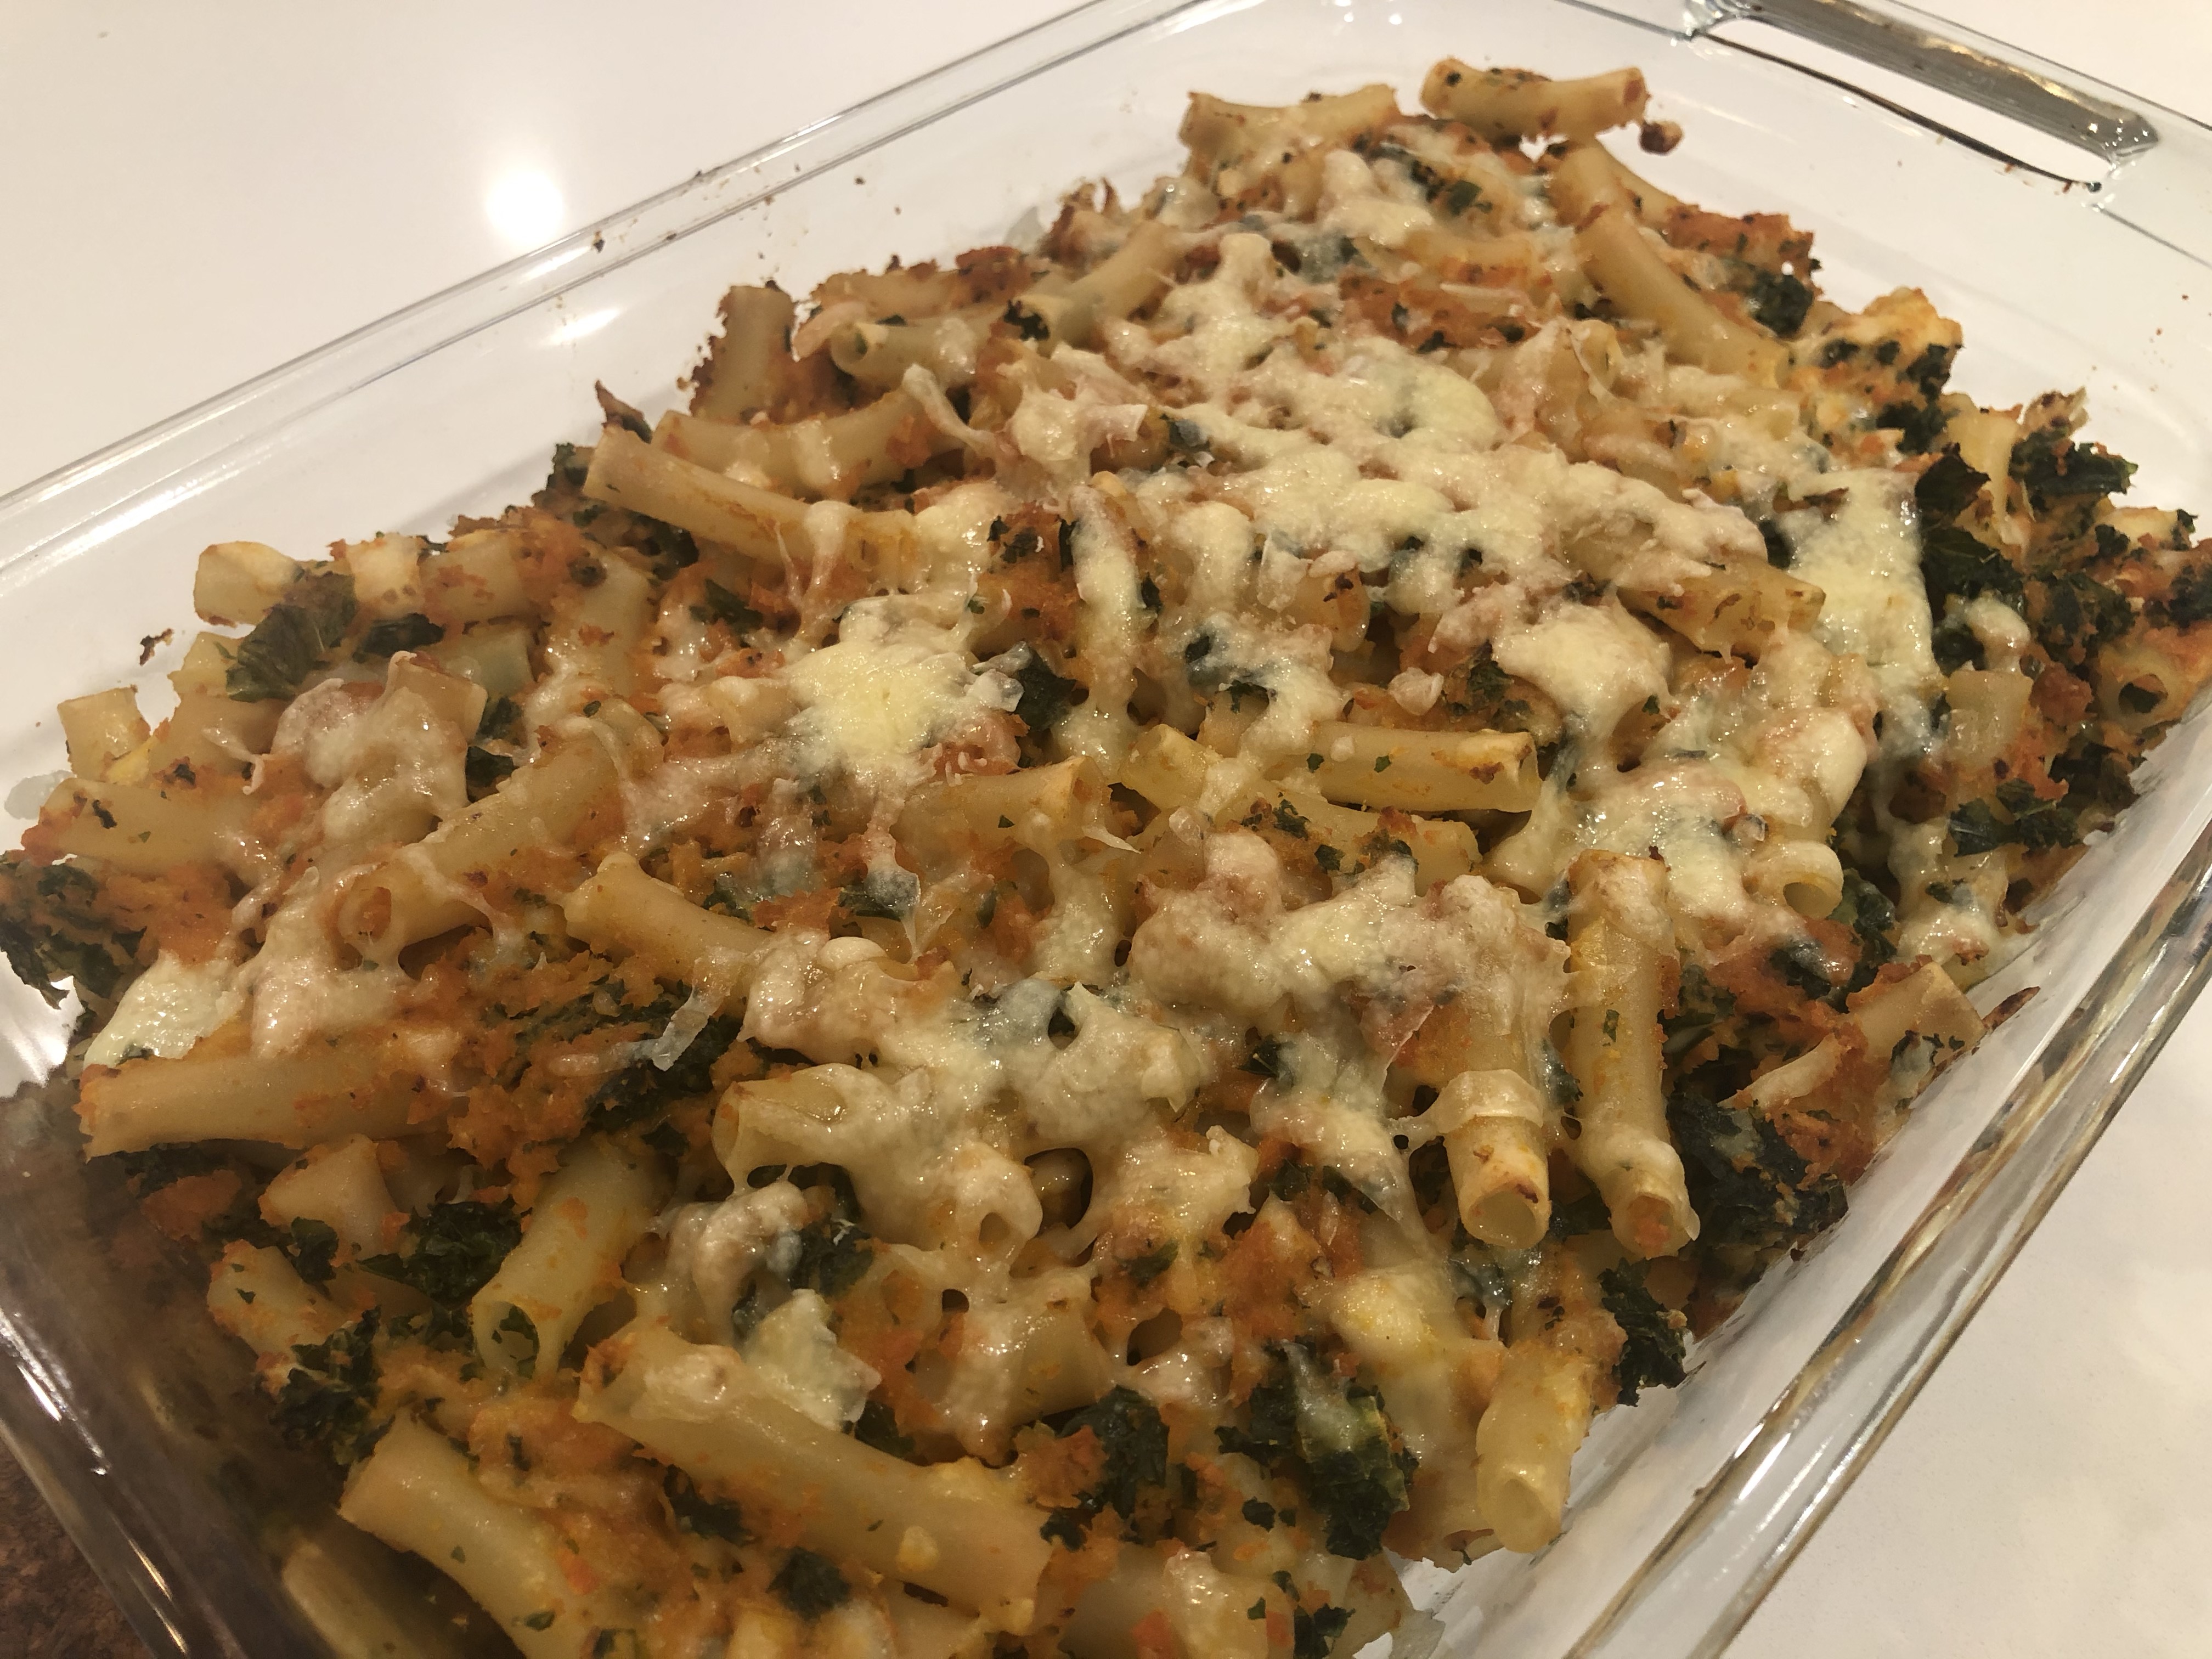
Serve and enjoy!
How to Make Eggplant Rollatini
- At March 31, 2020
- By Sean Smith
- In Eggplant, favorites, Grilled, Recipes, Spinach
- 0
I grew up in Massachusetts and there a few random things I miss about New England. Red Sox baseball, pizza, and eggplant parmesan. I still get to watch the Sox occasionally, so that’s fine. The two food items though are a bit underwhelming, in my opinion, to eat out here in the West. While there are a couple of amazing pizzerias in the high country, most fall flat. Yes there are styles of pizza that rival a classic East coast by the slice such as: Frank Pepe’s Original New Haven Style Pizza, Chicago deep dish and thin crust, Detroit-style, I won’t get into that here today. Eggplant Parm is something I basically lived on in high school, along with the aforementioned pie. Usually in the form of a nice and warm sub although depending on where you come from it could be a “grinder” a “hero” or a “hoagie.” As much as I love the dish, I seldom make it at home for two reasons; it’s super labor intensive and super messy to make. By the time you’ve spent half the afternoon cutting, breading and frying the eggplant, the kitchen is a destroyed and half your kitchenware is dirty. That’s before it even bakes!
So my at-home go-to is a distant cousin of eggplant parmesan and perhaps also had Manicotti or stuffed shells in it’s family. Eggplant Rollatini has very similar flavor profiles and takes half the time to make. Also clean up is way easier than trying to scrub all the spilled breading ingredients off the kitchen counter for an eternity.
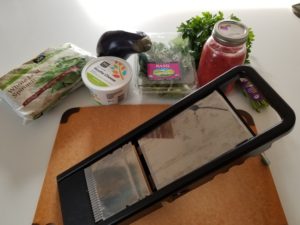
So lets get down to it. Now I highly recommend using a mandoline for this project, it cuts down on the amount of time slicing the eggplant. There are two kinds, a French variation and what is more commonly used in the food service industry, the Japanese style. I picture the former because that’s what most people have and is more readily available in kitchen stores. If you don’t have one you can still make this dish but I implore you to use a sharp (!!) knife and try to make all your cuts as uniform as possible. This will help them evenly cook in the baking process.
Ingredients-
1 Large Globe Eggplant
1 C Frozen Spinach, thawed to room temp
1/4 C Chopped Parsley
1/4 C Fresh Basil
8 oz Ricotta Cheese
1/2 C Shredded Italian Blend Cheese (or Mozzarella or Grated Parmesan)
Jar of Pasta Sauce
1 Lemon
1 Egg
Salt and Pepper
These portion sizes listed are to make a dish that serves 2ish people since that’s generally what I’m cooking for at home. I made my own red sauce from a batch of local tomatoes that I canned last summer but a nice quality store bought one would work just as well and saves some time. Feel free to add some ground meat to the sauce to turn this from a veggie dish into a meat lovers delight.
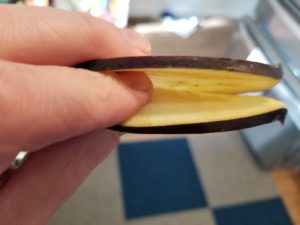
The first step is slicing the eggplant. You want to have the eggplant thin enough so that it will roll with out breaking but thick enough so that it doesn’t fall apart in the baking process. If you have a cooling rack, place it over a sheet tray, if not use a large plate. Heavily salt the eggplant and let sit for 10 minutes, rinse and pat dry.
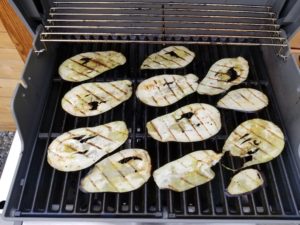
Meanwhile fire up your grill to medium heat and if you’re lacking a grill turn your broiler on to low setting. Season the eggplant with olive oil, just a sprinkle of salt and pepper. Whether you’re grilling or broiling, you are not shooting for a fully cooked slice. More of a par cook, just enough to make the eggplant pliable to roll up. Once done remove from grill/oven and set aside.
Next up is the assembly of the filling, which is wicked easy. Combine ricotta, spinach and parsley in a small bowl and fold together. Season with salt and a few squeezes of lemon. You don’t want the lemon to be overpowering but brighten up the mixture. Take the egg, beat it and fold into filling.

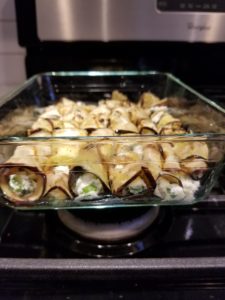
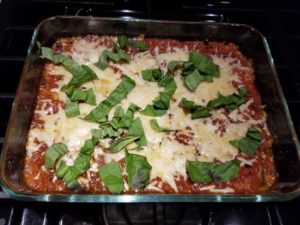
The home stretch is assembling the baked dish. Preheat the oven to 350. Grease a baking dish, I used extra virgin olive oil but butter or cooking spray would work too. Lay out the eggplant slices, spread some of the filling near the top (the side furthest away from you) and roll each slice towards you. Place in greased pan, right next to the previous roll. If you end up with extra rolls try and cram them in, this recipe is very forgiving and it won’t affect the end product. Pour your sauce over the rolls. The eggplant should be covered but not drowning as it will still release some liquid while baking. Bake at 350 for 20 minutes, sprinkle with cheese and bake for another 20/30 minutes or until eggplant can be easily pieced with a knife. Remove from oven and let sit for 10 minutes. Garnish with basil, either roughly chopped, torn by hand or if you’re trying to impress someone, finely julienned. Enjoy!!
Grapefruit & Vanilla Marmalade
- At March 20, 2020
- By Sean Smith
- In canning, Grapefruit, marmalade, Recipes, vanilla
- 0
It may be the first day of spring, but here in Denver it’s a cold snowy day. Perfect for spending a couple hours making one of my favorite marmalades! While it may not seem like it, bitter citrus and vanilla are a winning combo. It really doesn’t take that much effort to make, but it does require a constant eye for when to stir the marmalade. Especially as it is almost finished cooking.

Here’s what you’ll need to make this marmalade:
5 Large Ruby Red Grapefruits
(you can use other varietals but I found these to be the best)
3 Cups Raw Sugar
3 T Vanilla Extract or 2 Vanilla Beans
(I use Savory Spice’s Madagascar Vanilla Extract. It’s cheaper than raw beans and has great flavor)
Start by washing and drying the grapefruit. I like to have two kinds of zest- a finer zest that breaks down with the fruit while still maintaining some structure, and a thicker zest that holds up through the cooking process and has some texture left in the end product. You can’t have marmalade without zest!
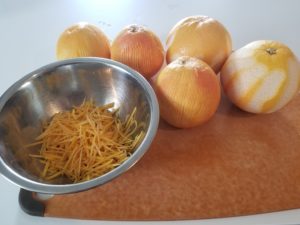
Zest 3 grapefruits and reserve it. Using a peeler, peel the other two taking care not to remove any of the white pith. If you have a sharp peeler, like this Kuhn Rikon, you don’t need to press too hard to remove the rind. If some pith comes off then turn the rind over and using a pairing knife trim off the pith. Once complete, julienne the rind and combine with the other zest. Remove the rind and pith from the grapefruit and slice into wheels, removing any seeds.

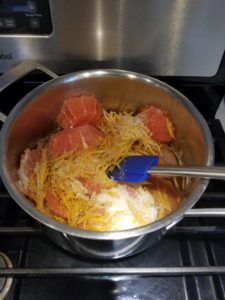
Combine the grapefruit, zest & sugar in a non reactive pot. Depending on wether or not you bought extract or beans the next measurement will vary. I used 3 T of the Savory Madagascar Pure Vanilla Extract. If you have something that is of a lesser quality, you may need more. If you have vanilla beans, scrape 2 whole beans into the pot. Regardless of which you use, you can always add in more before the marmalade is set. Stir in a couple of tablespoons of water to the mixture, place it on the stove, cover, and heat on medium.
At first you need to stir this somewhat frequently. Once the mixture starts to bubble, remove the lid and turn down the heat to a simmer. As the grapefruit cooks and breaks down, mash the wheels so they break up into smaller pieces. As the fruit cooks down the heat is going to have to be adjusted down several times. The mixture should never be above a low simmer. It will take about 2 hours for the marmalade to set and needs to be stirred occasionally. Any white foam that rises to the top should be skimmed off and discarded.
There are several ways to check when the marmalade is ready. If you have a candy thermometer, 222F is perfect but not higher. If you place a small plate in the freezer and add a dollop on to the plate, wait a couple of minutes and drag a spoon through it. The sample should crinkle. The last method is if you dip a spoon into the mixture and then turn the spoon horizontally, the liquid dripping off should be in one steady stream.
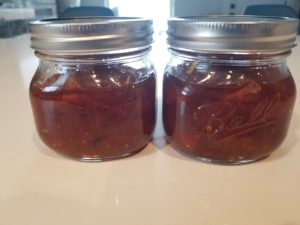
I jar my marmalade and if you do follow proper canning techniques which can be found HERE. If you choose to skip the processing and put it in the fridge, there is enough sugar in the marmalade to last a couple of weeks, but hopefully you enjoy it before then!
Let’s get Social